Flag Command is a very easy web challenge created by Xclow3n on Hack The Box. To solve this challenge you need to review the requests. Hello world, welcome to haxez where today I will be attempting to solve the Flag Command web challenge.
Getting Started With Flag Command
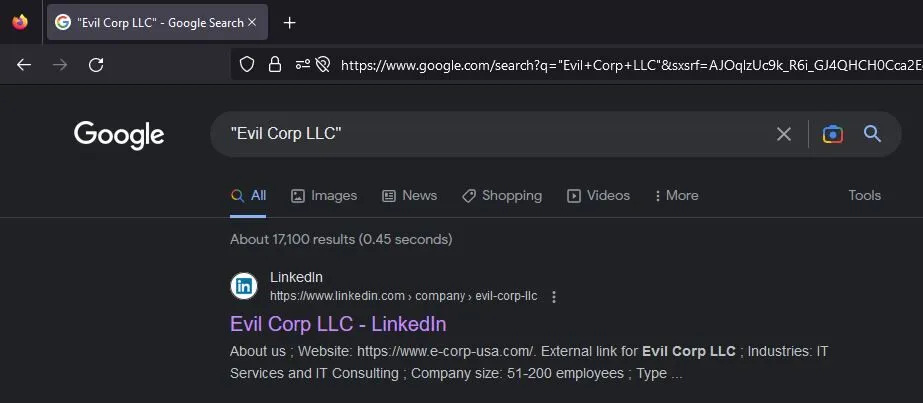
In order to get started with Flag Command, we must first head to the challenges section within Hack The Box. From there, we need to find the web section and got to the retried challenges. Next, we can filter the challenges by very easy and it will be one of the first in the list. Once you have found the challenge, simply click Spawn Instance to start the isntance. It will give you an IP address that you can visit in your browser.

Application Enumeration
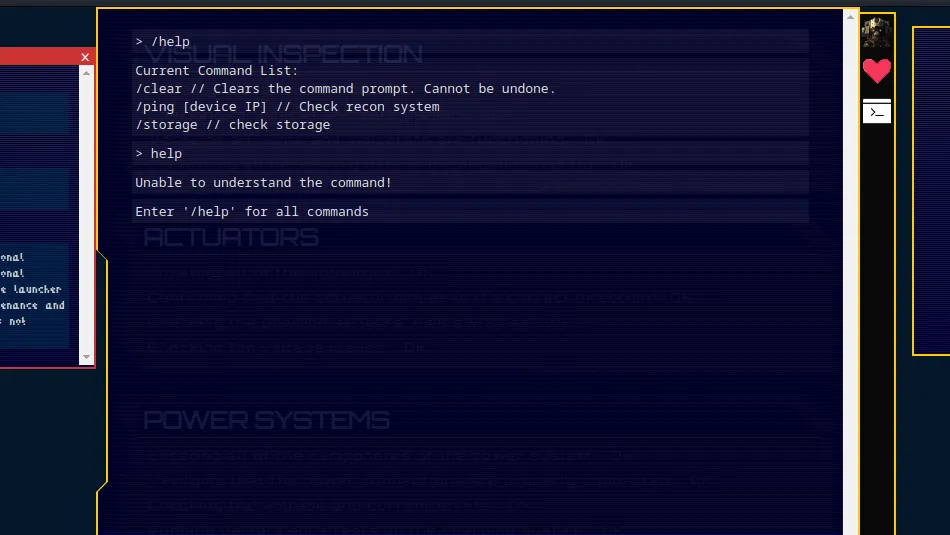
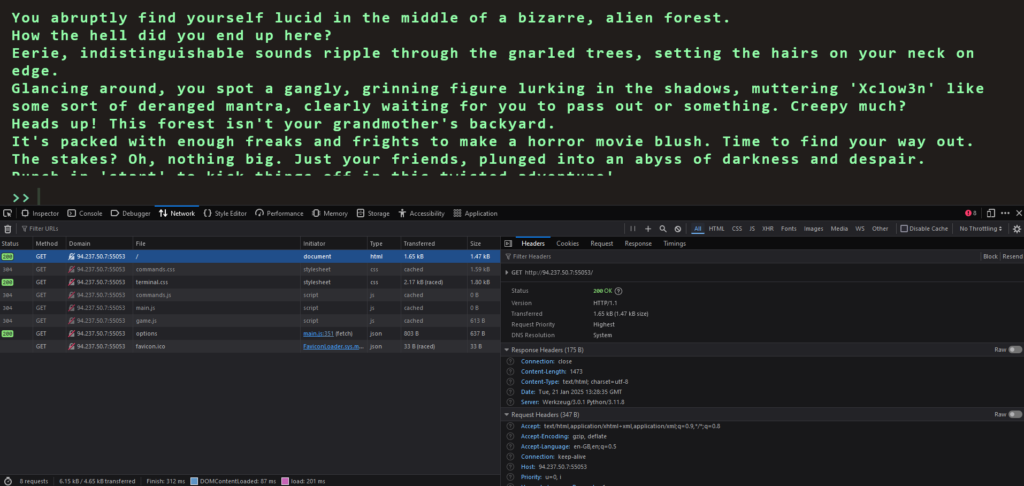
Once we visit the IP address, we recieve some text explaining that we have foud ourselves in a bizarre alien forest. Additionally, We have no idea how we got there but we can hear eerie indistinguisable sounds. The text explains more but this is cleary designed to mimic an old text adventure game. Therefore, we should be able to input commands to play the game. One of the first commands that it is always worth testing is the help command. That will tell you how to play the game.
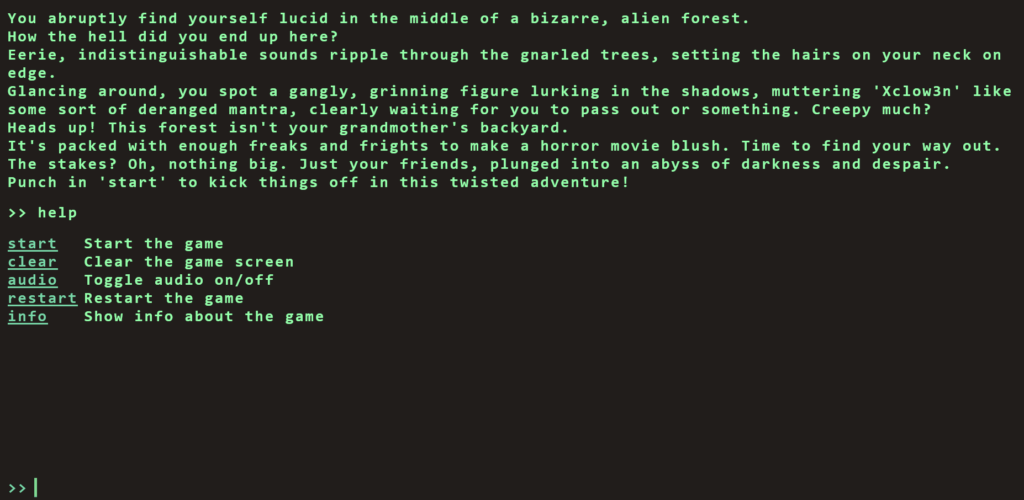
As you can see from the image above, we have several commands that we can use. Furthermore, Using the info command just spits the text back out at us so we need to dig a little deeper. However, our aim here isn’t to play the game is it. Our aim is to hack the game.
Inspecting Flag Command
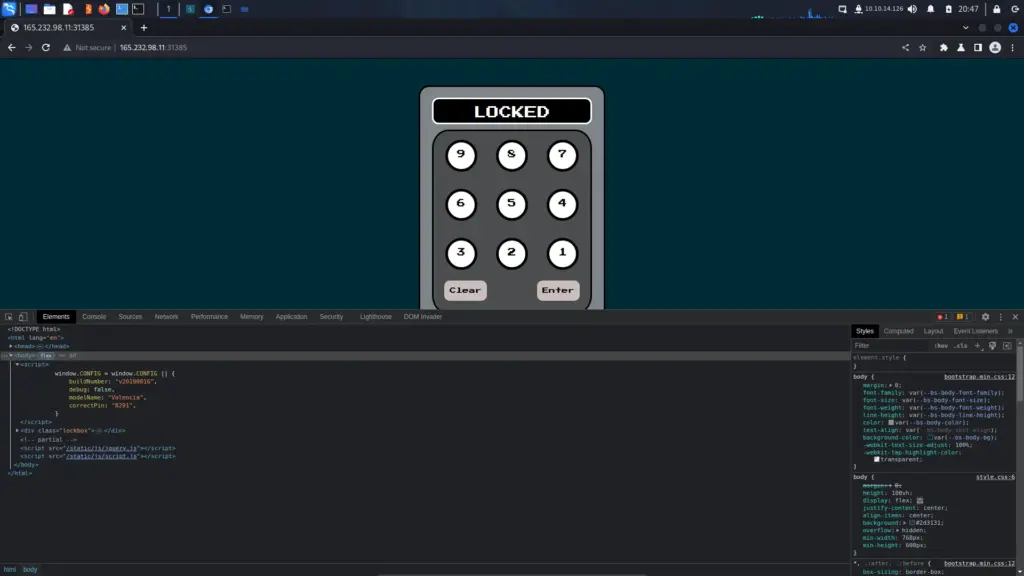
By right clicking on the page and clicking inspect, we can bring up the developer console. Next, if we refresh the page we will capture the traffic that the browser is sending in recieveing. For example, if we click on the network tab and click the refresh button, we can see all the inidvidual scripts that are being loaded by the browser.
Solving The Challenge
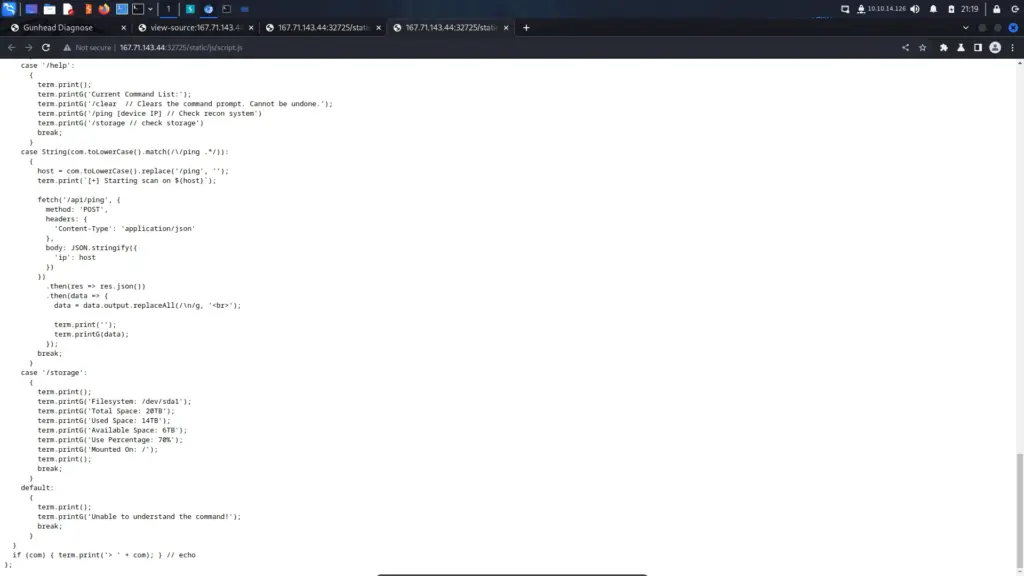
By looking through each one of the Javascript files, we eventually get to the options files which appears to contain all the possible game commands. However, hiding at the bottom of the options file is a secret command called secret. The value of this command is as follows:
Blip-blop, in a pickle with a hiccup! Shmiggity-shmack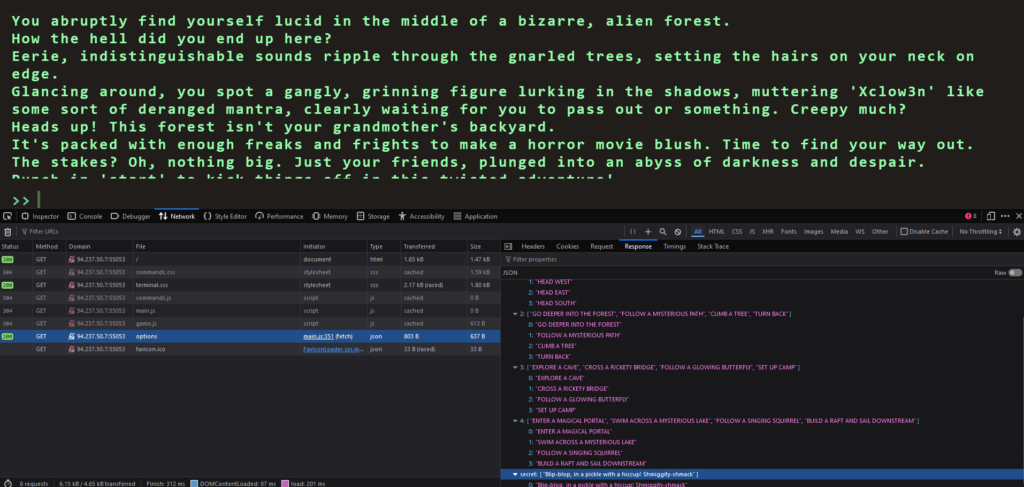
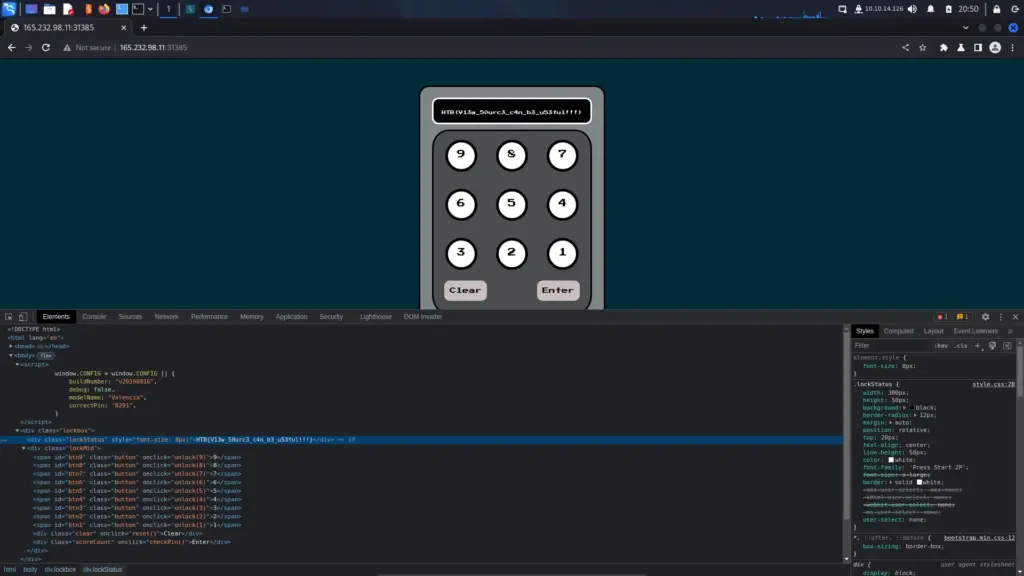
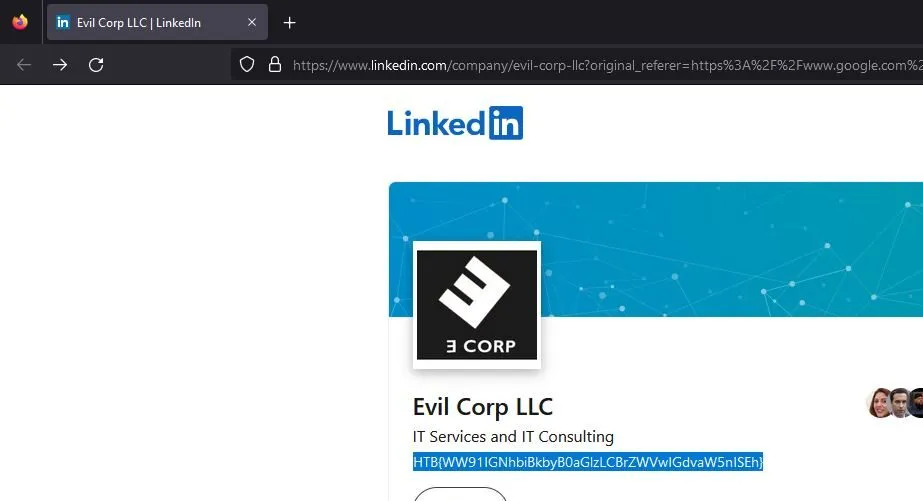
Therefore, if we type start to start the game and the input the secret command, we win. The flag is returned to the screen which we can then paste back in to the Hack The Box challenge page and solve the challenge.
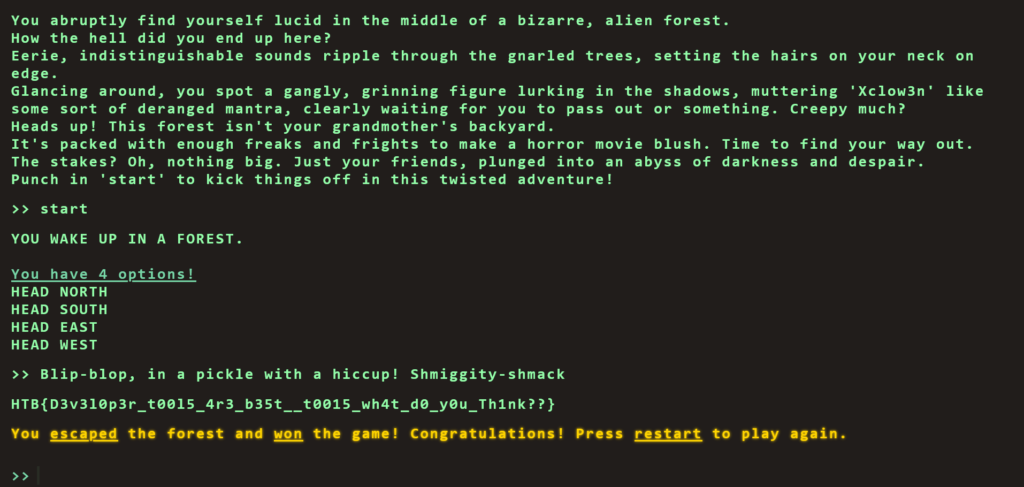
HTB{D3v3l0p3r_t00l5_4r3_b35t__t0015_wh4t_d0_y0u_Th1nk??}Flag Command Learnings
This was a fun challenge. It reminded me of my early days when I first started learning hacking on Hack This Site. Granted, it is a bit more complex than just viewing the page source to find the password but times have evolved since then. Low hanging fruit on applications seems to be getting higher and higher as our understanding of security improves. Anyway, I love web challenges. The themes of them are always fun rather than just looking at a terminal for hours. Not that I don’t sometimes enjoy that too.