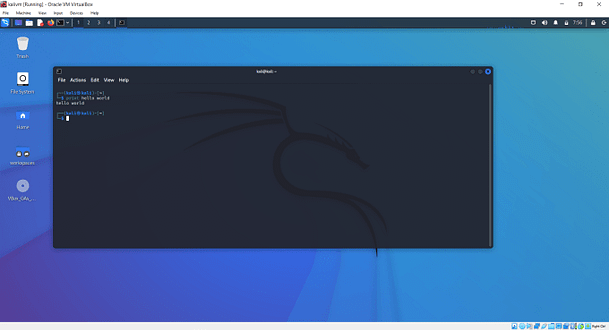
Hello world, welcome to haxez where today I want to talk about creating a Kali Linux shared folder for your Virtual Machine. They are a useful feature that allows you to share files between your base operating system and your Virtual Machine. While Virtual Machines do have a bidirectional clipboard that allows you to copy to and from each machine. A shared folder allows for easy access to resources such as wordlists and other large files. Furthermore, they can be particularly useful if you have limited disk space on your Virtual Machine.
Creating A Kali Shared Folder
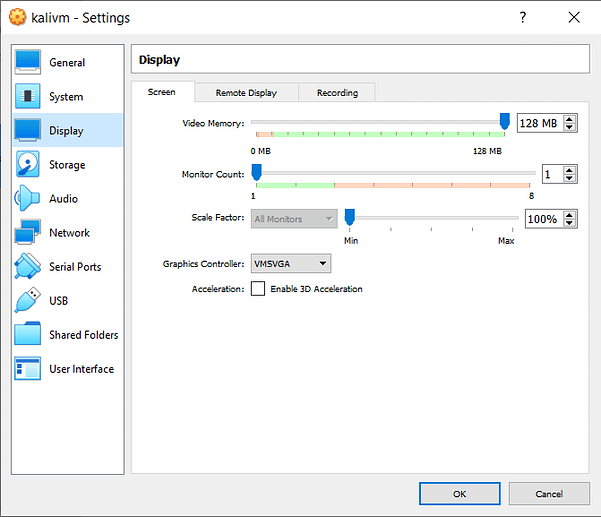
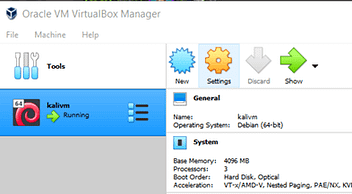
In VirtualBox, this is a fairly simple process. First, you need to select the Virtual Machine that you want to add the shared folder to and click settings.
Once the settings menu opens you need to navigate to the Shared Folders section in the left-hand column.
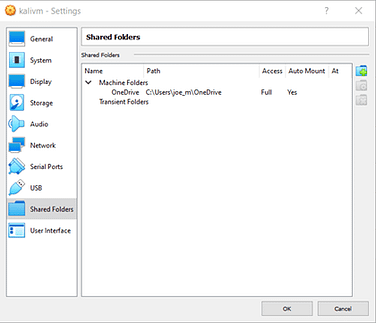
Next, click the blue folder icon with the green plus sign and that will pop up a window with a number of options.
Folder Options
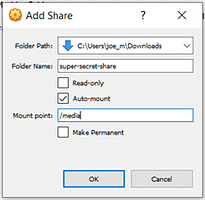
The Folder Path option lets you select where on your base Operating System you want your folder to be. Folder Name allows you to give your folder a specific name when accessing it on your Virtual Machine. The Read-Only option prevents you from making changes to any of the files in the shared directory. Do not tick this if you want to be able to modify your folders. Auto-mount ensures that the folder is mounted on your Virtual Machine once it boots. You want to enable this option. Mount Point specifies where on the Virtual Machine you want it to mount. If you leave this empty then it should default to the /media directory.
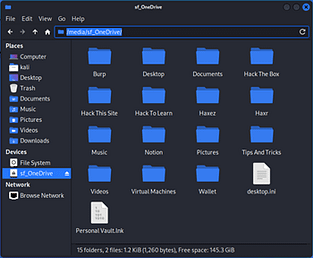
Accessing Kali Shared Folder
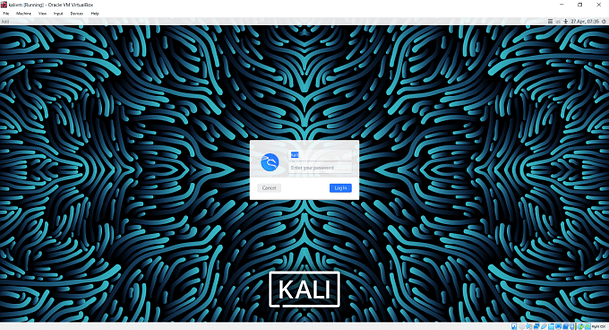
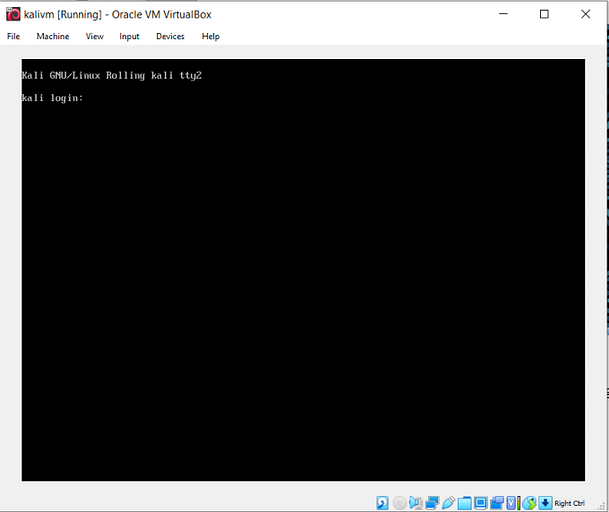
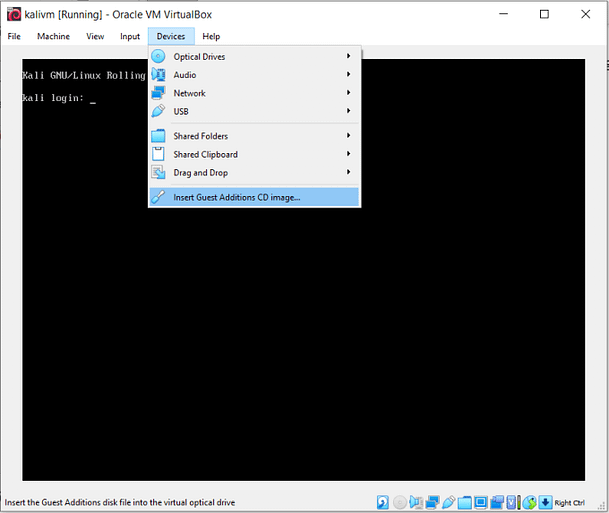
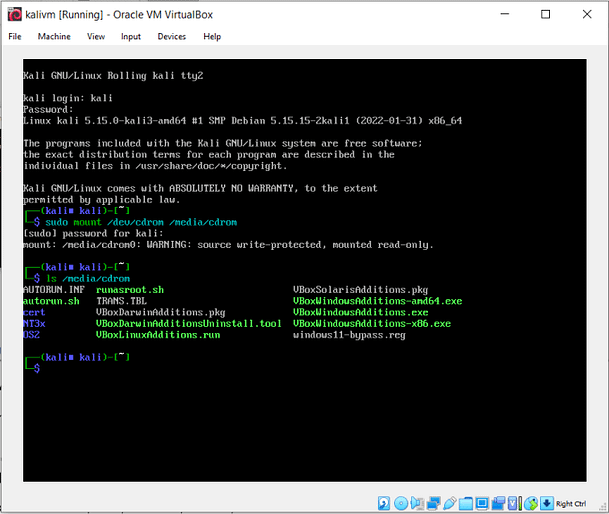
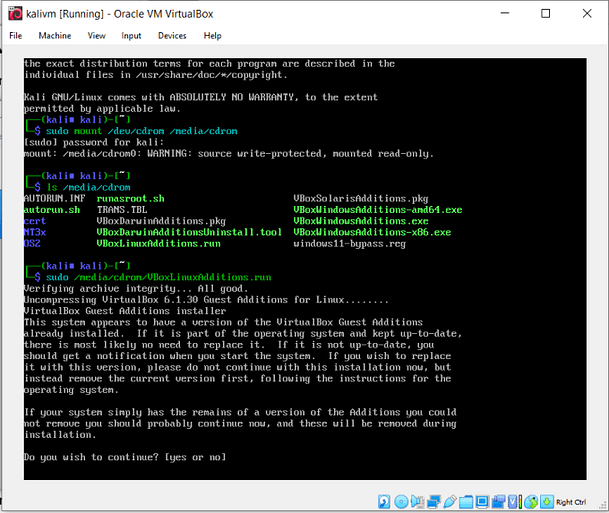
With the settings saved, boot your Virtual Machine and login to the Desktop Environment. Then launch your file manager or file explorer. On the left-hand side, you should see a Devices section containing your File System and your Shared Folder. If not then it could be that you haven’t installed your Virtual Box guest additions.
Permissions Issues
If you can see the folder but aren’t able to access or create any files then it is likely due to user permissions. In order to resolve this issue, you need to add your user to the VirtualBox users group. This can be done by running the following command.
sudo adduser $USER vboxsfYou should now be able to access the shared folder. It is unlikely that you will need to reboot the machine but if the problem persists then reboot and try again.